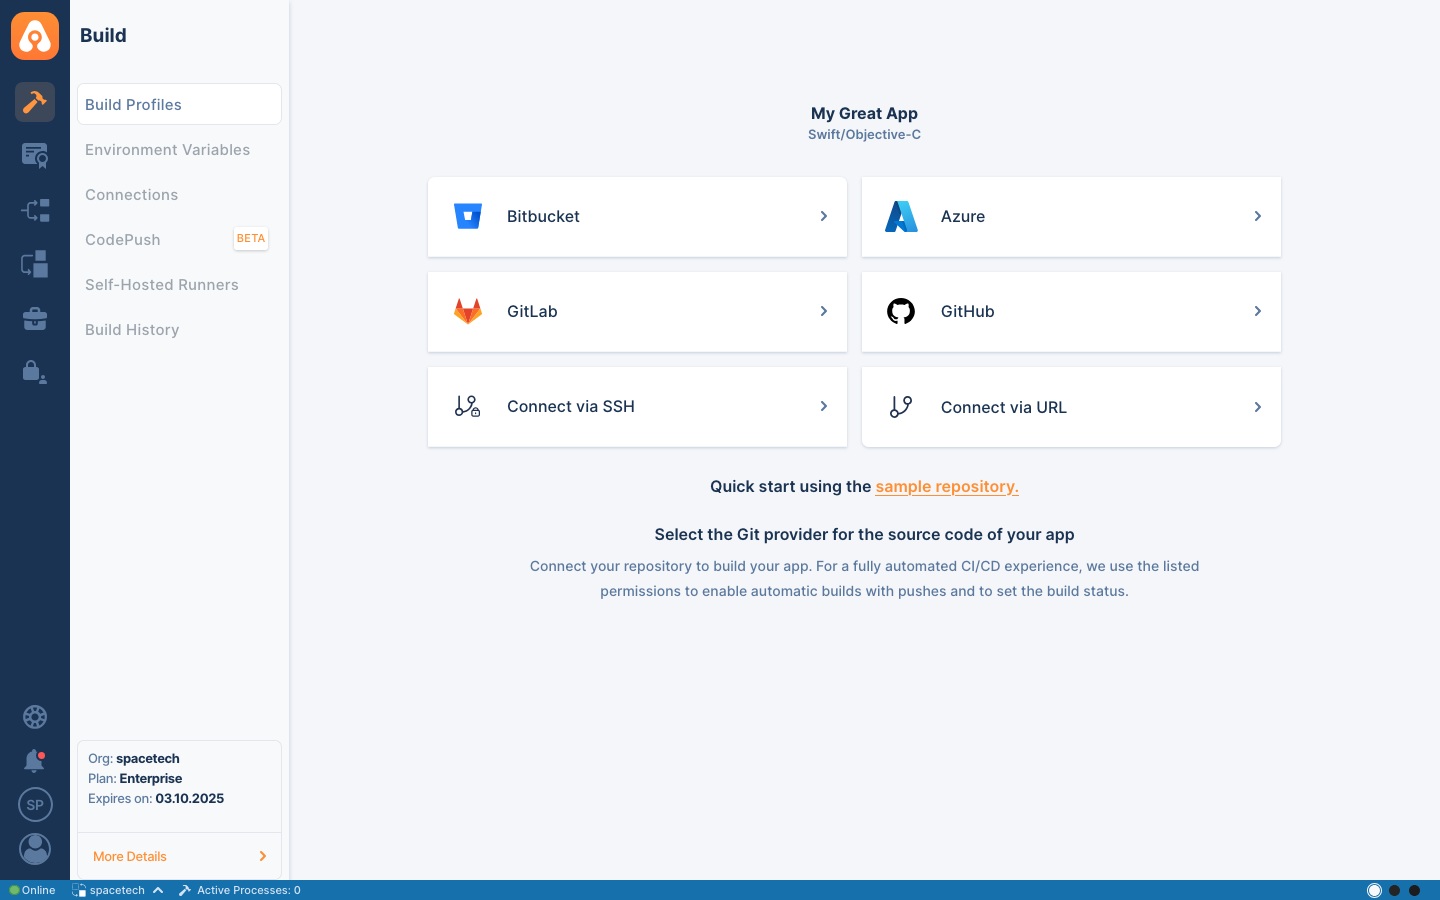
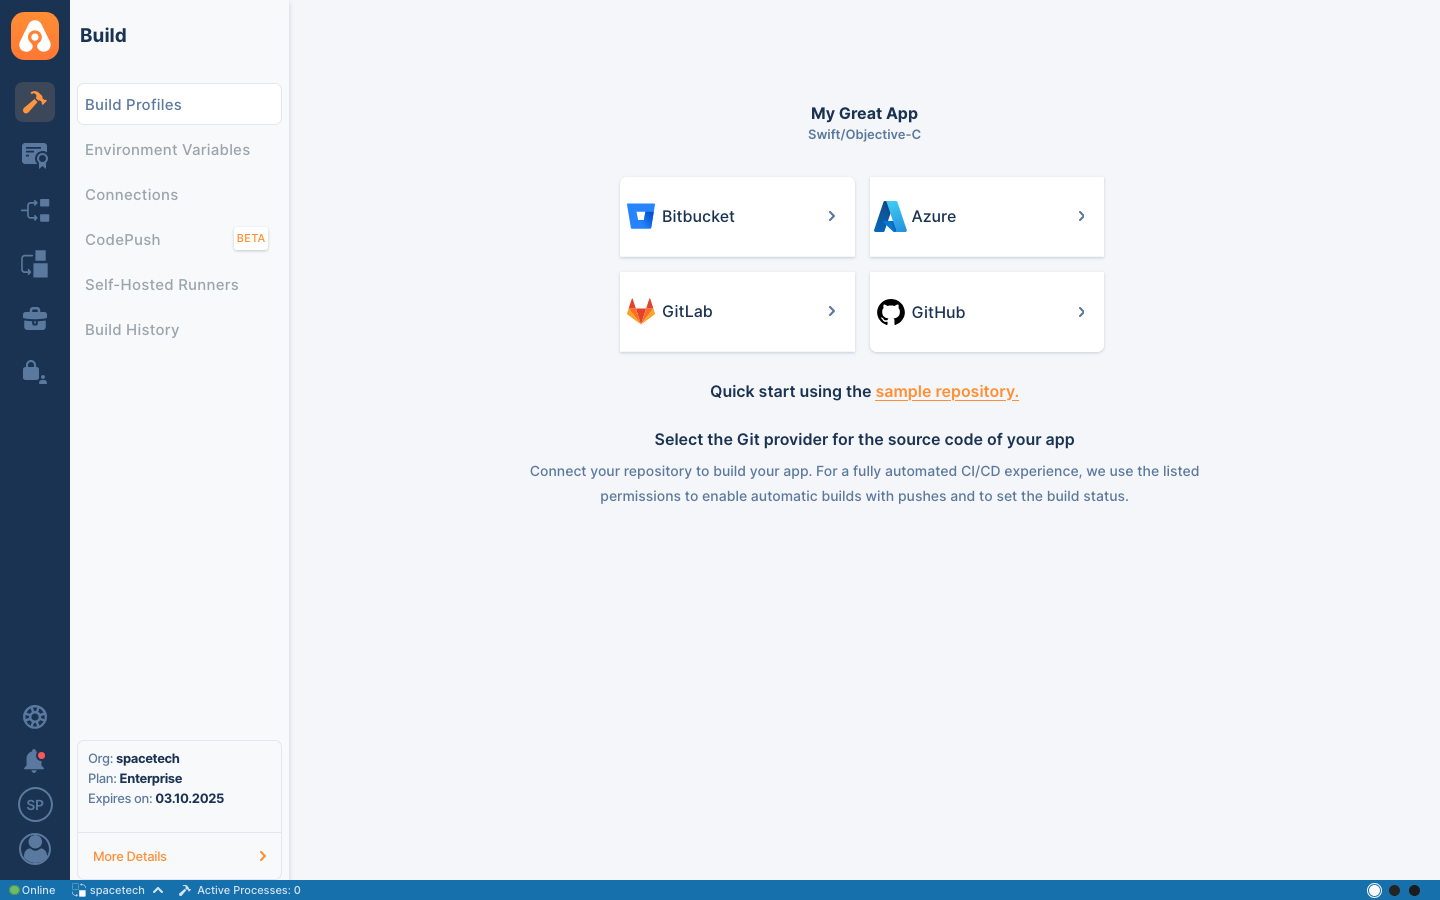
Git Providers
With default installation, self-hosted Appcircle comes with the connection options below:
- Bitbucket
- Azure
- GitLab
- GitHub
- Connect via SSH
- Connect via URL
You can configure the Git providers and use them within your self-hosted Appcircle server, the same as in the cloud.
The following sections will give you more details about how to enable or disable Git providers according to your requirements in your hosted environment.
We're assuming that previously you reviewed or followed install self-hosted appcircle section in docs, understood configuration made there and scenarios told there.
Current working directory is assumed appcircle-server for following steps. See here for installation details.
global.yaml configuration file is located under project folder.
projects/${YOUR_PROJECT}
You can see an example project configuration from here.
Connect to Bitbucket
To disable the "Bitbucket" option, add the below configuration to global.yaml.
build:
  oauths:
    bitbucket:
      enabled: false
    bitbucketServer:
      enabled: false
If you want to re-enable "Bitbucket" again, you can set the enabled to true.
You can configure only the self-hosted or cloud "Bitbucket" options using the relevant keys.
- The
bitbucketkey is used to manage Bitbucket (Cloud). - The
bitbucketServerkey is used to manage Bitbucket Server.
For more details about "Bitbucket" usage, see related docs in the Connecting to Bitbucket page.
To apply the changes, please follow the Applying Git Provider Changes section at the end.
Connect to Azure DevOps
To disable the "Azure DevOps" option, add the below configuration to global.yaml.
build:
  oauths:
    azureDevopsServices:
      enabled: false
    azureDevopsServer:
      enabled: false
If you want to re-enable "Azure DevOps" again, you can set the enabled to true.
You can configure only the self-hosted or cloud "Azure DevOps" options using the relevant keys.
- The
azureDevopsServiceskey is used to manage Azure DevOps Services (Cloud). - The
azureDevopsServerkey is used to manage Azure DevOps Server.
For more details about "Azure DevOps" usage, see related docs in the Connecting to Azure DevOps page.
To apply the changes, please follow the Applying Git Provider Changes section at the end.
Connect to GitLab
To disable the "GitLab" option, add the below configuration to global.yaml.
build:
  oauths:
    gitlab:
      enabled: false
    gitlabSelfHosted:
      enabled: false
If you want to re-enable "GitLab" again, you can set the enabled to true.
You can configure only the self-hosted or cloud "GitLab" options using the relevant keys.
- The
gitlabkey is used to manage GitLab (Cloud). - The
gitlabSelfHostedkey is used to manage GitLab Self-Managed.
For more details about "GitLab" usage, see related docs in the Connecting to GitLab page.
To apply the changes, please follow the Applying Git Provider Changes section at the end.
Connect to GitHub
To disable the "GitHub" option, add the below configuration to global.yaml.
build:
  oauths:
    githubApp:
      enabled: false
    githubEnterpriseServer:
      enabled: false
If you want to re-enable "GitHub" again, you can set the enabled to true.
You can configure only the self-hosted or cloud "GitHub" options using the relevant keys.
- The
githubAppkey is used to manage GitHub (Cloud). - The
githubEnterpriseServerkey is used to manage GitHub Enterprise Server.
For more details about "GitHub" usage, see related docs in the Connecting to GitHub page.
To apply the changes, please follow the Applying Git Provider Changes section at the end.
GitHub Enterprise Server option is available in version 3.28.2 or later.
GitHub App Cloud
The GitHub App option is disabled by default since it needs further custom configuration for your setup.
If you want to connect to GitHub Cloud using the GitHub App, you need to create your own GitHub App for your organization. Below are the key points that you should follow while creating a GitHub App for your Appcircle server.
Requirements
"GitHub App Cloud OAuth2" connection option is available in version 3.29.3 or later.
While creating your own GitHub App, you will need some domains from the Appcircle server for URLs. Therefore, before beginning, you should have been gotten the below domains ready for your GitHub App configuration.
-
Log in to the Appcircle server with SSH or a remote connection.
-
Go to the
appcircle-serverdirectory.
cd appcircle-server
The spacetech in the example codes below are example project name.
Please find your own project name and replace spacetech with your project name.
To see projects, you can check the projects directory.
ls -l ./projects
- Update the environment variable
PATHwith the required dependencies.
export PATH=$PATH:$(pwd)/deps/bin
URL samples in the following steps are based on sample DNS settings from the Appcircle server installation.
1. Get dashboard URL.
yq '.webApp.external.url' ./projects/spacetech/export/.global.yaml
For example, https://my.appcircle.spacetech.com
2. Get IAM URL.
yq '.keycloak.external.url' ./projects/spacetech/export/.global.yaml
For example, https://auth.appcircle.spacetech.com
3. Get API URL.
yq '.apiGateway.external.url' ./projects/spacetech/export/.global.yaml
For example, https://api.appcircle.spacetech.com
Configuration
Below are the configuration steps you should follow for setting up the GitHub App.
- Give a name to your GitHub App using the "GitHub App name" field.
- For example,
MyAwesomeApp
- For example,
- Enter the dashboard URL in the "Homepage URL" field.
- For example,
https://my.appcircle.spacetech.com
- For example,
- Add "Callback URL" using the API URL and appending
/build/v1/callback?gitProvider=GithubAppto the end of the URL.- For example,
https://api.appcircle.spacetech.com/build/v1/callback?gitProvider=GithubApp
- For example,
- Add "Callback URL" using the IAM URL and appending
/auth/realms/appcircle/broker/githubapp/endpoint?gitProvider=GithubAppto the end of the URL.- For example,
https://auth.appcircle.spacetech.com/auth/realms/appcircle/broker/githubapp/endpoint?gitProvider=GithubApp
- For example,
- The "Request user authorization (OAuth) during installation" option in the "Identifying and authorizing users" section should be in the
checkedstate. - The "Redirect on update" option in the "Post installation" section should be in the
checkedstate. - Webhook should be "Active", and enter the API URL as "Webhook URL" by appending
/build/v1/hooks/githubat the end.- For example,
https://api.appcircle.spacetech.com/build/v1/hooks/github
- For example,
- Select the "Enable SSL verification" option in the "SSL Verification" for better security practices if your SSL certificates can be trusted by GitHub.
- Select required "Repository" permissions using permissions for the GitHub integration guide.
- Select "Webhooks" as "Read and Write" in the "Organization" permissions.
- Select the below events in the "Subscribe to events" to be triggered from GitHub:
CreateCommit commentDeletePull requestPushRepositoryStatus
When you complete your GitHub App configuration on GitHub, you are ready to move on to using it in the Appcircle.
In order to activate your GitHub App on the Appcircle server, you should fill in the below settings in your global.yaml using your GitHub App properties.
build:
  oauths:
    githubAppOauth:
      enabled: true
      clientId:
      clientSecret:
      authorizeUrl:
You can find all the required values in the "About" page under the "General" tab at the GitHub App configuration page.
clientId: It's the "Client ID" of your GitHub App.- For example,
Iv2***qEI***x8H***ys
- For example,
clientSecret: "Create a new client secret" for your GitHub App.- For example,
222***a8f***2a1***4a0***5f3***b8a***b8a8
- For example,
authorizeUrl: Use "Public link", appending/installations/newto the end.- For example,
https://github.com/apps/myawesomeapp/installations/new
- For example,
As in the example above, replace the {app_name} with your actual GitHub App name;
https://github.com/apps/{app_name}/installations/new
According to the sample GitHub App properties above, your global.yaml settings should be like below.
build:
  oauths:
    githubAppOauth:
      enabled: true
      clientId: "Iv2***qEI***x8H***ys"
      clientSecret: "222***a8f***2a1***4a0***5f3***b8a***b8a8"
      authorizeUrl: "https://github.com/apps/myawesomeapp/installations/new"
To apply the changes, please follow the Applying Git Provider Changes section at the end.
After successfully applying, the "GitHub App Cloud OAuth2" option will be visible under "GitHub Cloud Connection" options when you create a new connection for a build profile.
"GitHub App Cloud OAuth2" connection option is available in version 3.29.3 or later.
Currently, GitHub App connection is supported for only GitHub Cloud (github.com) connections.
You cannot use the GitHub App for a GitHub Enterprise Server connection.
Connect via SSH
To disable the "Connect via SSH" option, add the below configuration to global.yaml.
build:
  oauths:
    ssh:
      enabled: false
If you want to re-enable "Connect via SSH" again, you can set the enabled to true.
For more details about "Connect via SSH" usage, see related docs in the Connect via SSH page.
To apply the changes, please follow the Applying Git Provider Changes section at the end.
Connect via URL
To disable the "Connect via URL" option, add the below configuration to global.yaml.
build:
  oauths:
    publicRepository:
      enabled: false
If you want to re-enable "Connect via URL" again, you can set the enabled to true.
For more details about "Connect via URL" usage, see related docs in the Connect via URL page.
To apply the changes, please follow the Applying Git Provider Changes section at the end.
Applying Git Provider Changes
You can add or remove git providers at installation steps or later when you need. Following sections will explain how to apply changes especially after installation.
Let's assume we want to disable both "Connect via SSH" and "Connect via URL" options. Then we need to add below configuration to our global.yaml.
build:
  oauths:
    ssh:
      enabled: false
    publicRepository:
      enabled: false
You should have only one build.oauths key in your global.yaml file.
Keep in mind that if you have multiple build.oauths keys in global.yaml, then the last one will be used in the Appcircle server runtime.
Be careful while configuring different connection options at the same time. Union them under one build.oauths key in the global.yaml.
If we do this at installation time then there is no extra step to take. These options will be disabled on first boot without any extra effort.
If we don't do the configuration at installation, then after editing global.yaml, we need to apply below steps to activate changes.
We're assuming that previously you reviewed or followed install self-hosted appcircle section in docs and applied example scenario.
Following steps are using example project as project naming, which was told there.
- Shutdown Appcircle server.
./ac-self-hosted.sh -n "spacetech" down
- Apply configuration changes.
./ac-self-hosted.sh -n "spacetech" export
- Boot Appcircle server.
./ac-self-hosted.sh -n "spacetech" up
On complete, refresh your browser and login to Appcircle with your account. You should see that "Connect via SSH" and "Connect via URL" option is disabled on the connection page. 🎉
Need help?
Get help from Appcircle's support team, or see how others are using Appcircle by joining our Slack Channel.