Enterprise App Store and Testing Distribution LDAP Settings
This document serves as a helpful guide for setting up and managing LDAP (Lightweight Directory Access Protocol) login integration within our organizational system. Whether you're new to LDAP or looking to streamline your authentication process, this document provides step-by-step instructions to ensure a smooth setup and management experience.
To get started, simply navigate to the Integrations page within our platform and click on the "Connect" button next to LDAP Login under the Connections section. From there, you'll be guided through the process of creating LDAP configurations, including filling in the necessary details and enabling Two Factor Authentication (2FA) for added security.
Once set up, LDAP Login allows you to control access to distributed links and adjust distribution authorization through the Distribution Profiles. This means you can tailor access permissions according to your organization's specific needs.
If you ever need to remove LDAP Login integration, the document also provides clear instructions for doing so, ensuring that your system remains secure and up-to-date.
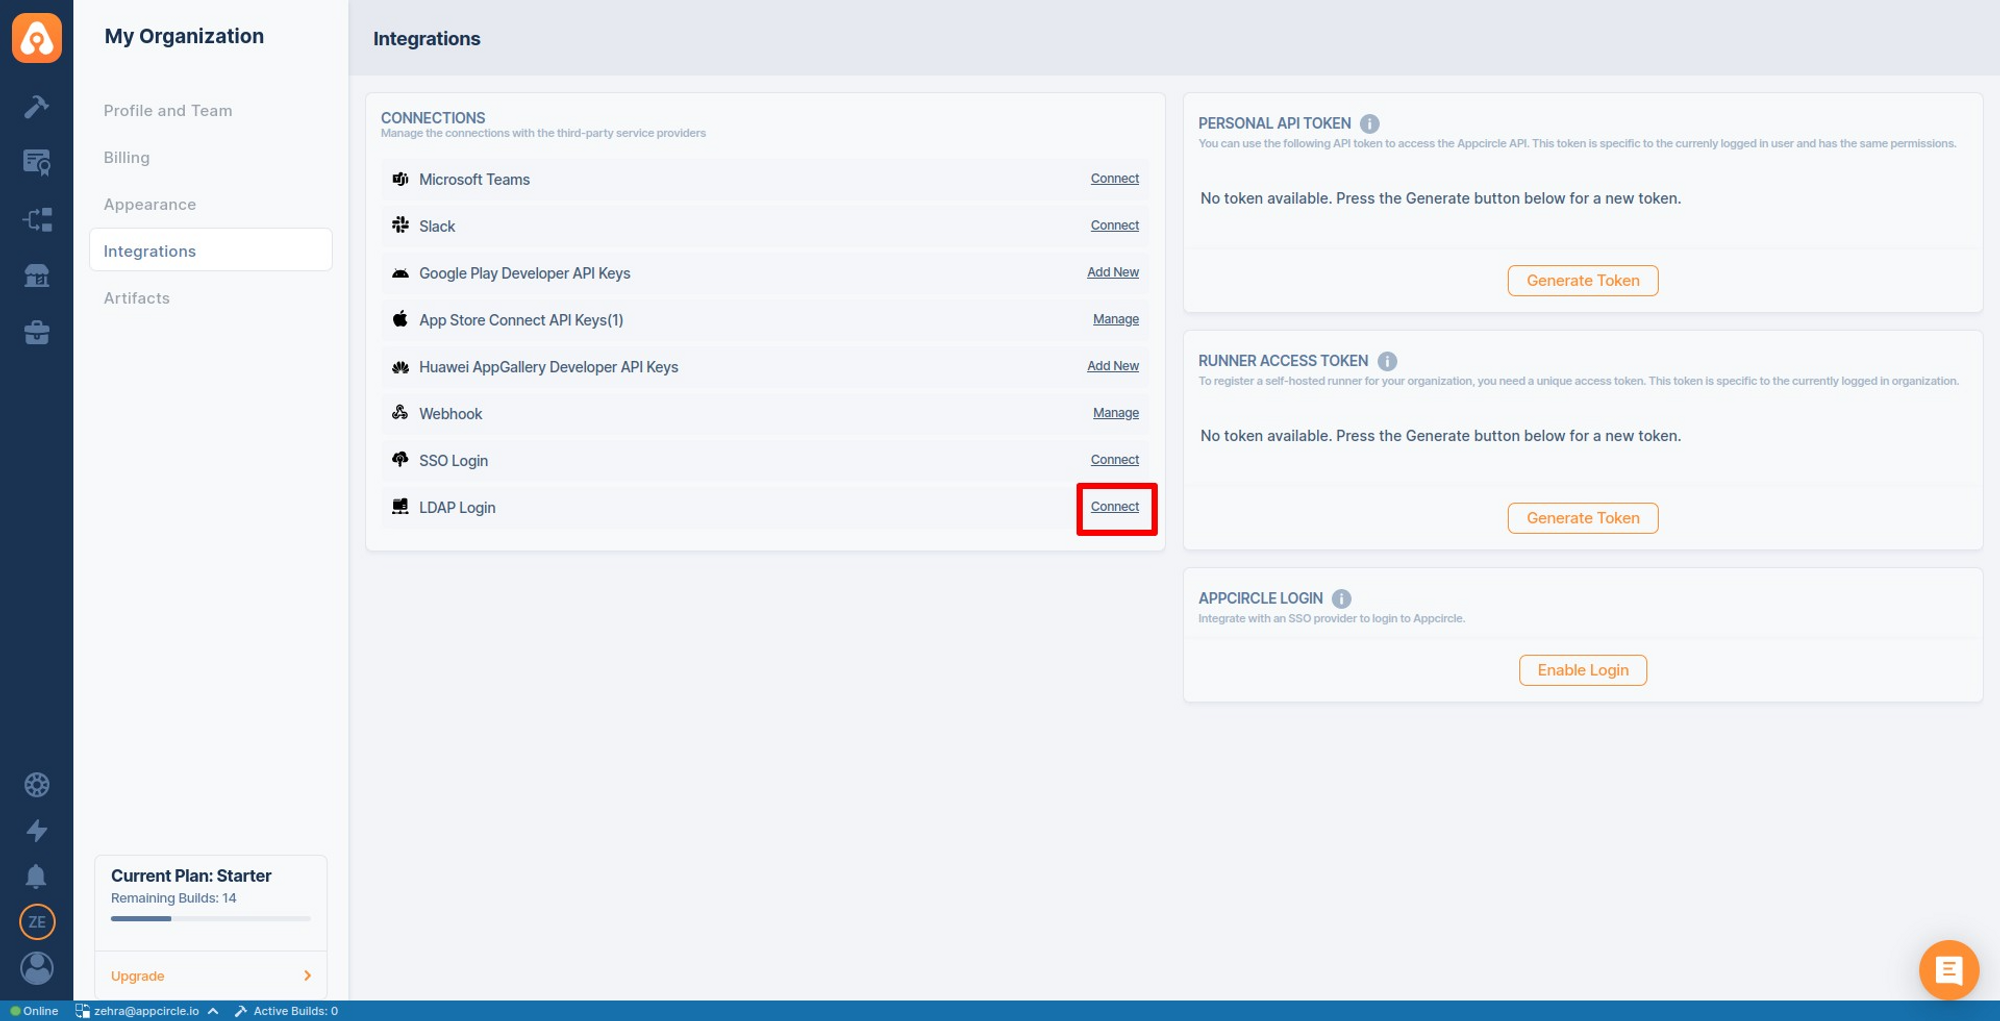
To start, go to My Organization > Integrations screen and press the Connect button next to LDAP Login under the Connections section.
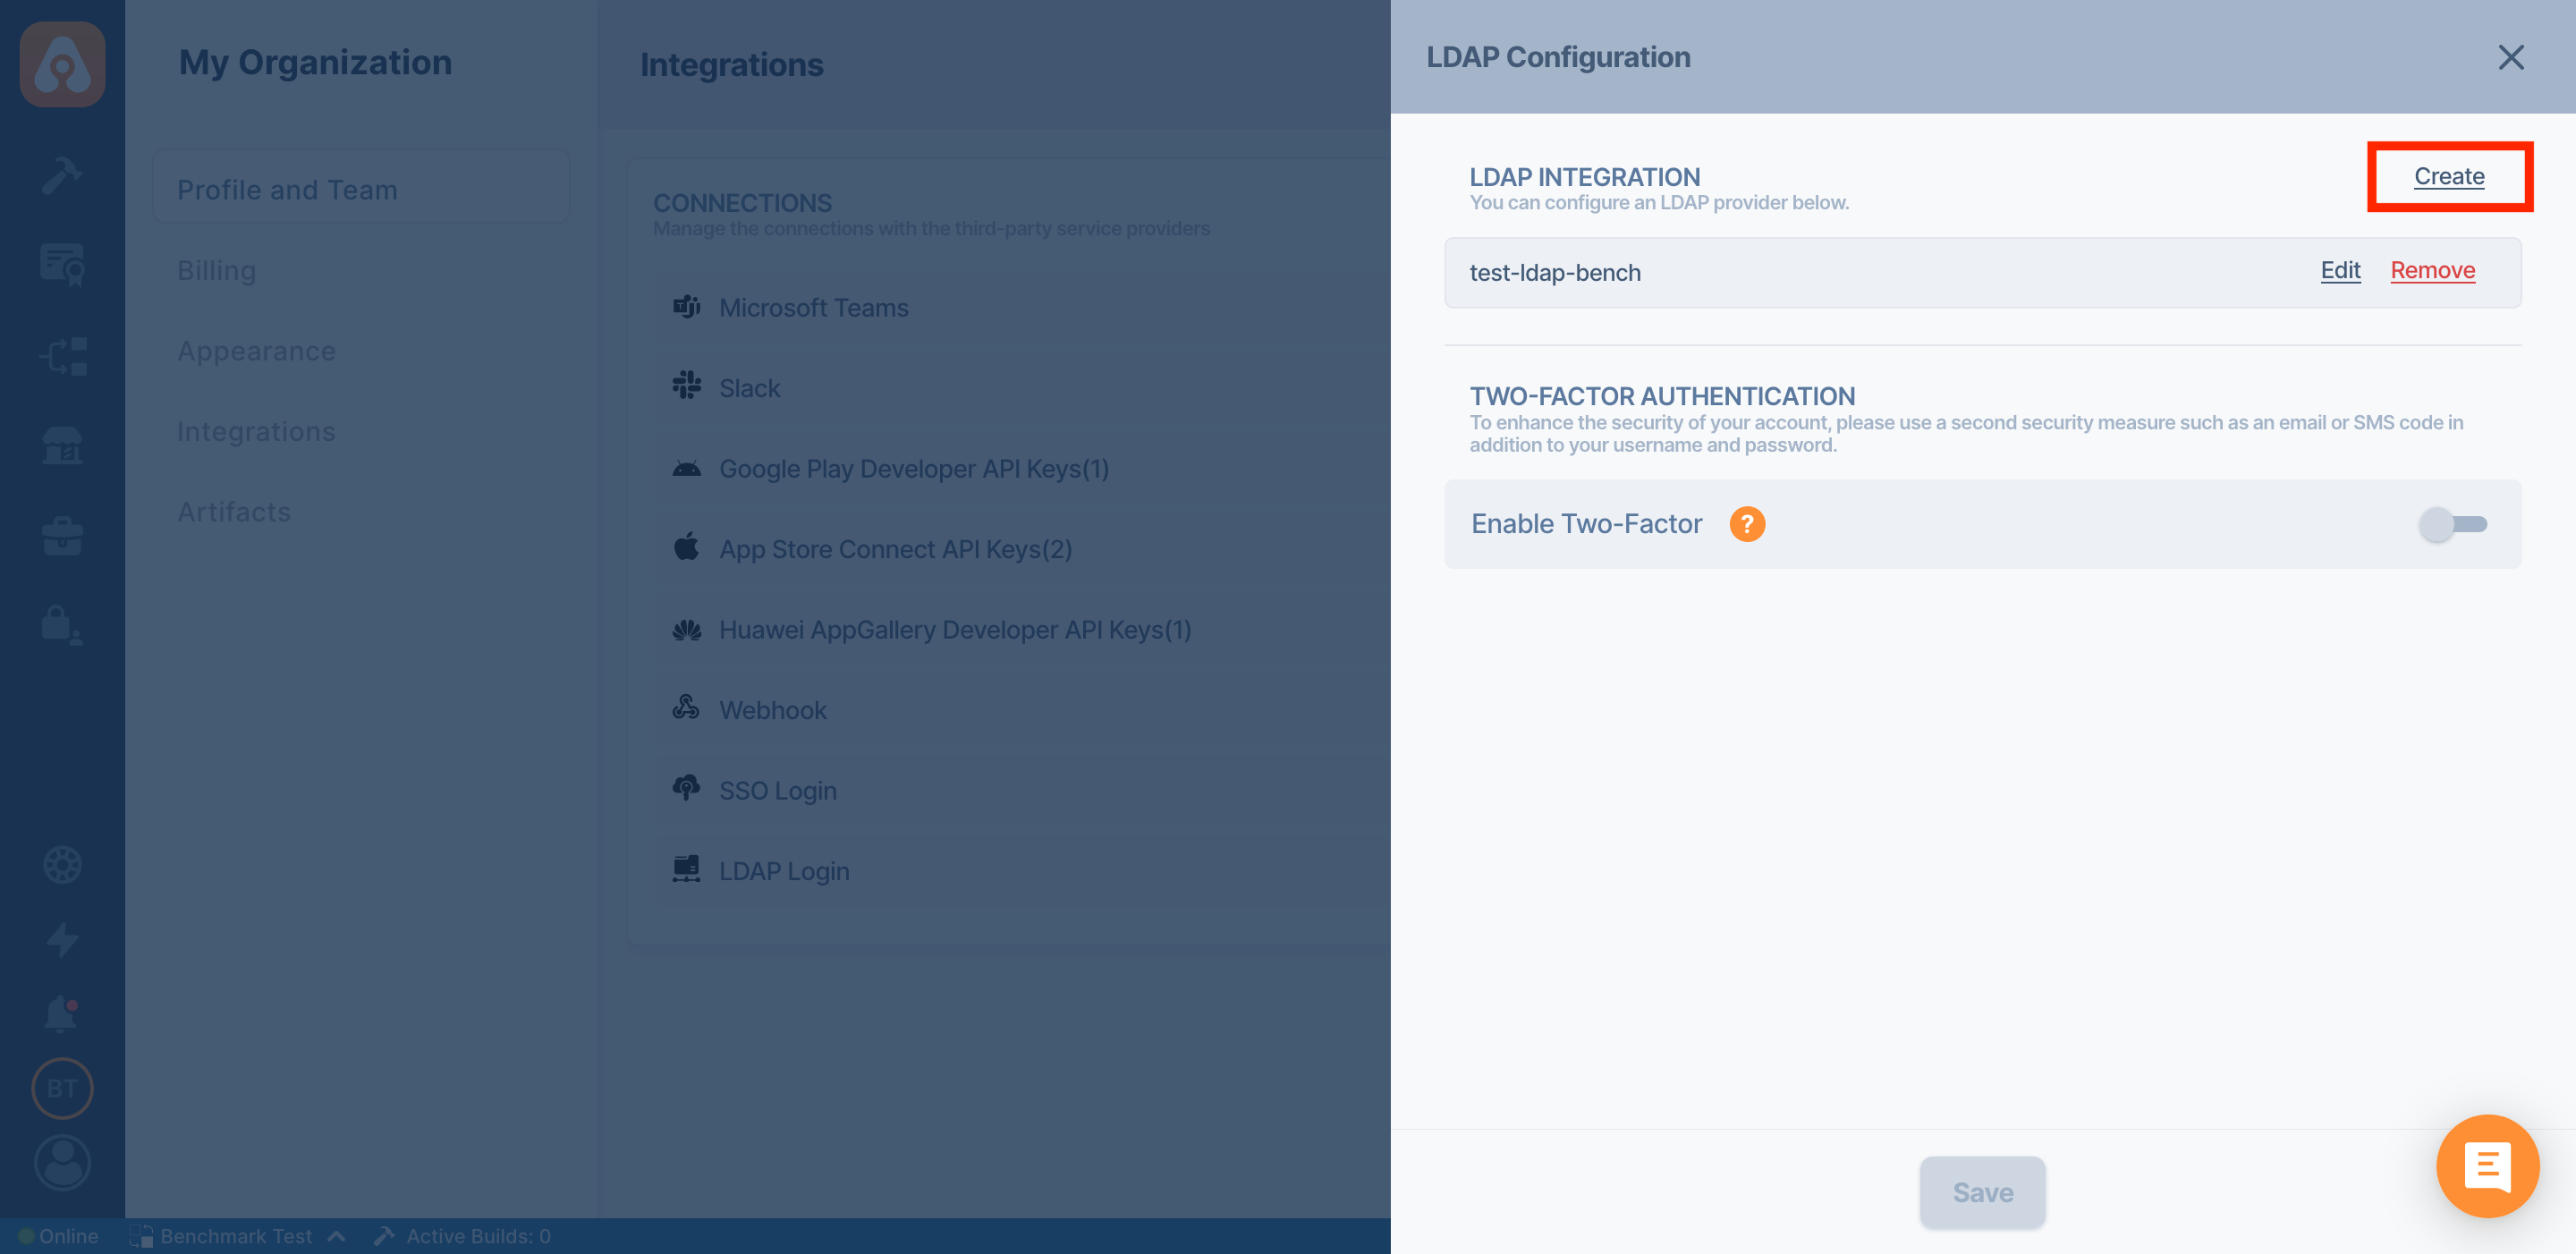
- Click Create button to create your LDAP
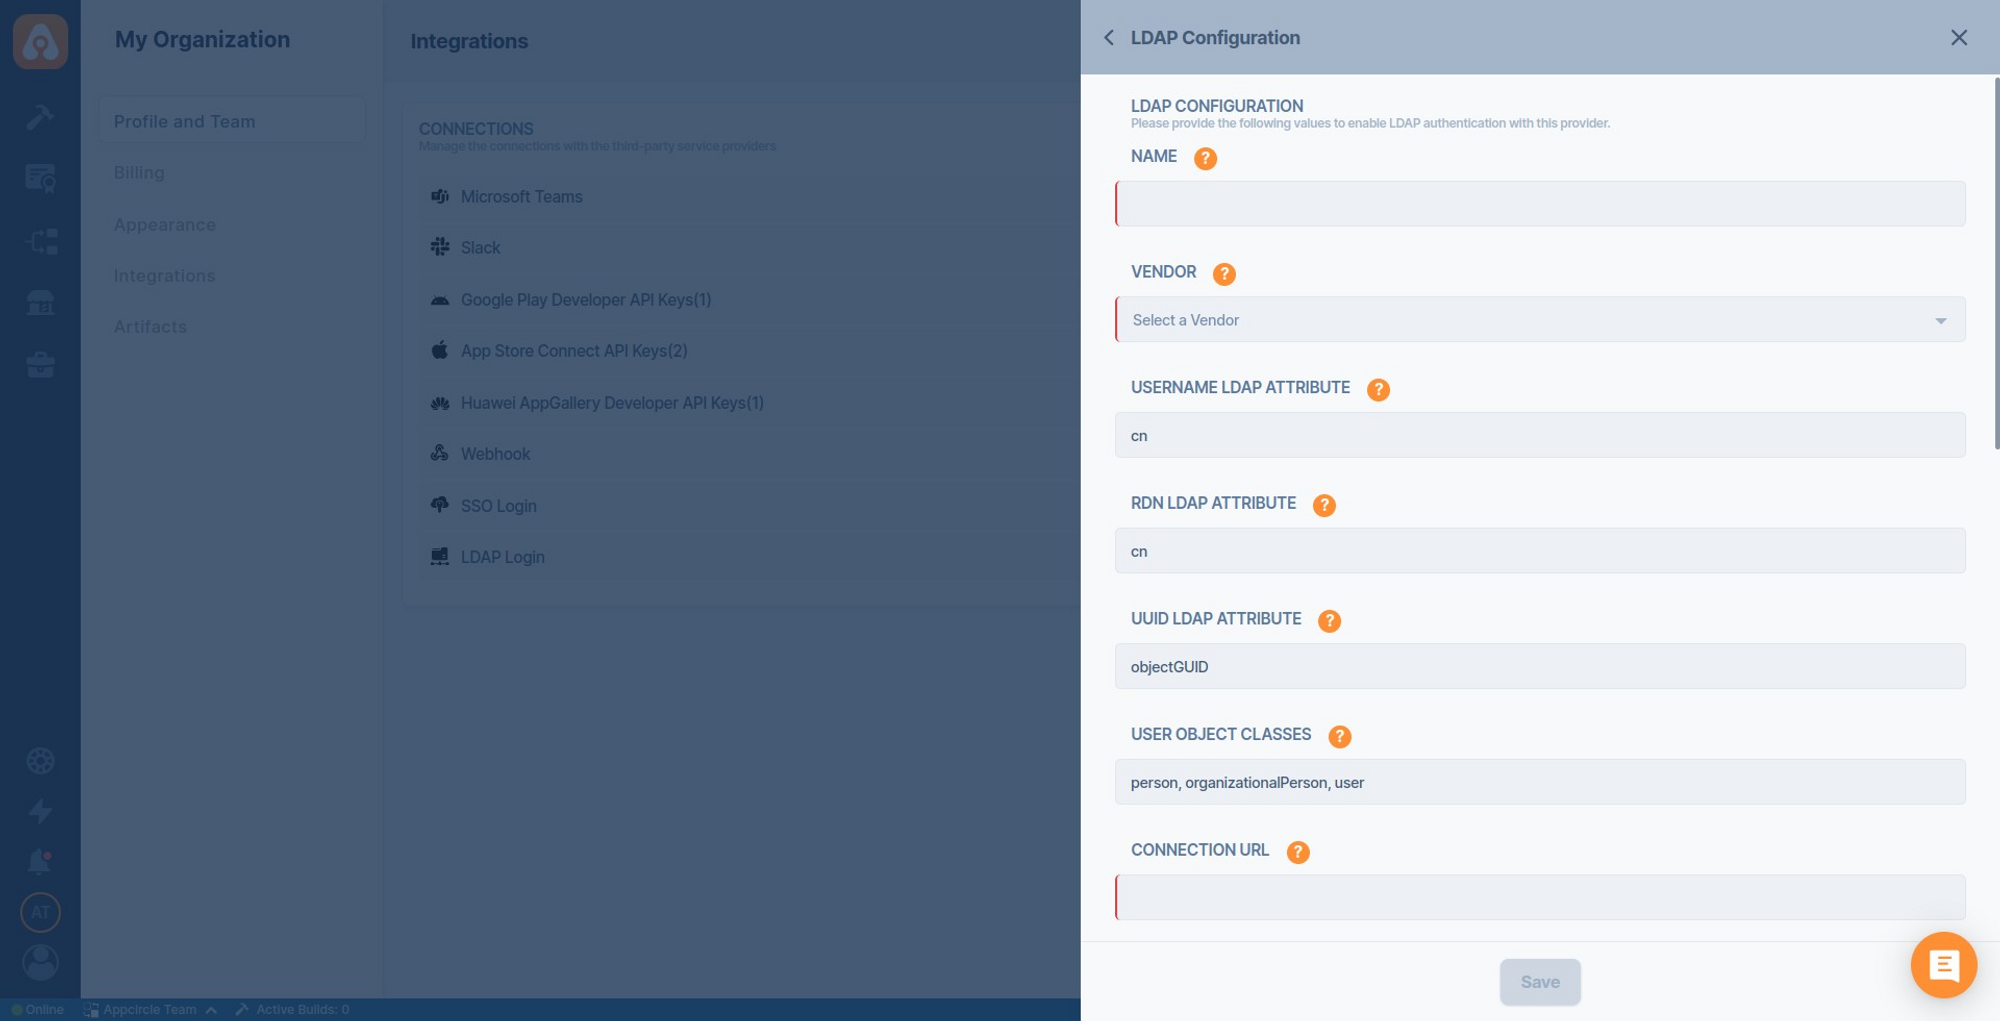
- Fill in the details of your LDAP Configurations
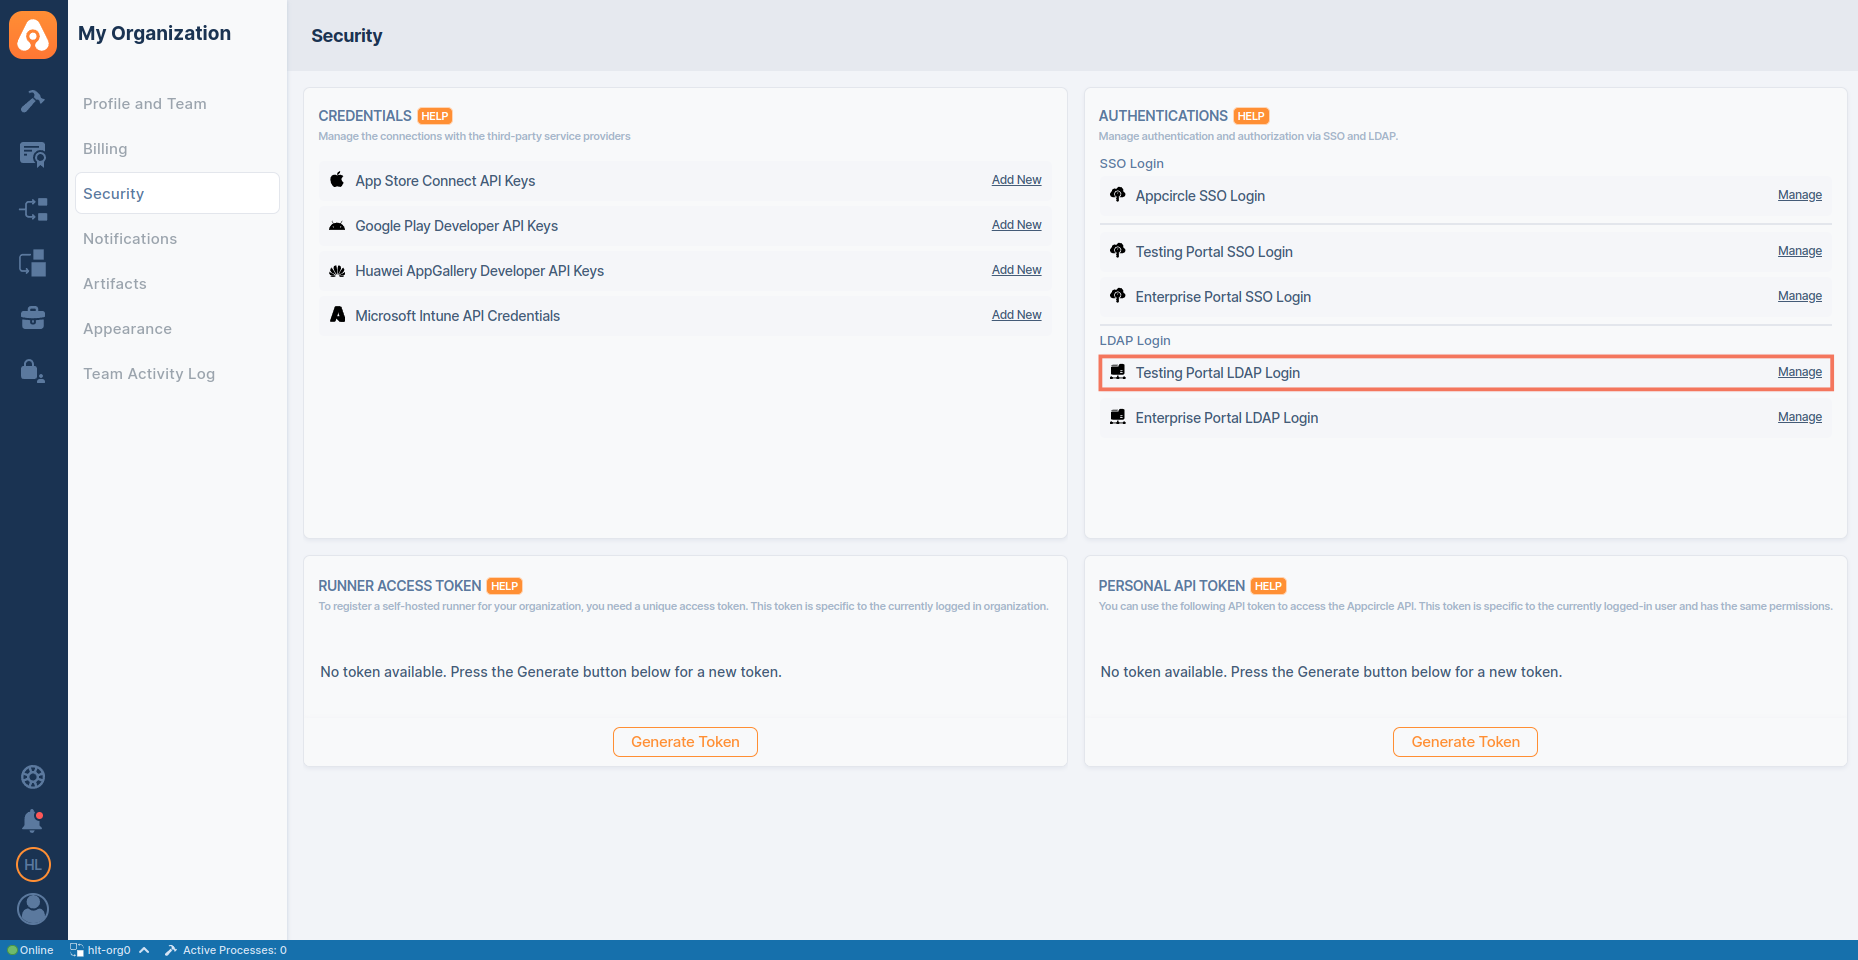
- You can see that the Connect button has changed to the Manage button.
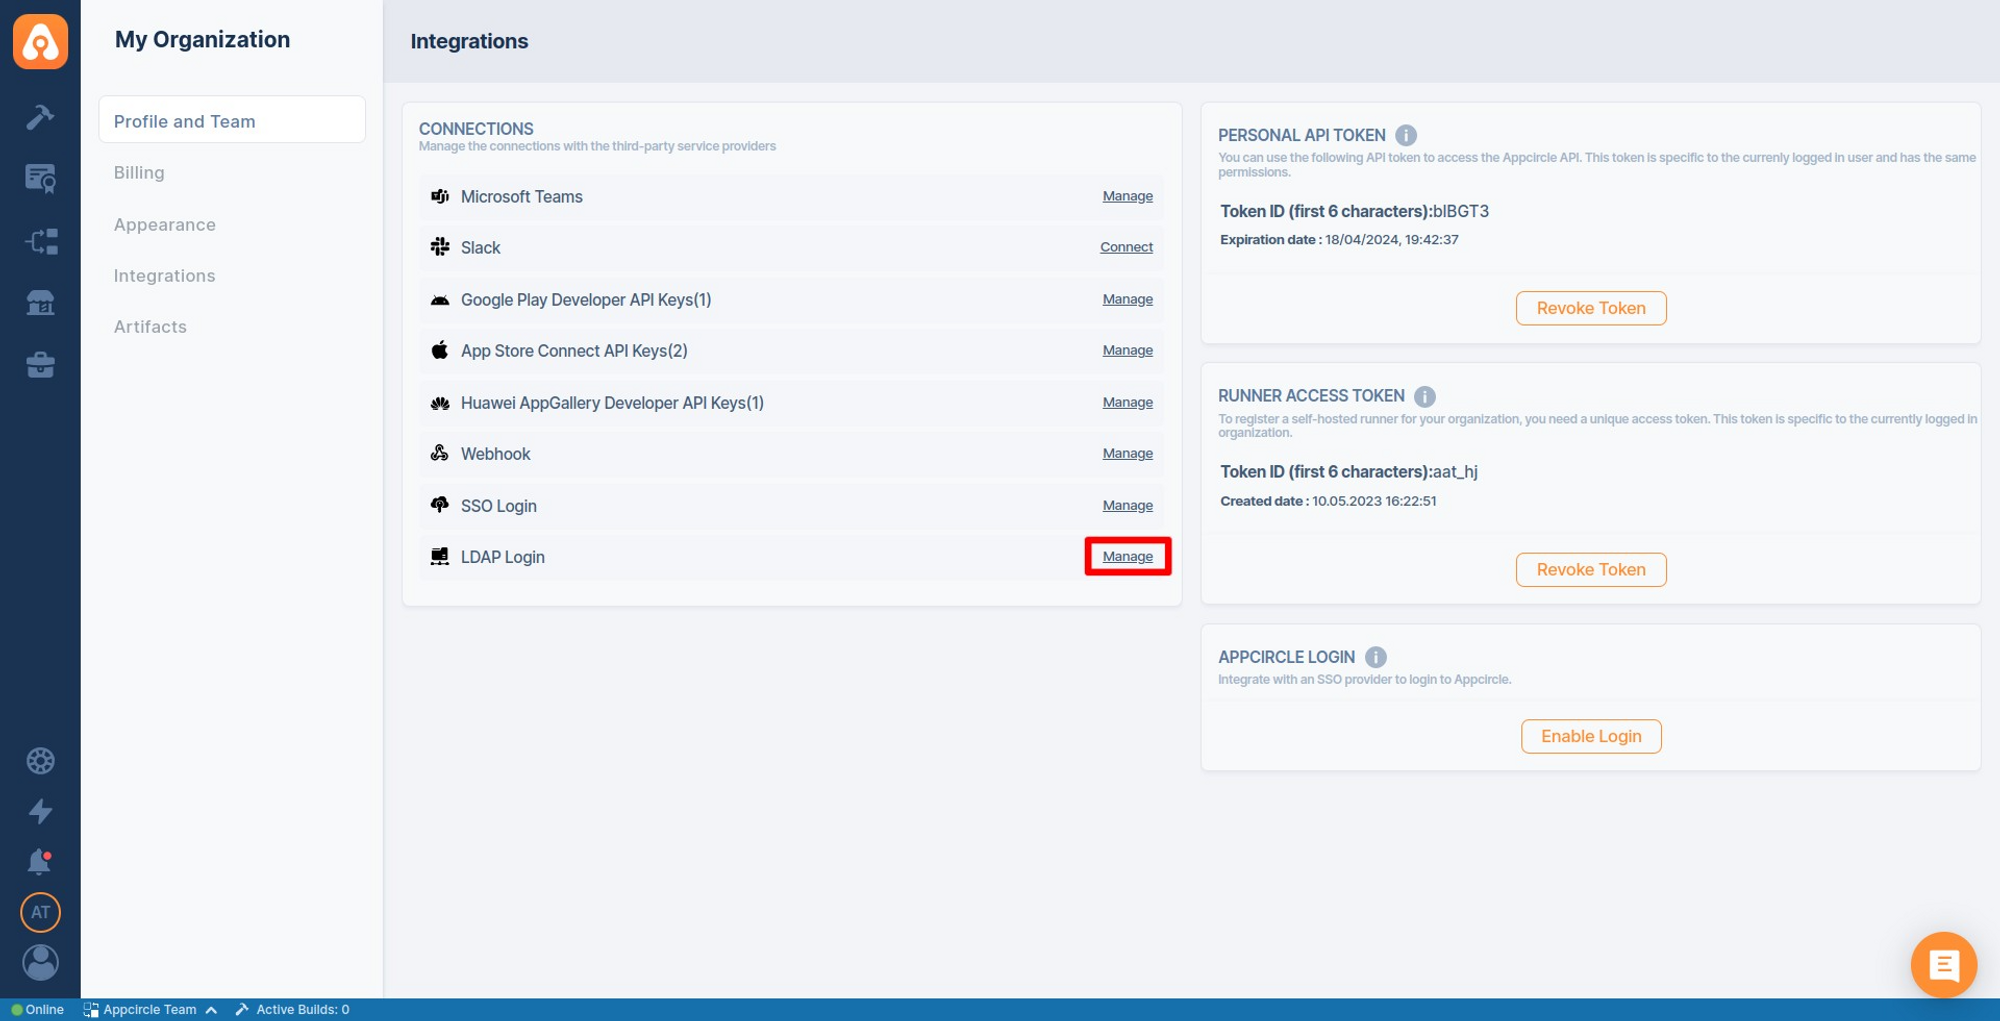
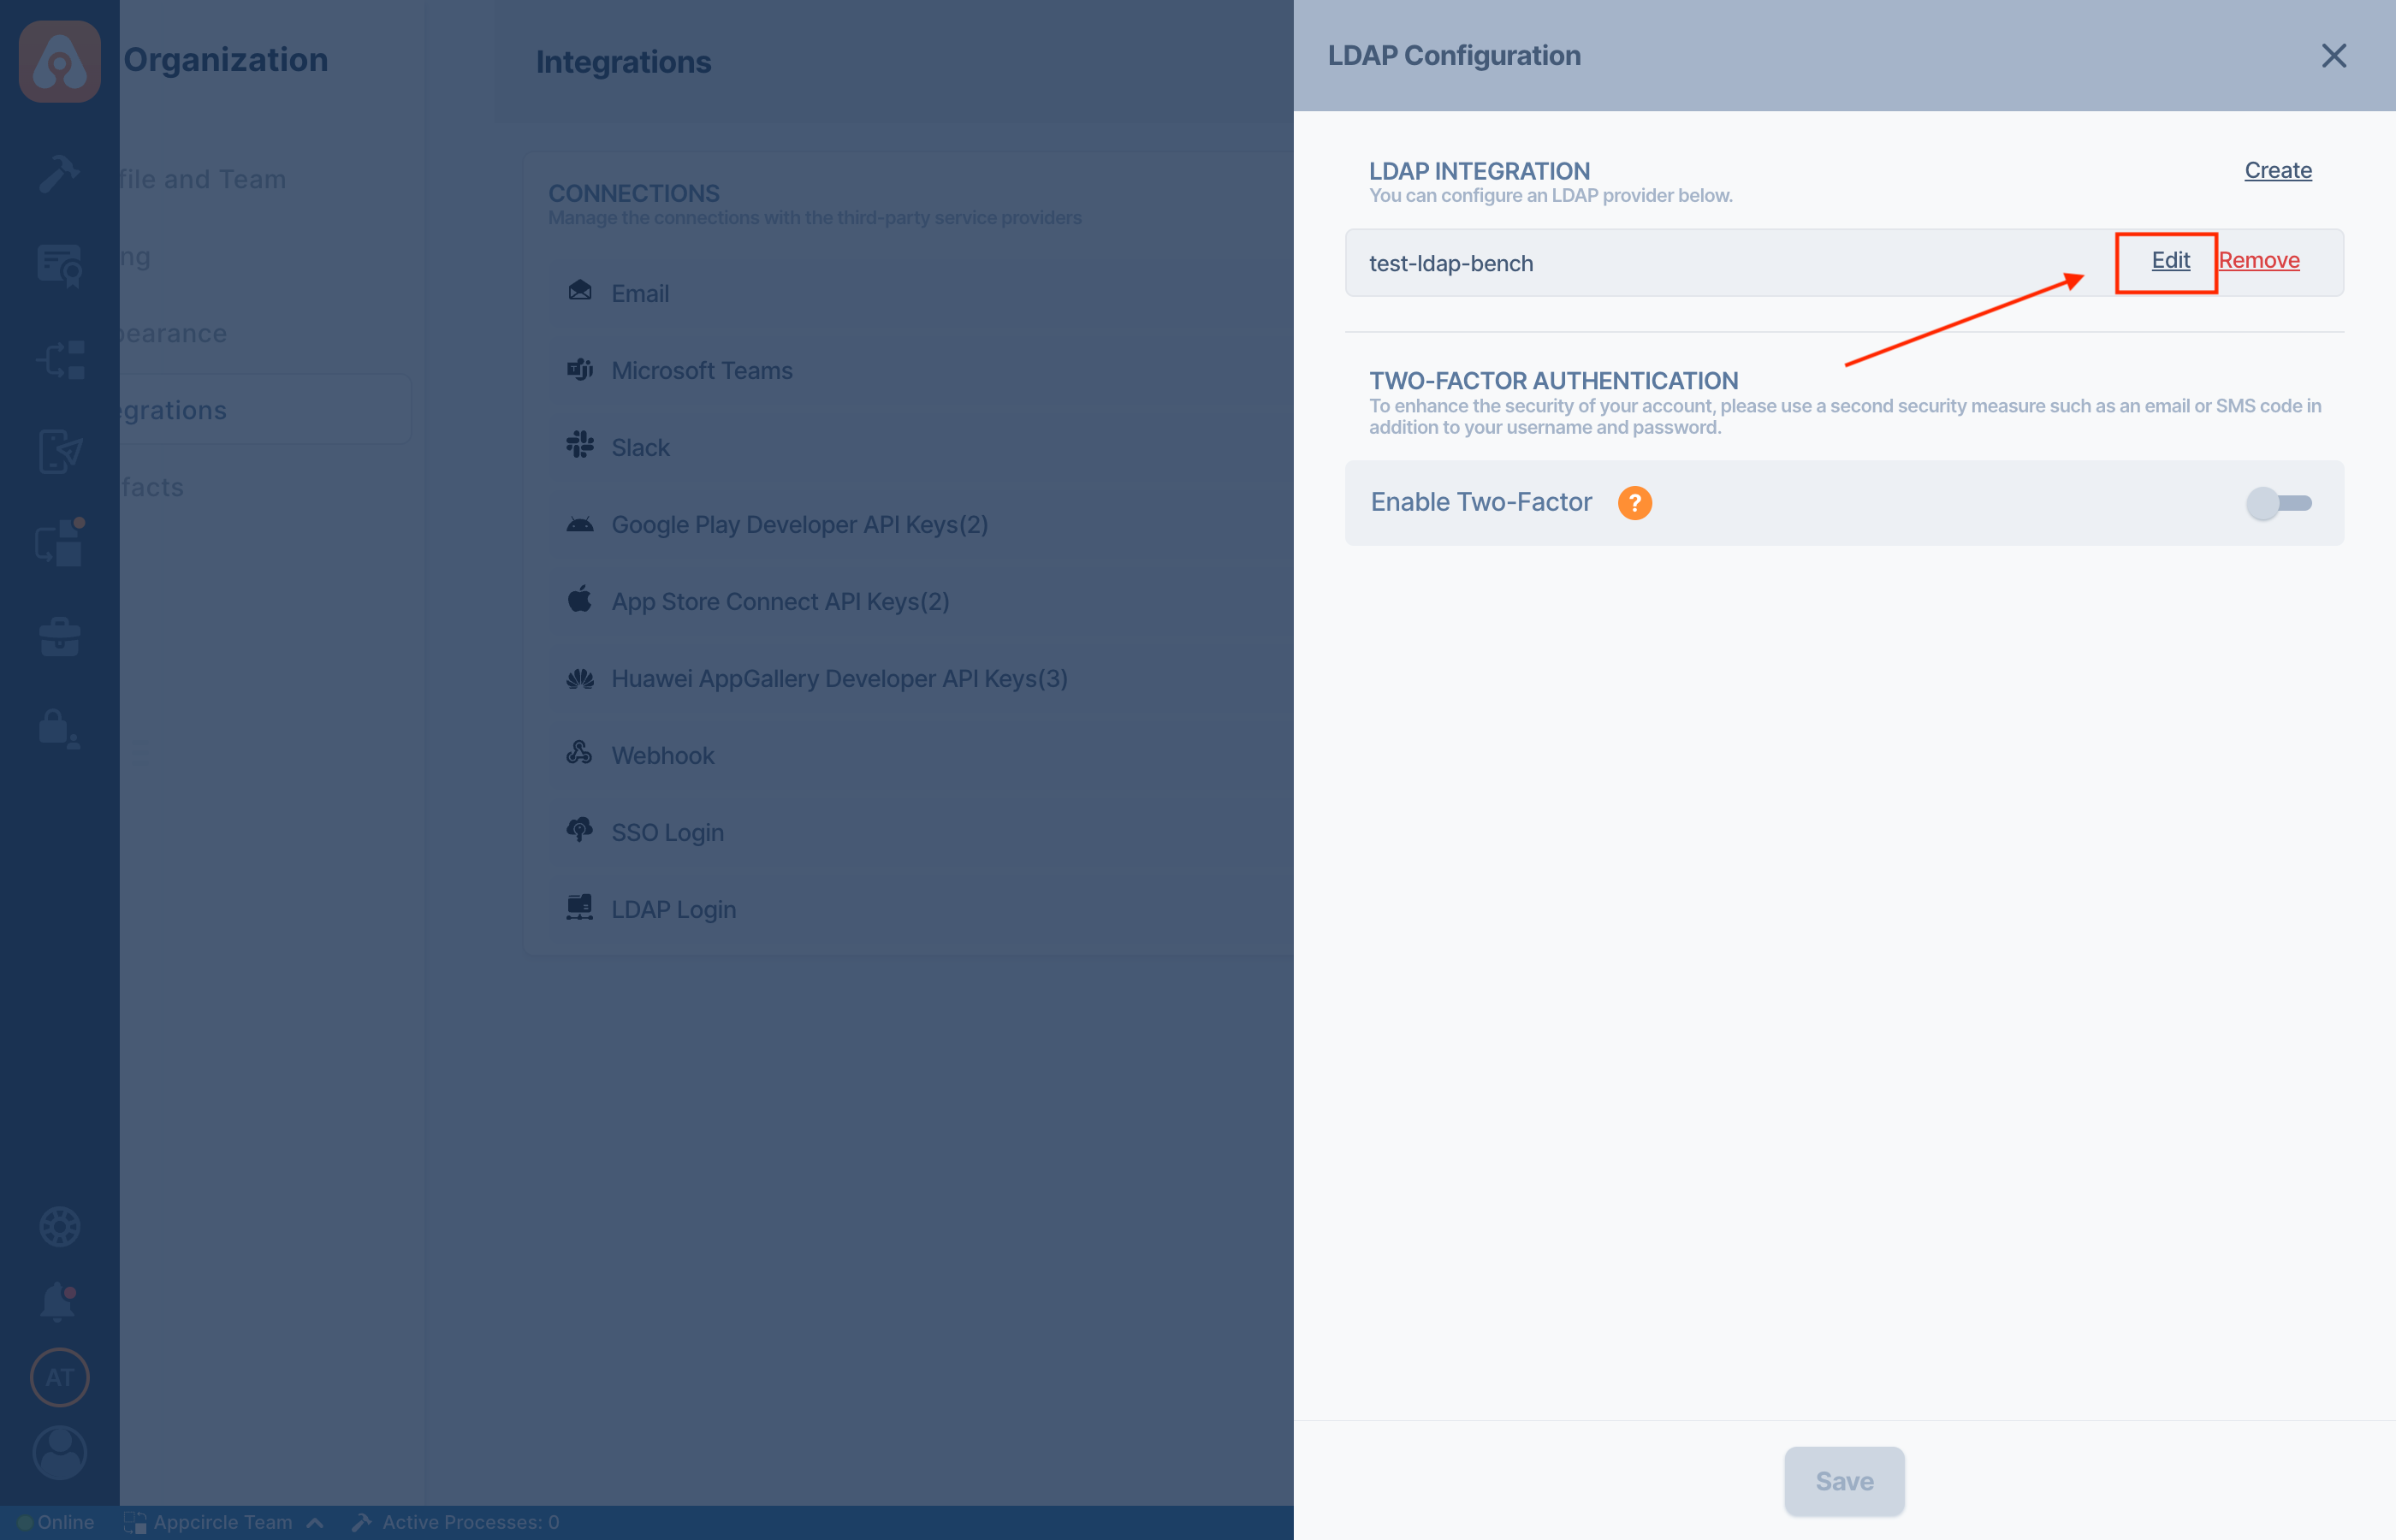
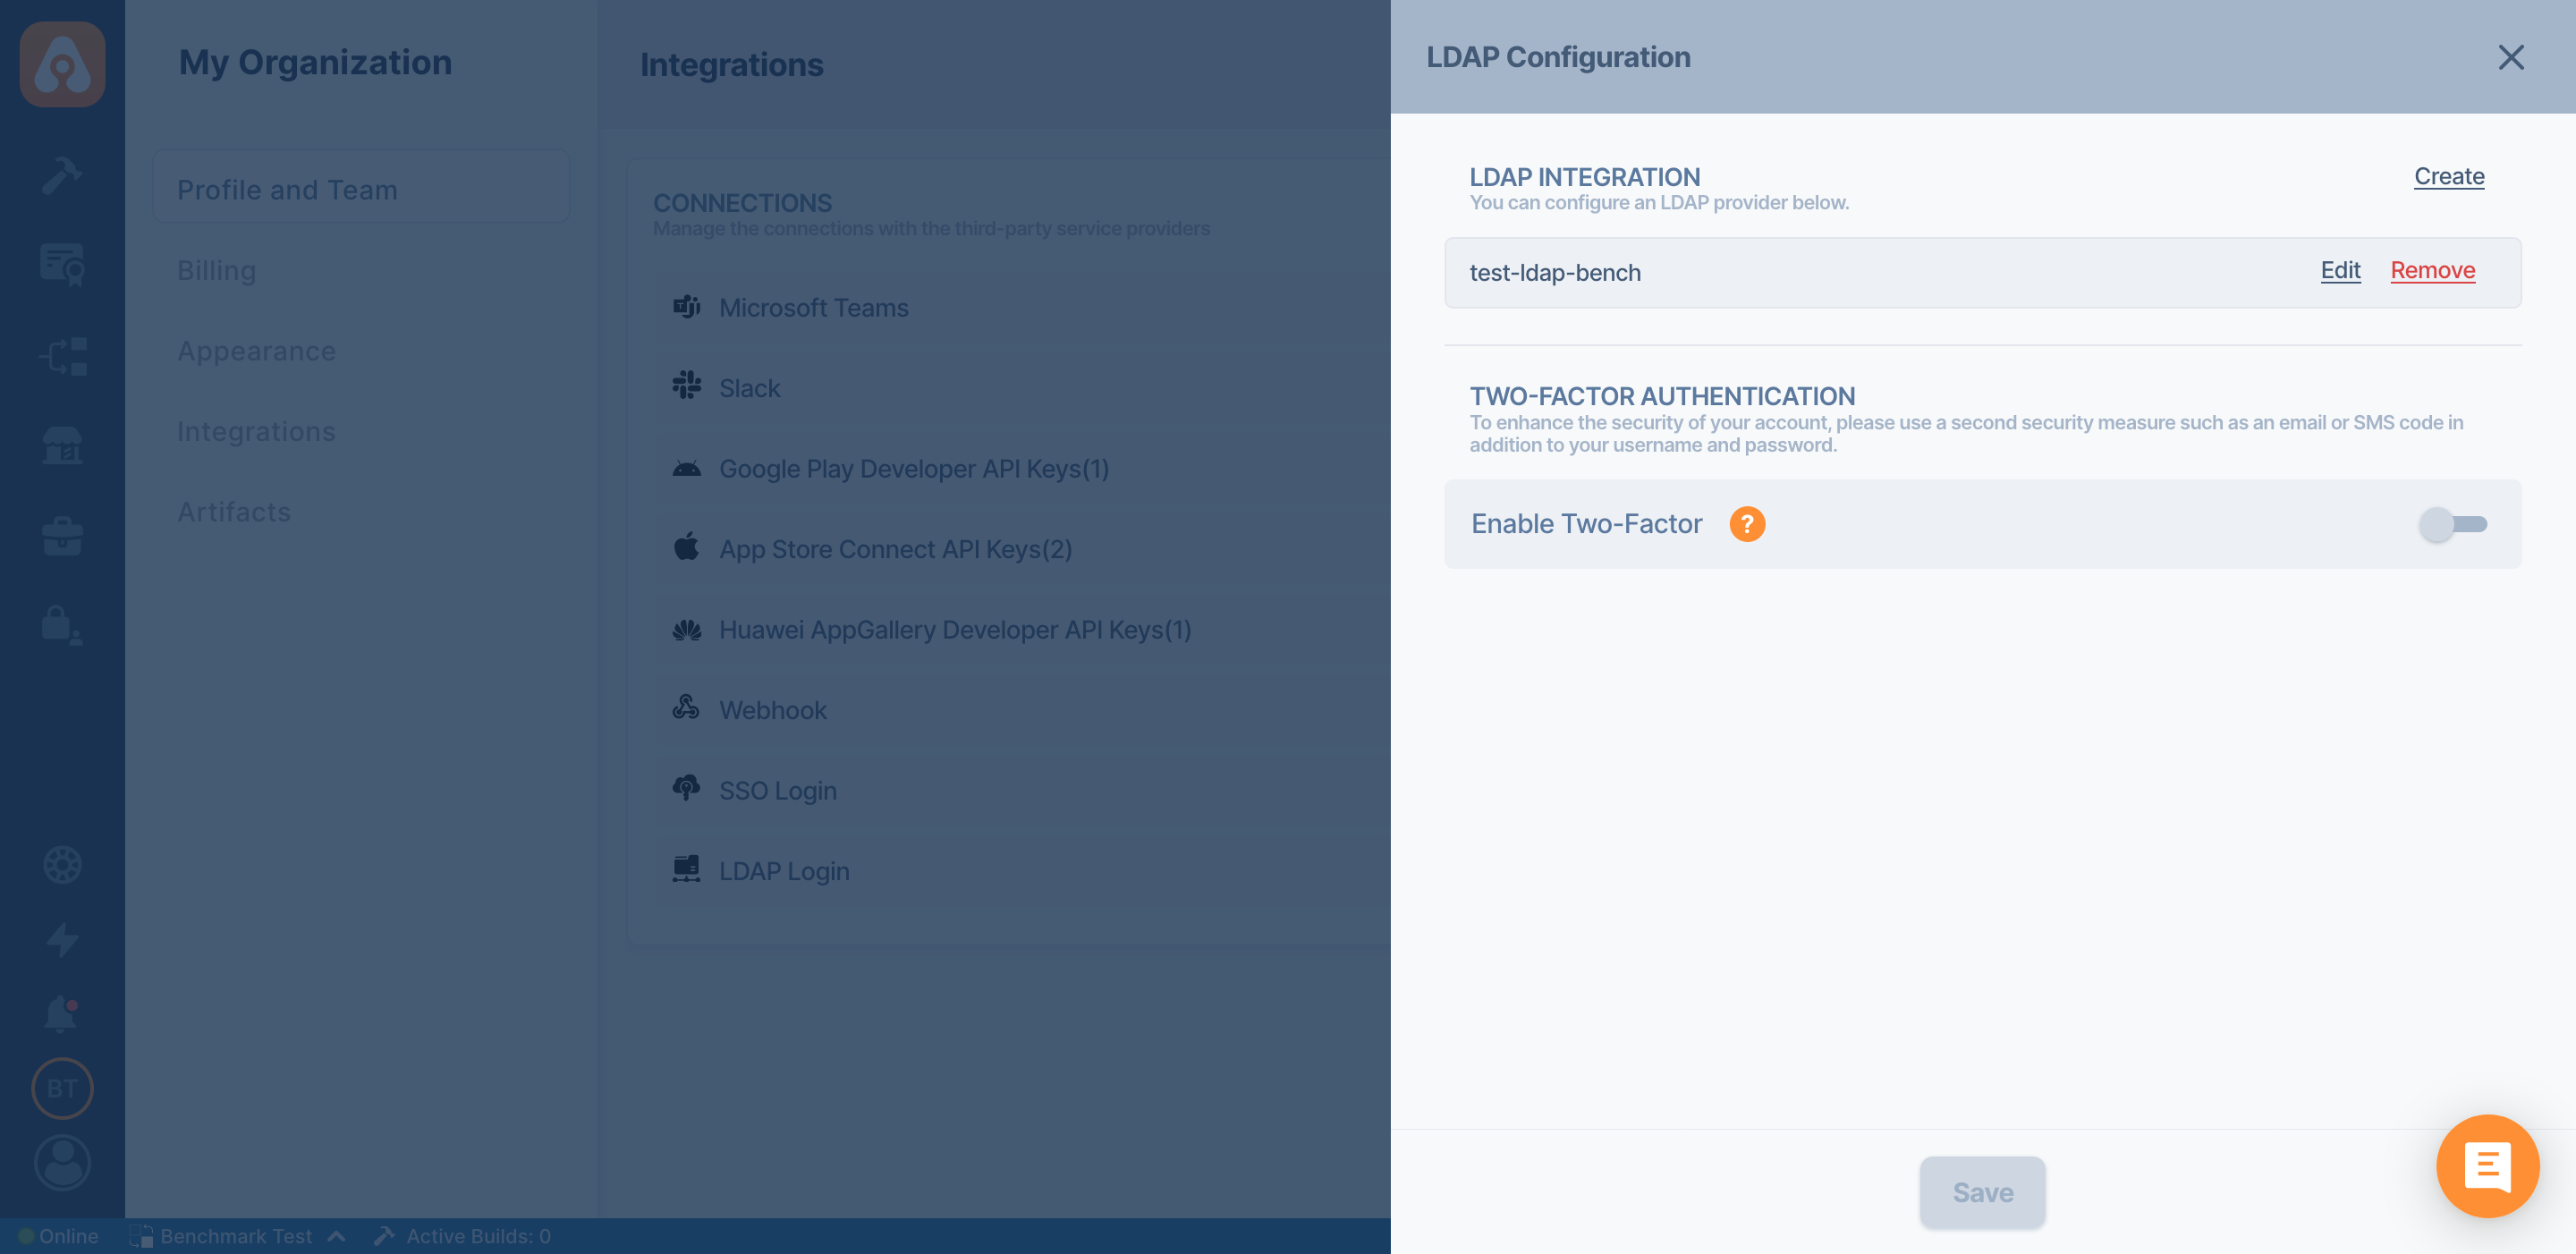
- To access the LDAP integration settings, click the "Manage" button of the "LDAP Login", then click the "Edit" button of the existing LDAP provider.
- The "Order" field in your LDAP configuration determines the priority or sequence in which providers are utilized when conducting a user lookup. Providers are entities responsible for retrieving user information from LDAP servers. Specifying the order allows you to prioritize certain providers over others, ensuring efficient user lookup operations.
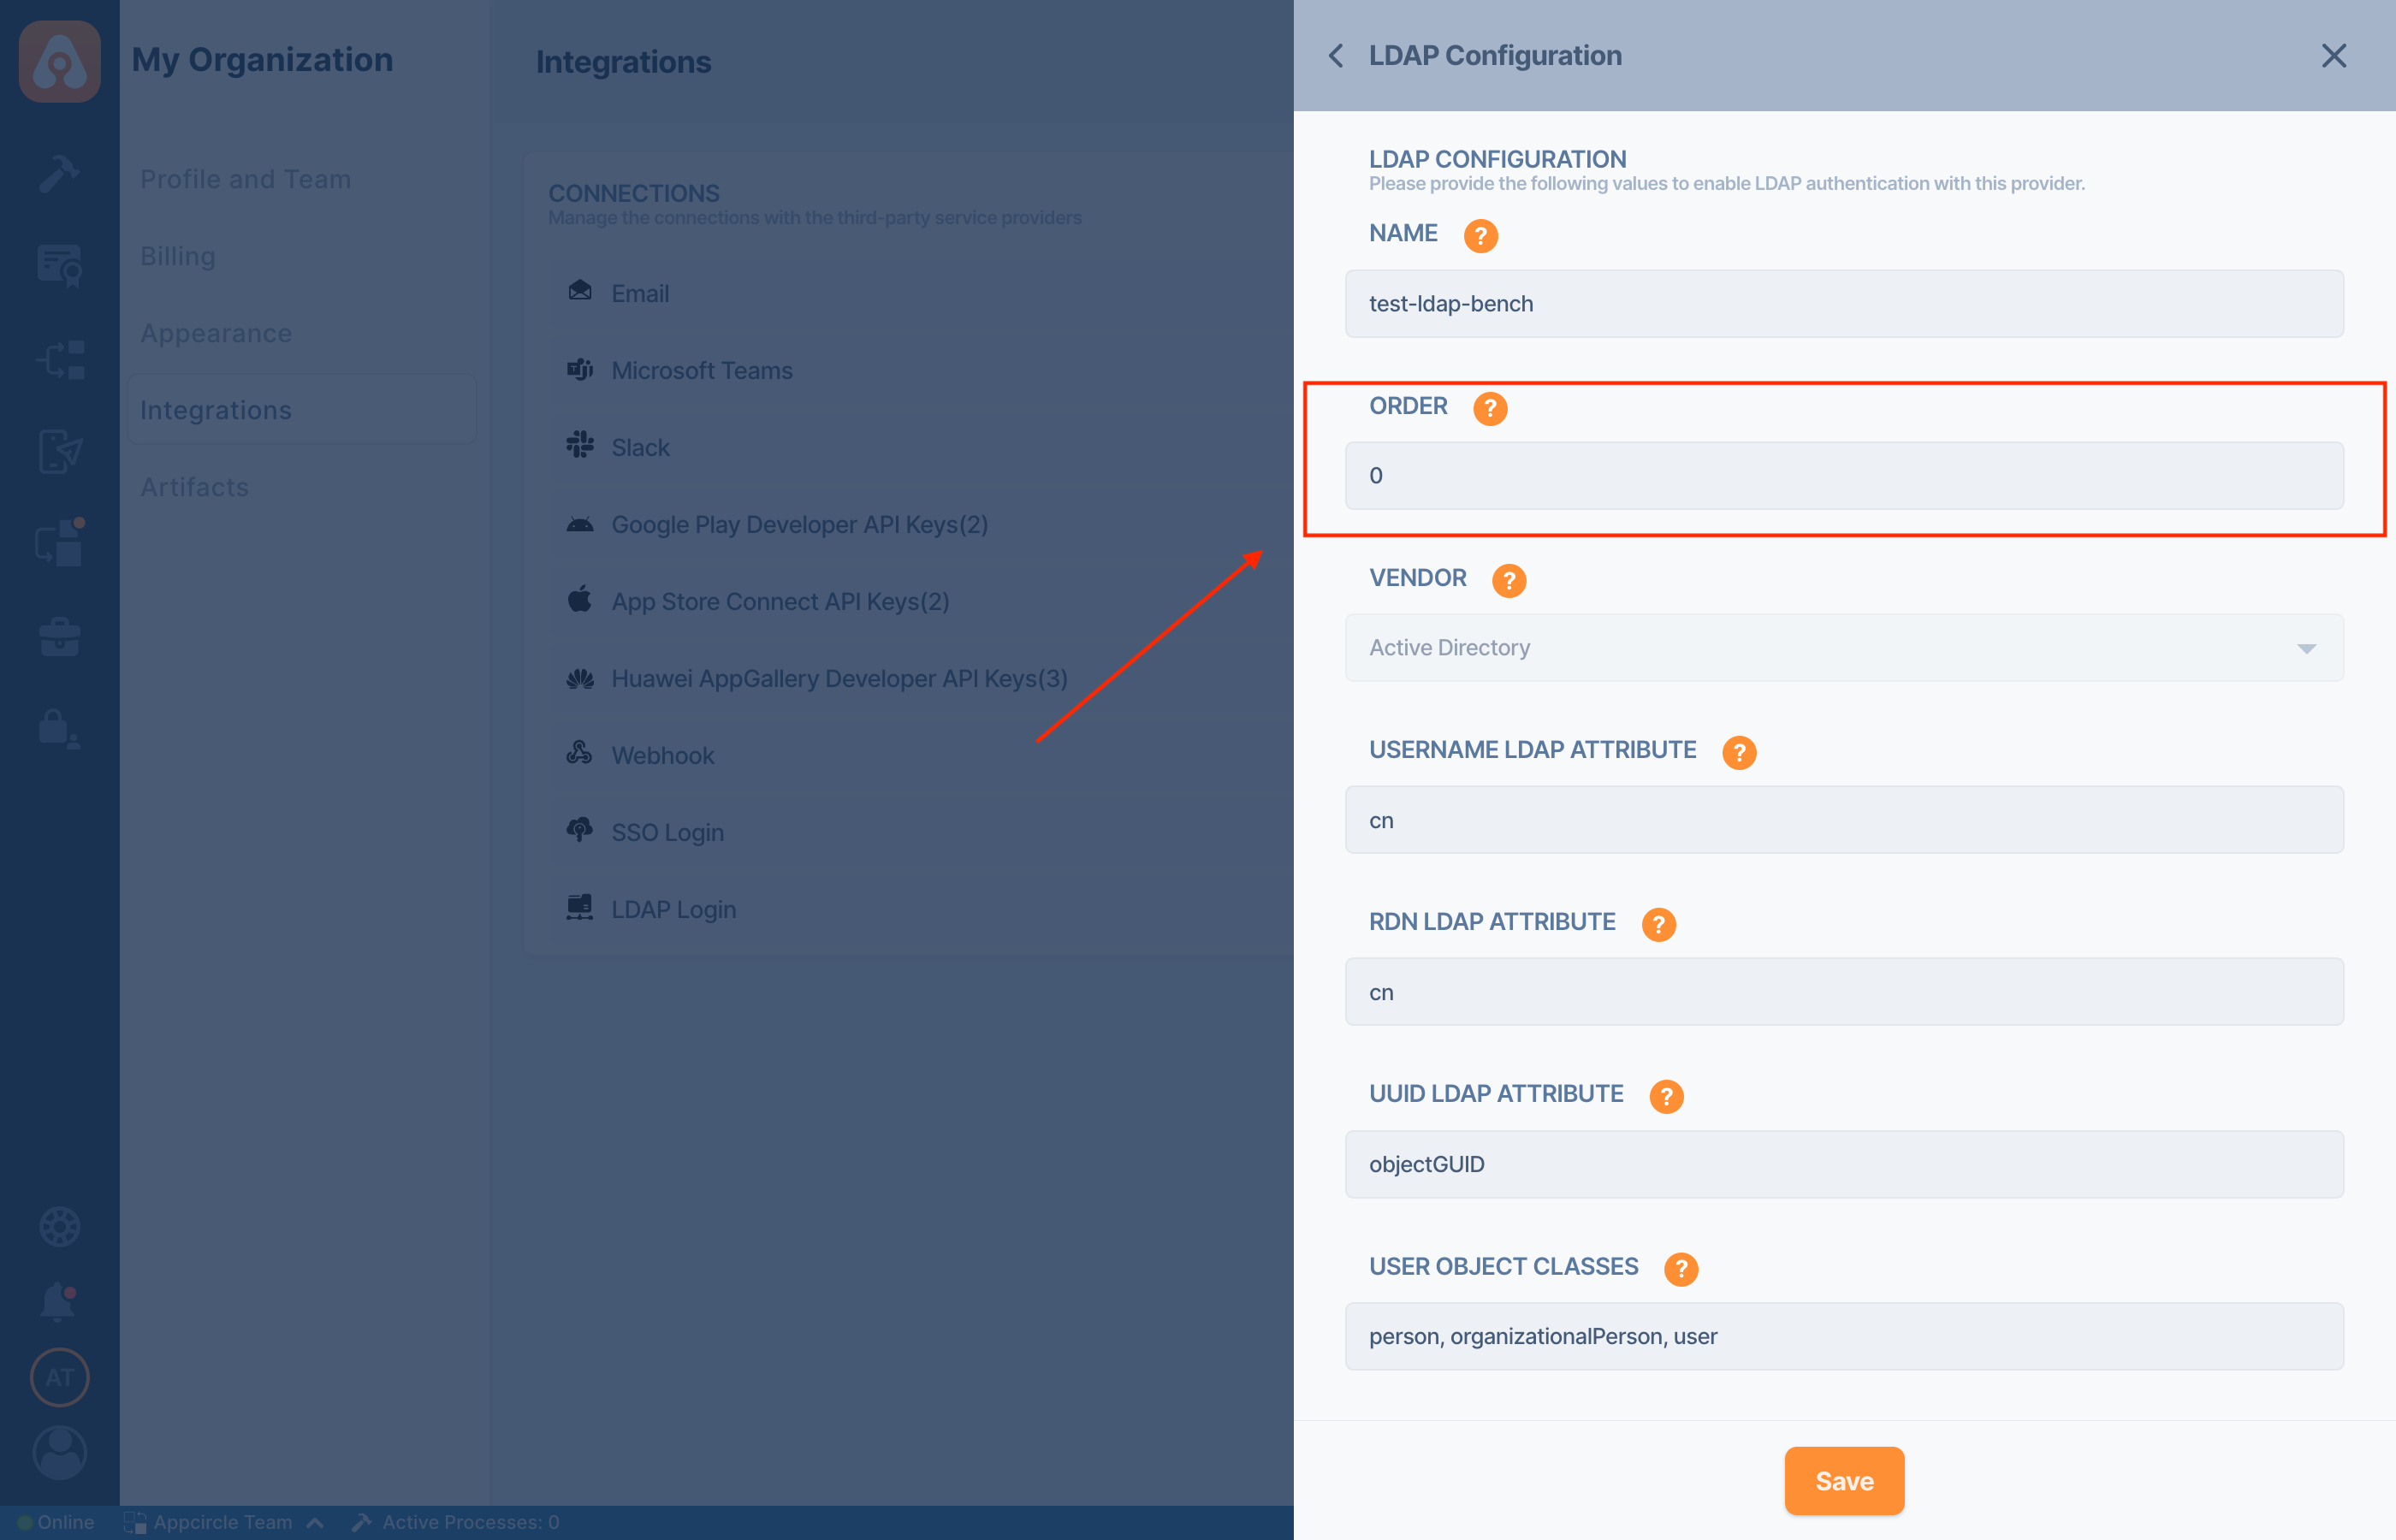
Provider A: Order: 1
Provider B: Order: 2
In this example, when conducting a user lookup, Appcircle will first attempt to retrieve information from "Provider A" before falling back to "Provider B".
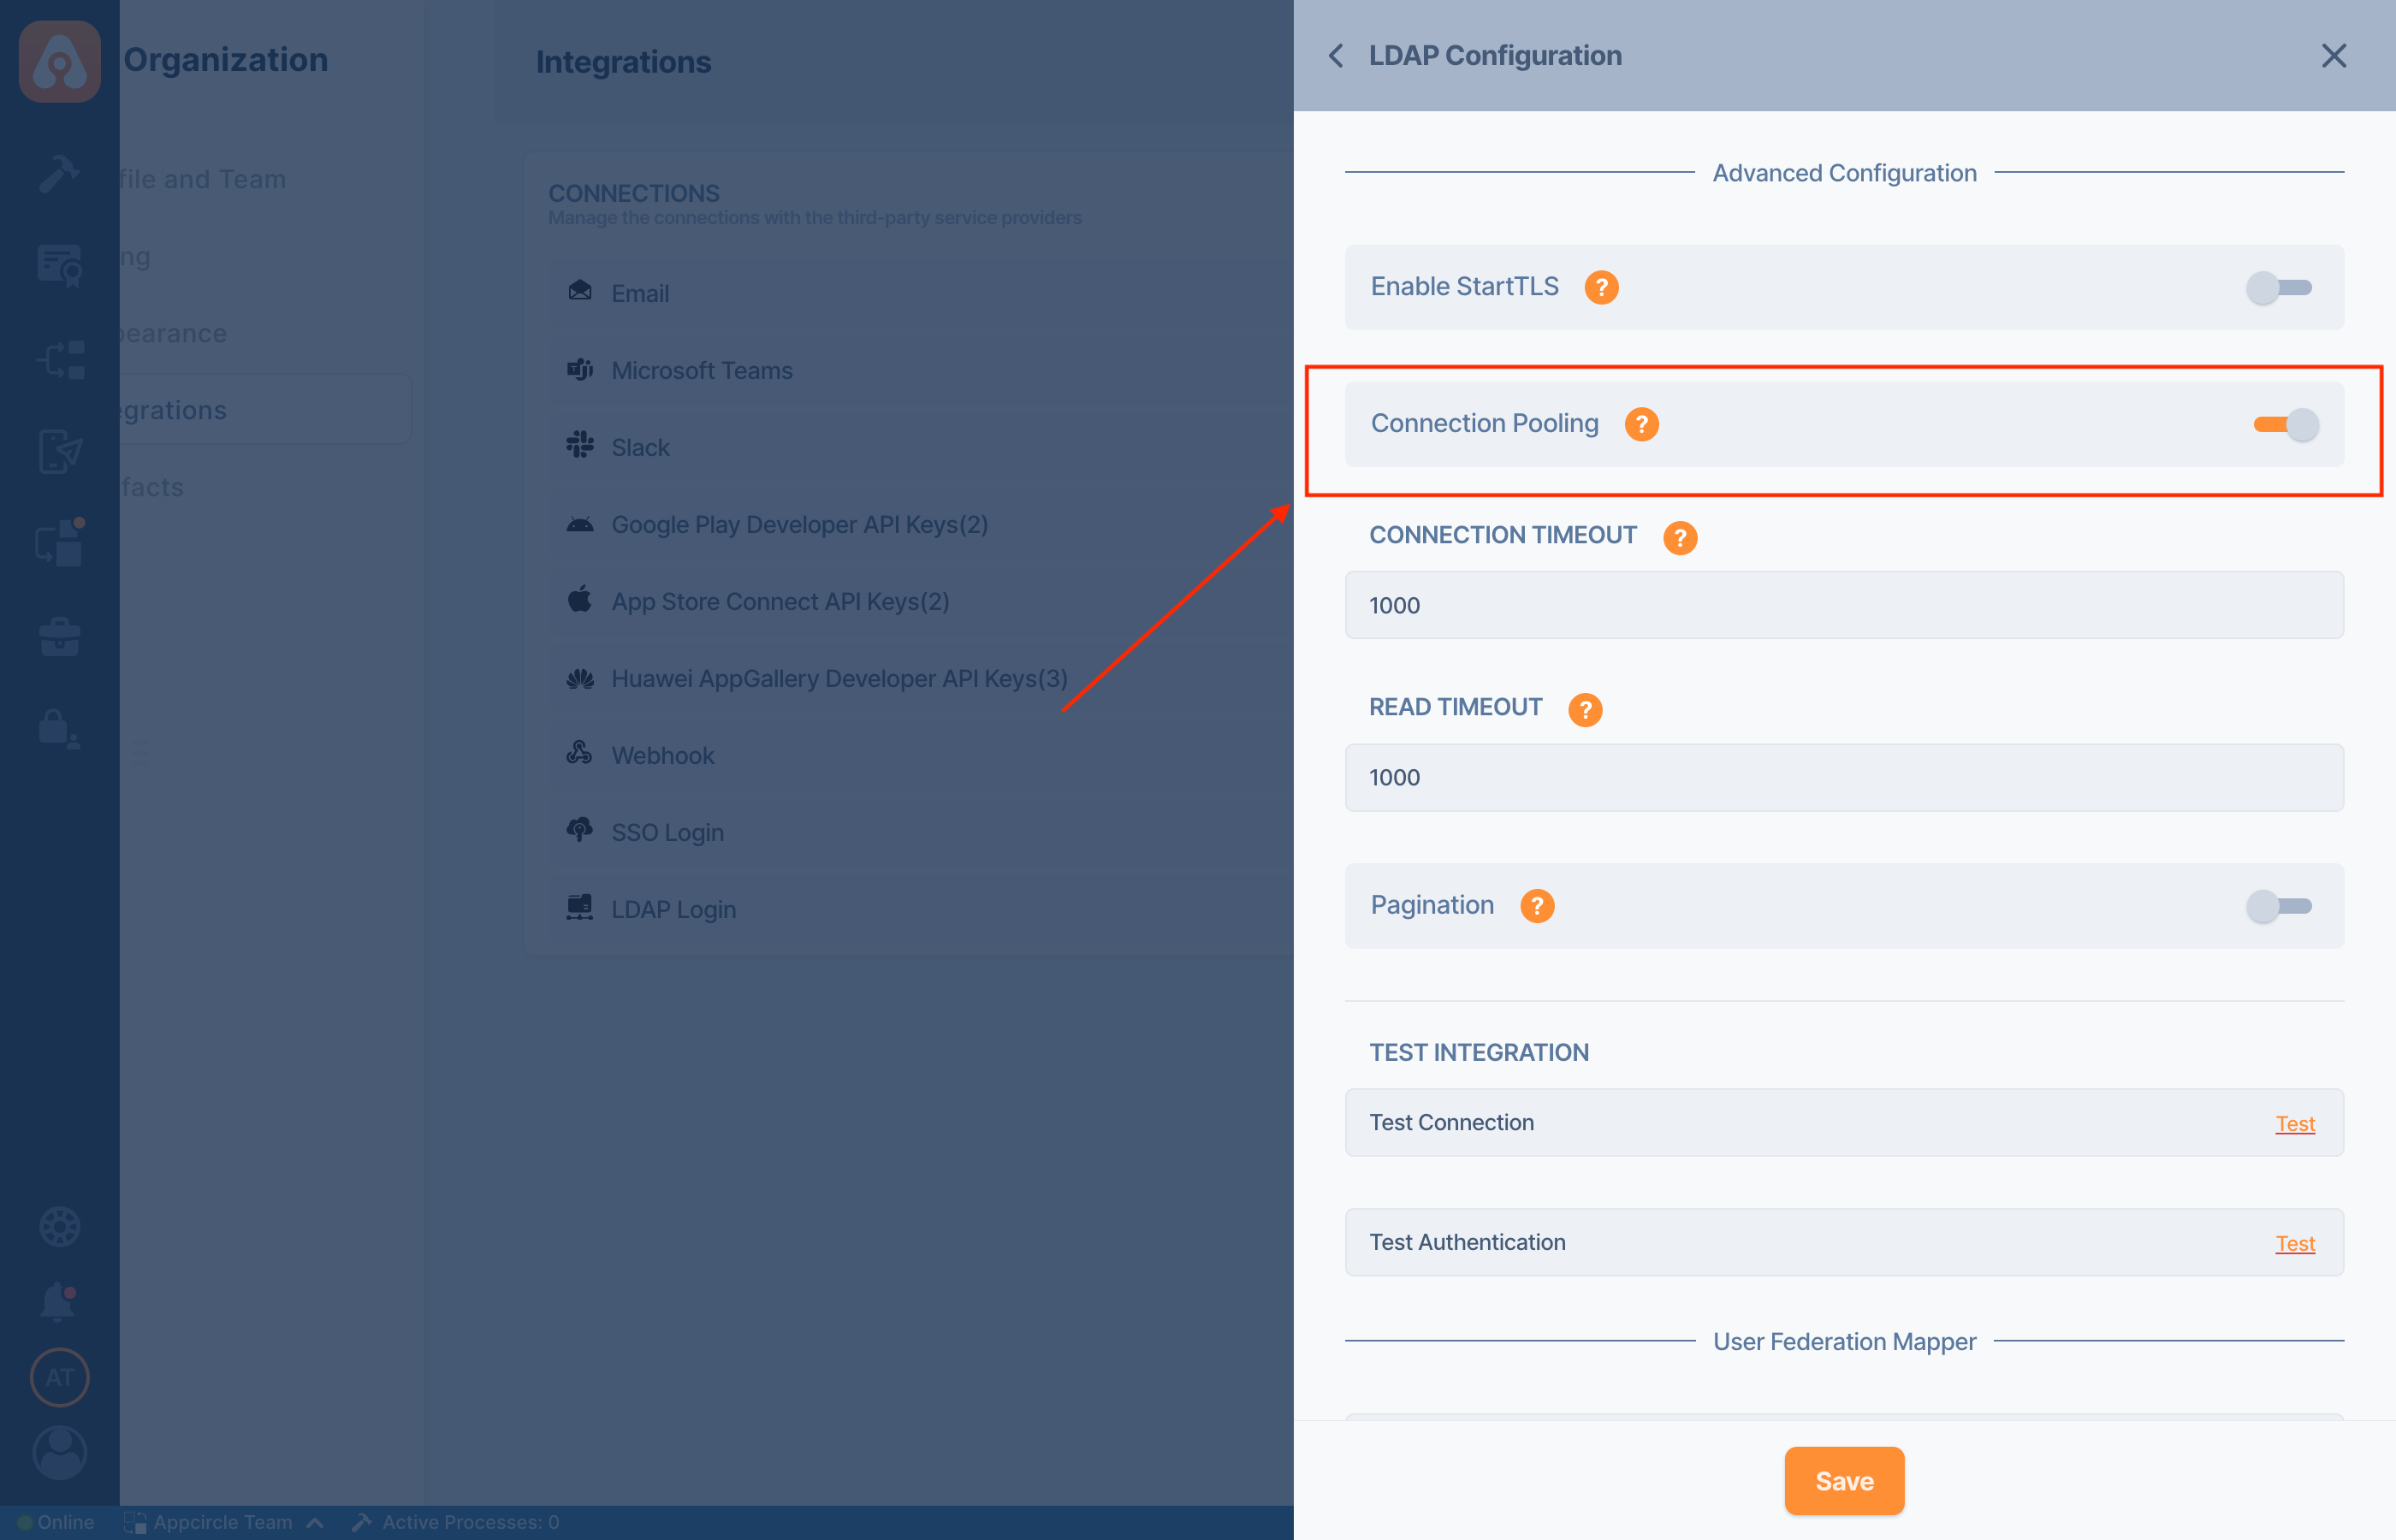
- The "Connection Pooling" option in your LDAP configuration determines whether Appcircle should utilize connection pooling for accessing the LDAP server.
- To enable Two Factor Authentication, open it by clicking the Manage button and select the verification method.
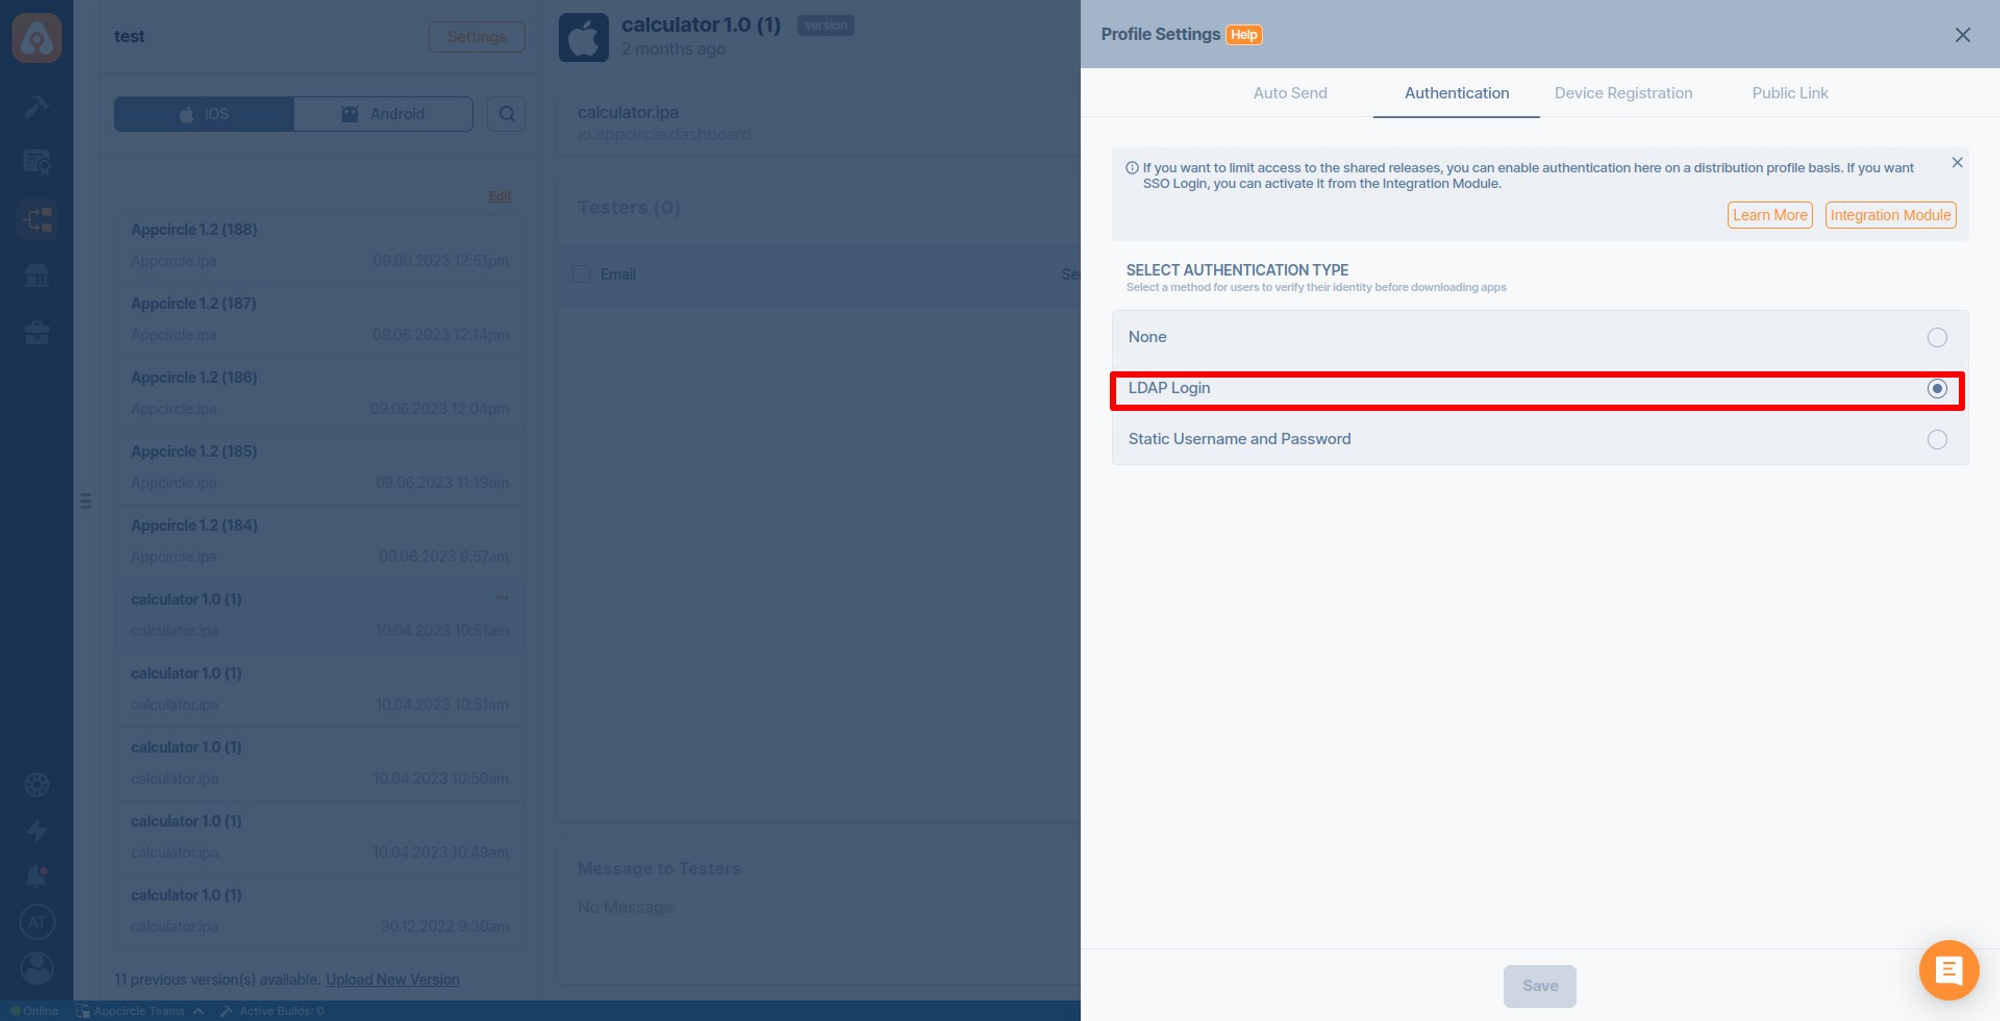
- To change the distribution authorization go to Distribution Profiles screen and press the your distribution profile click Settings button and under the Authentication tab you should see LDAP Login. Convert LDAP Login to on.
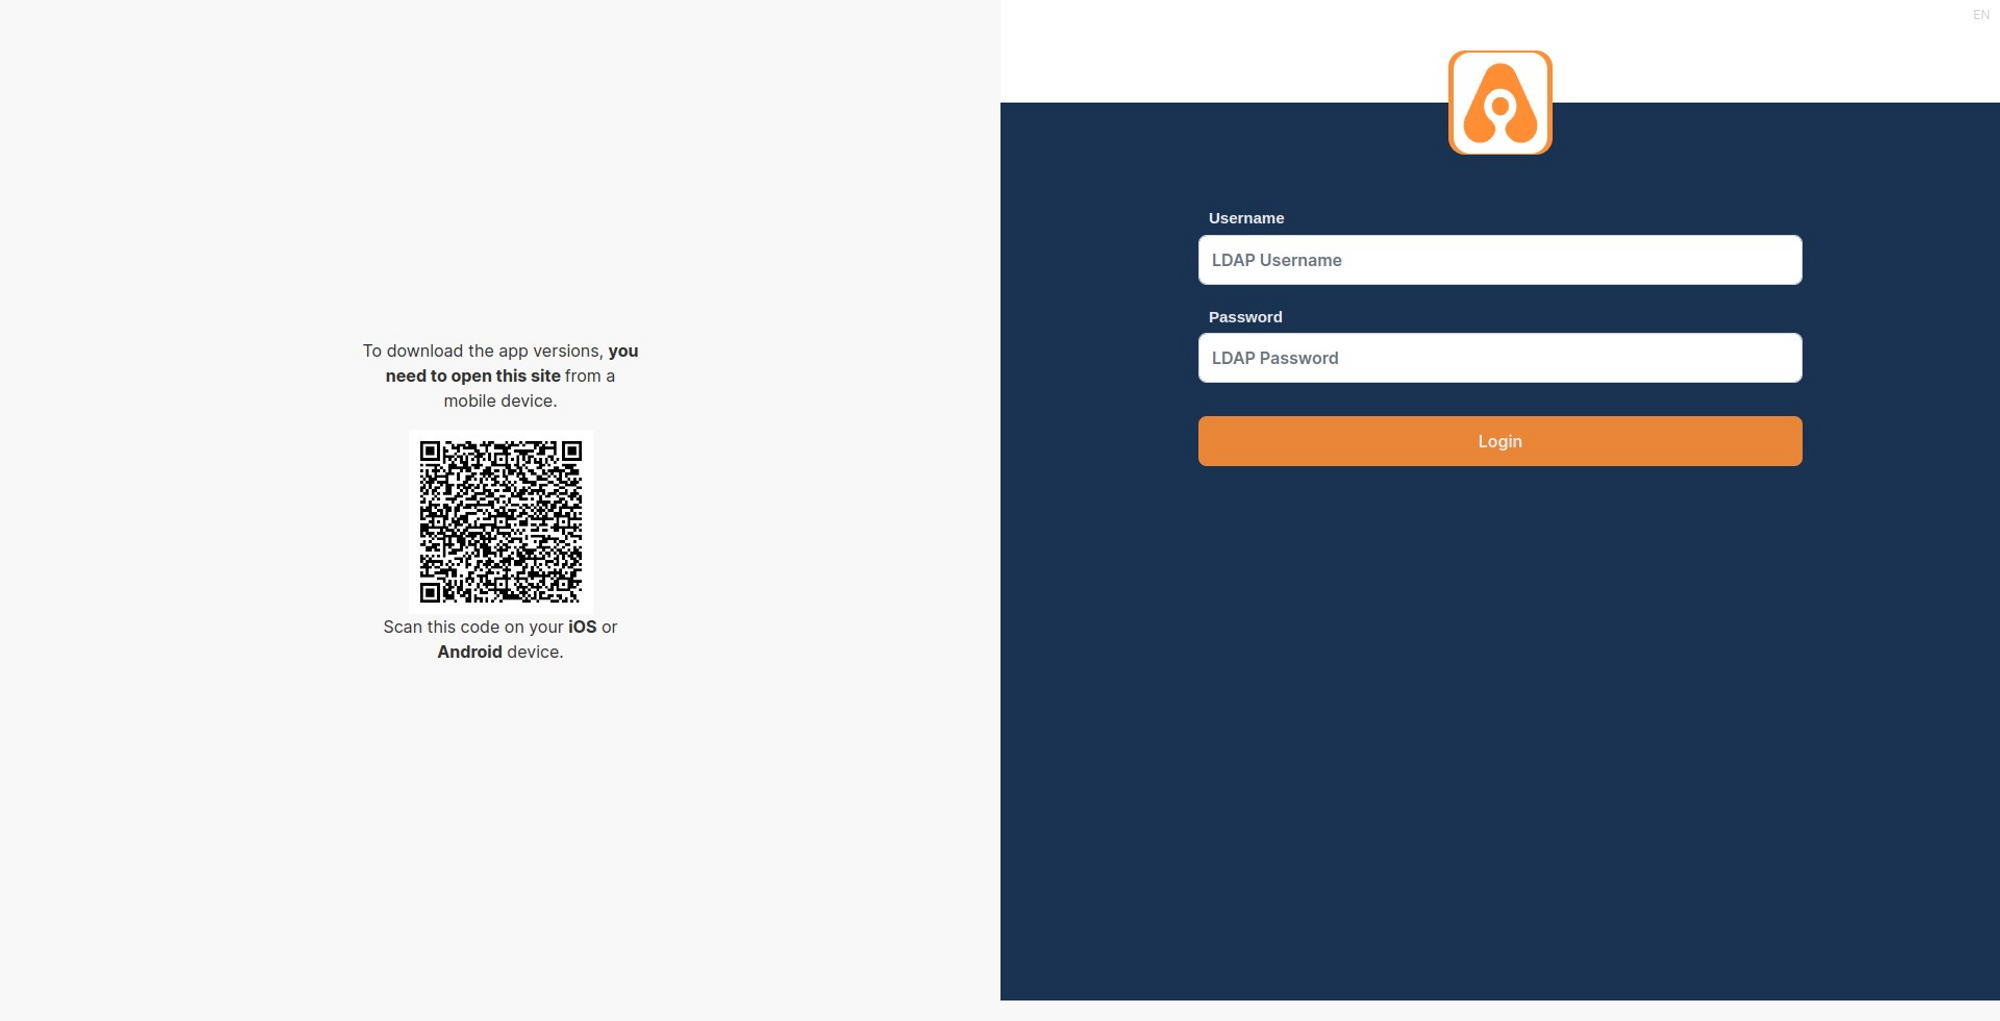
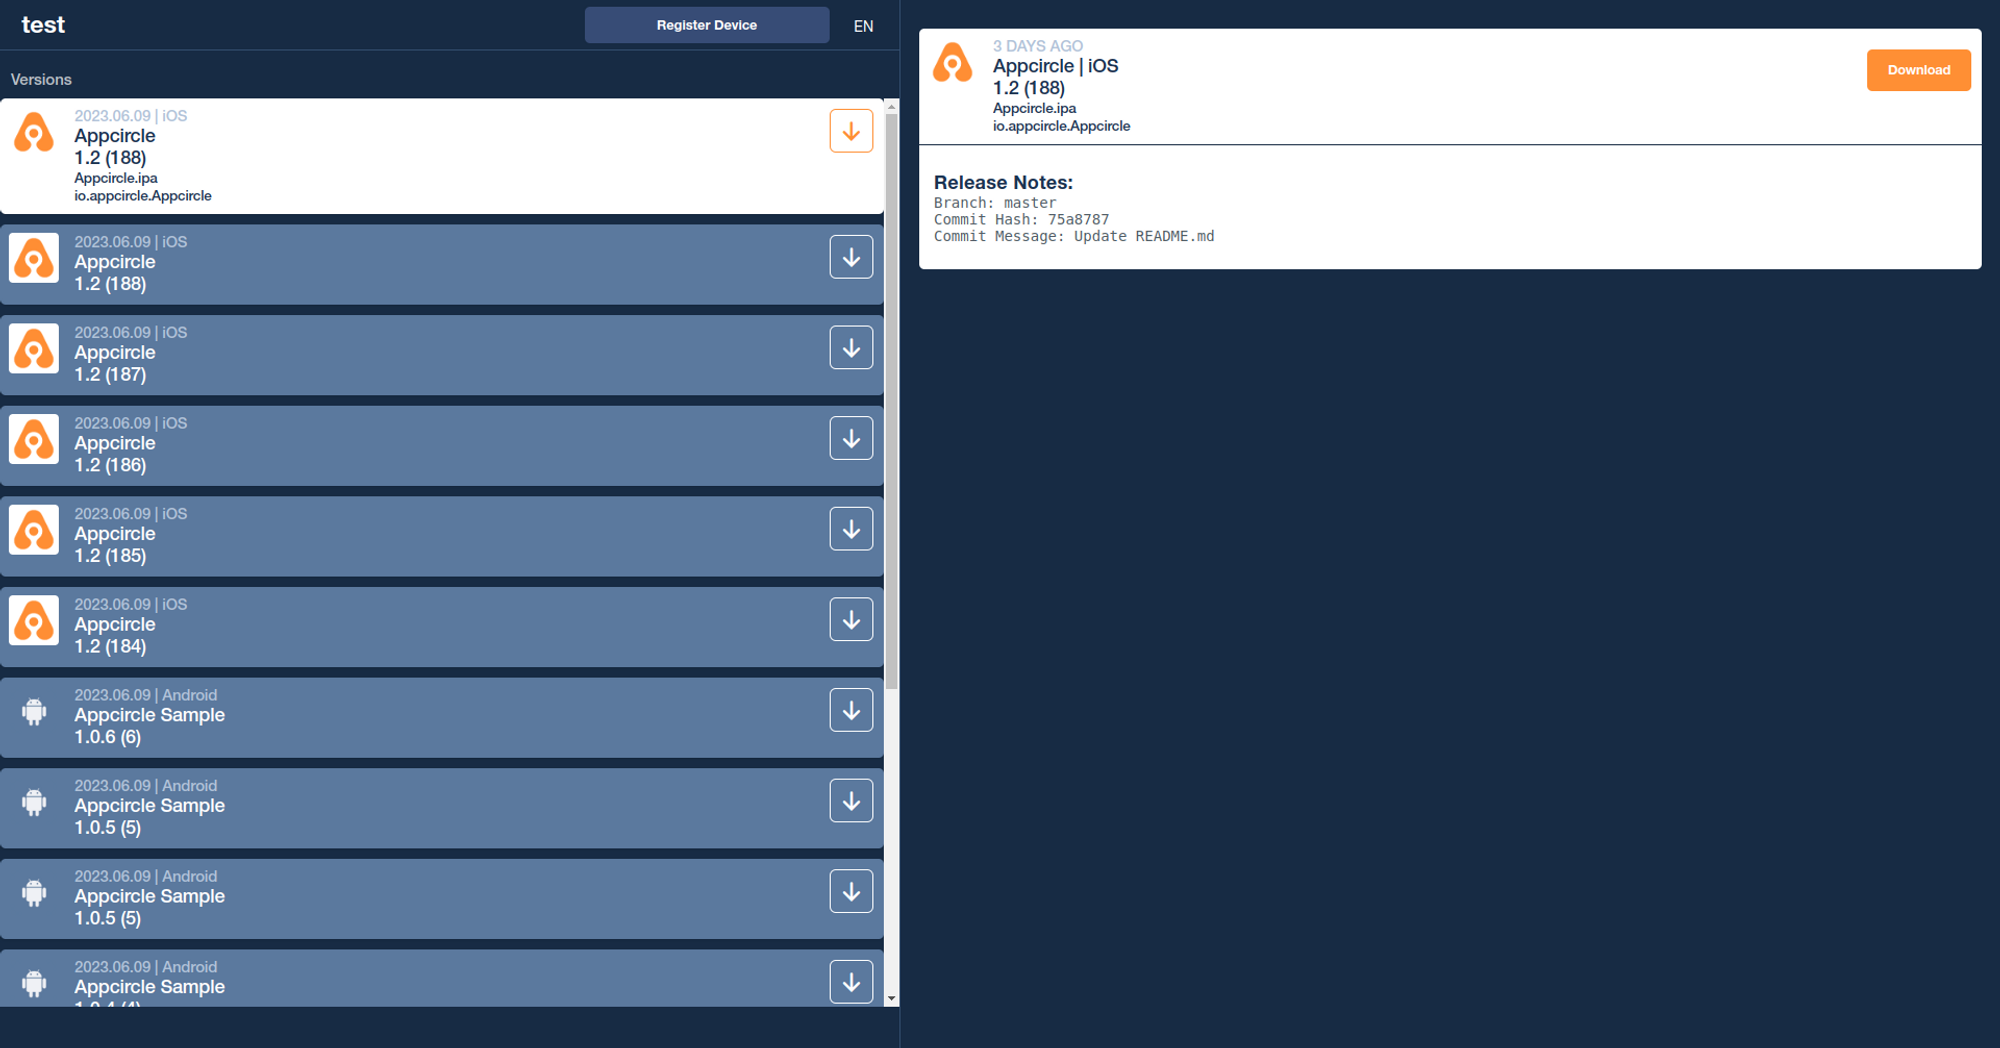
- After this step, it will be necessary to log in from the LDAP Login screen to access the distributed links.
- You must verify according to the method you have chosen.
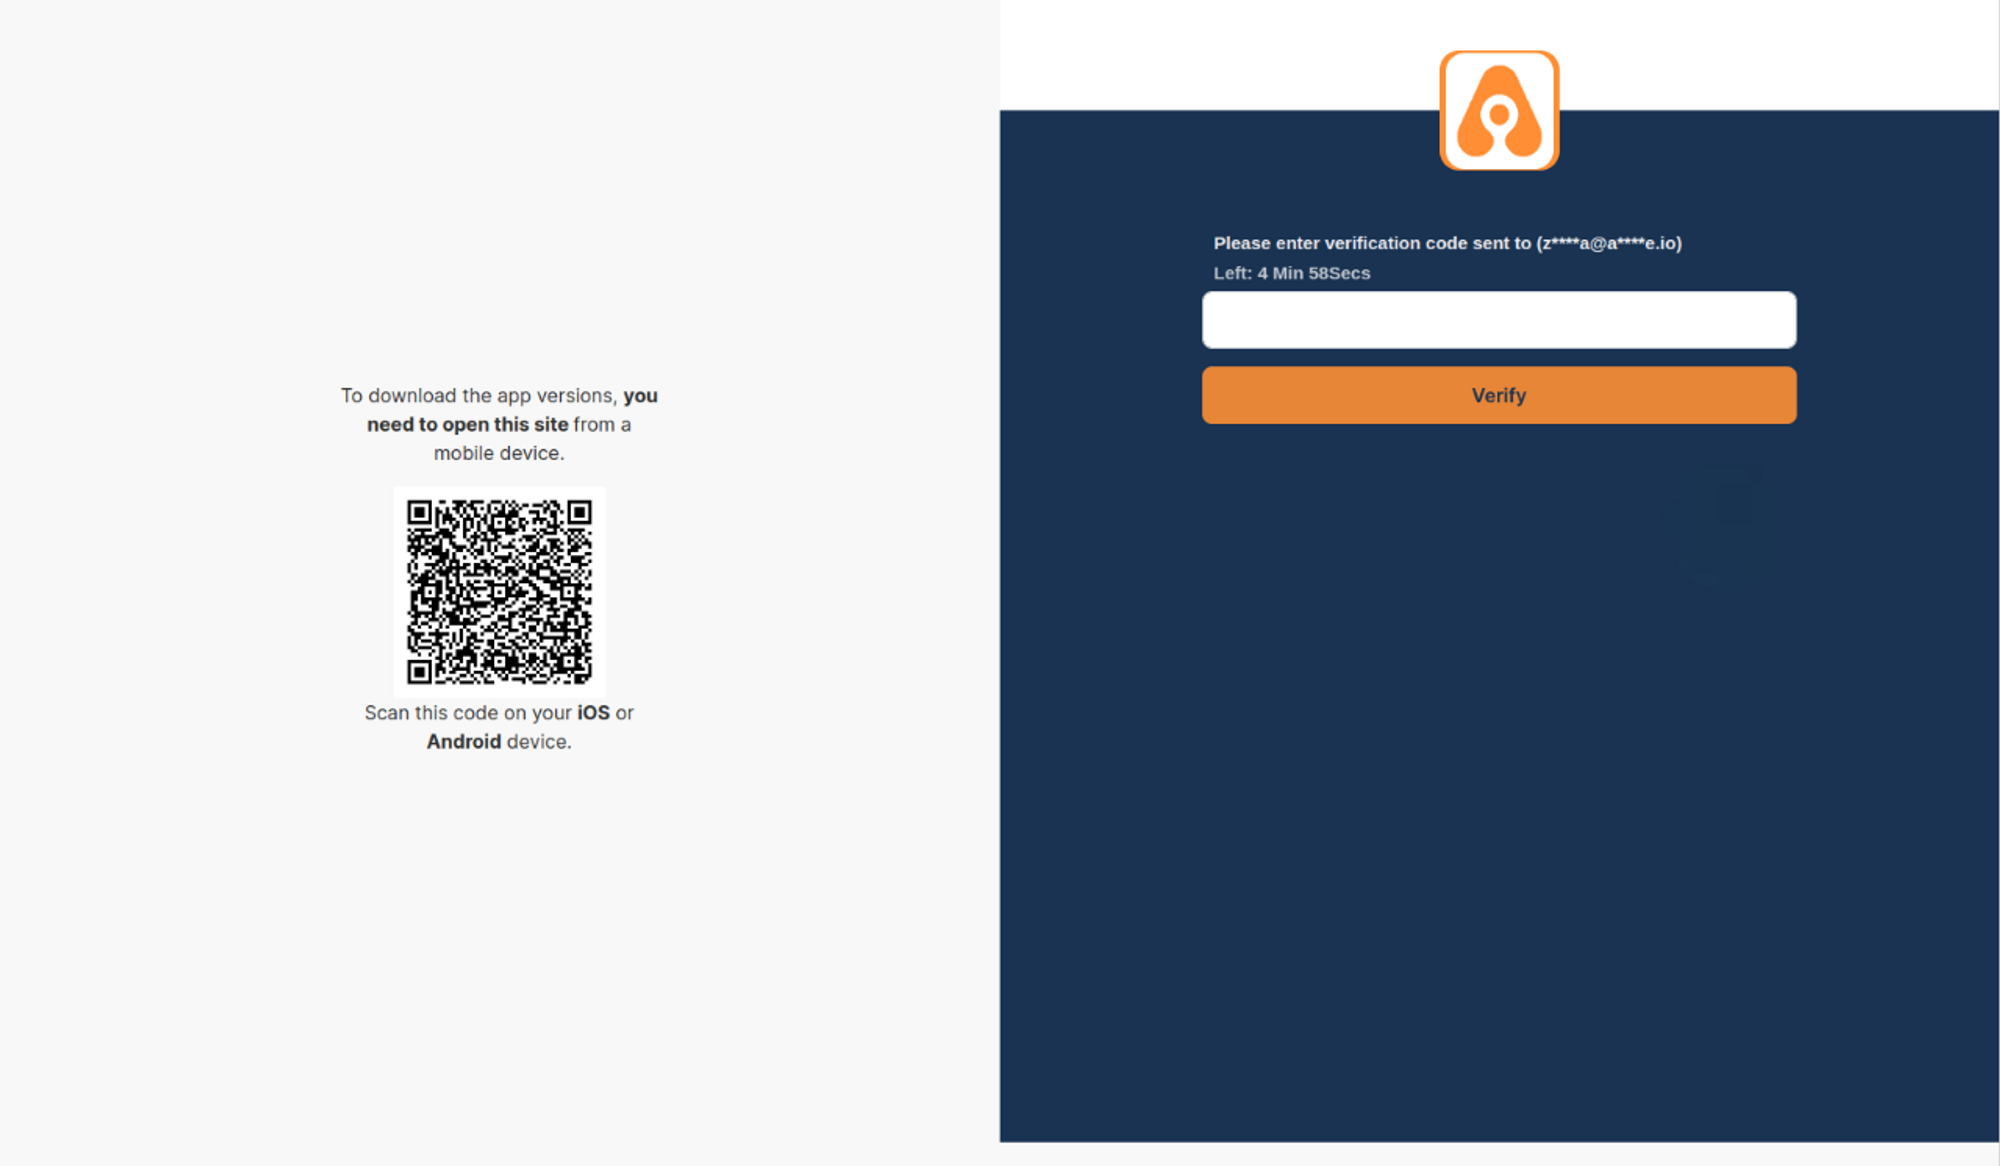
- If the login is successful, a screen similar to the one below will appear.
Deleting LDAP Login
- To delete, go to the My Organization > Integration screen and press the Manage button next to LDAP Login under the Connections section.
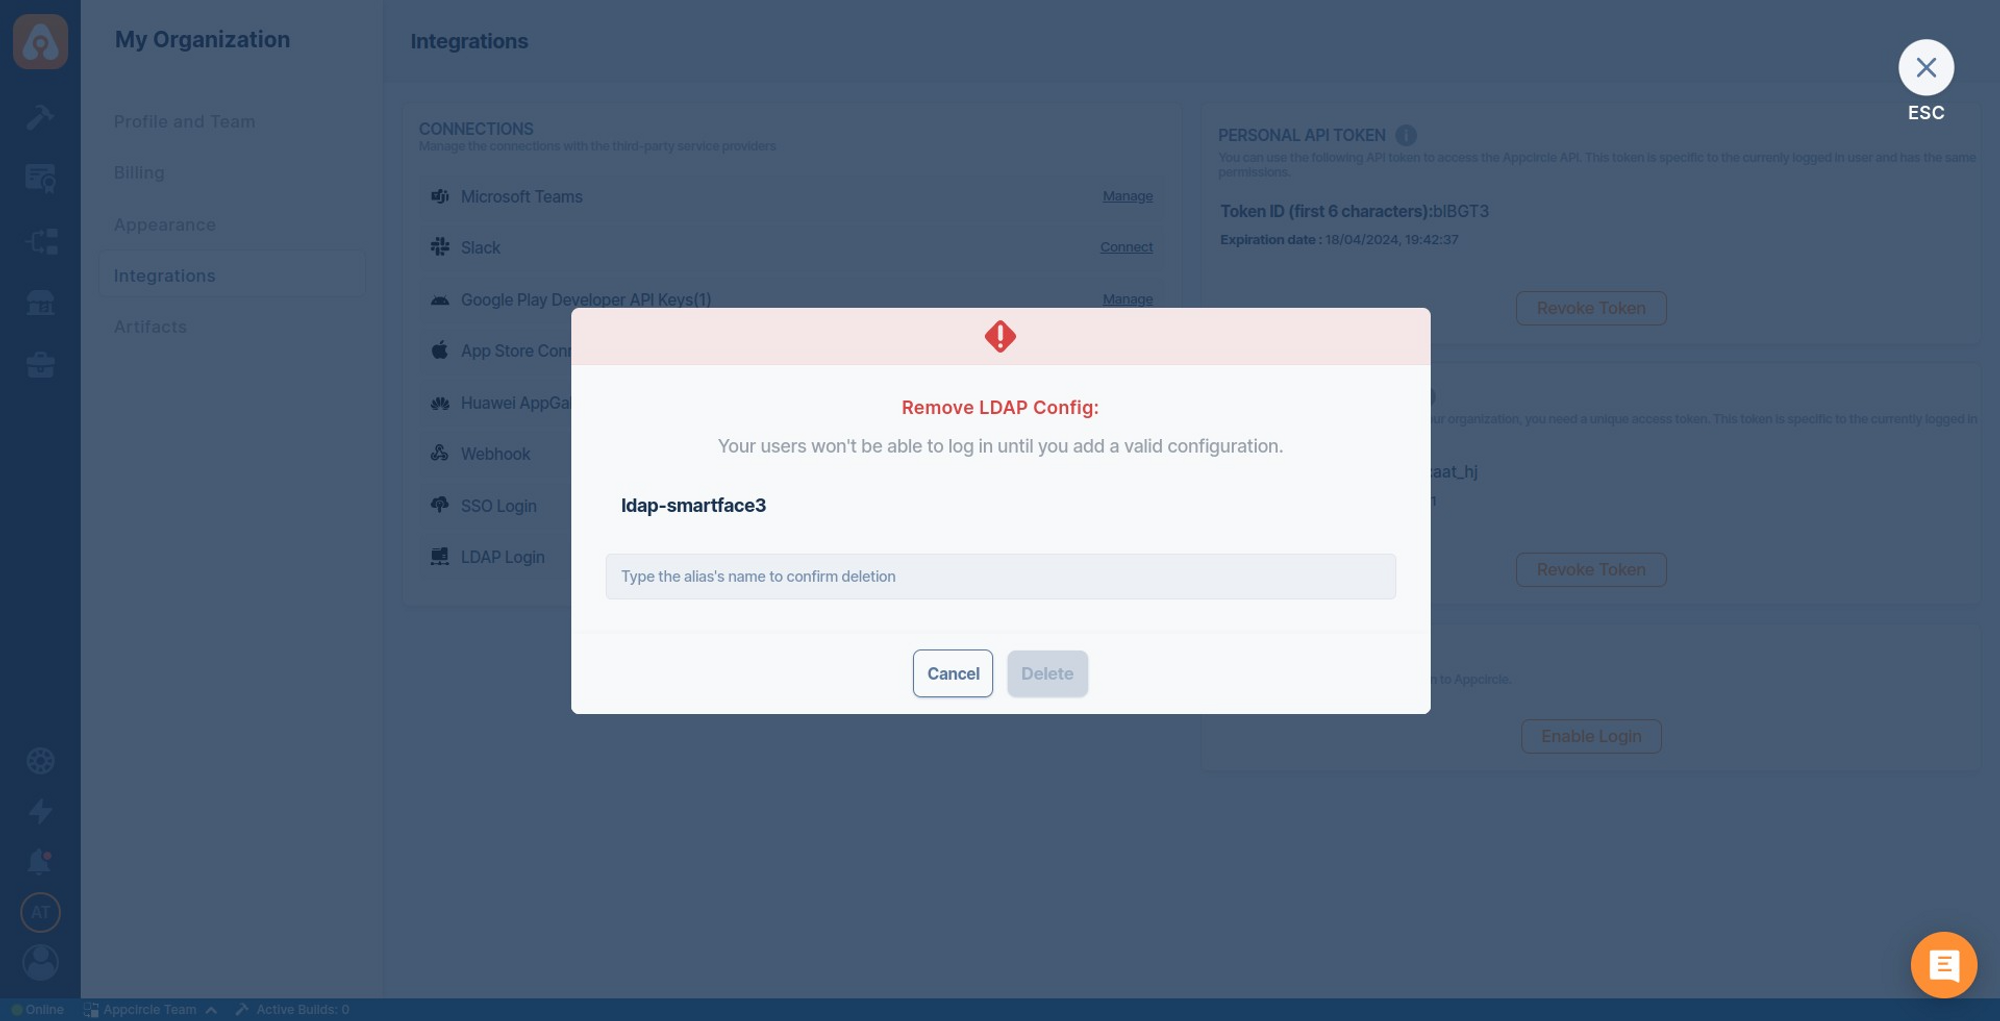
- Click the Remove button.
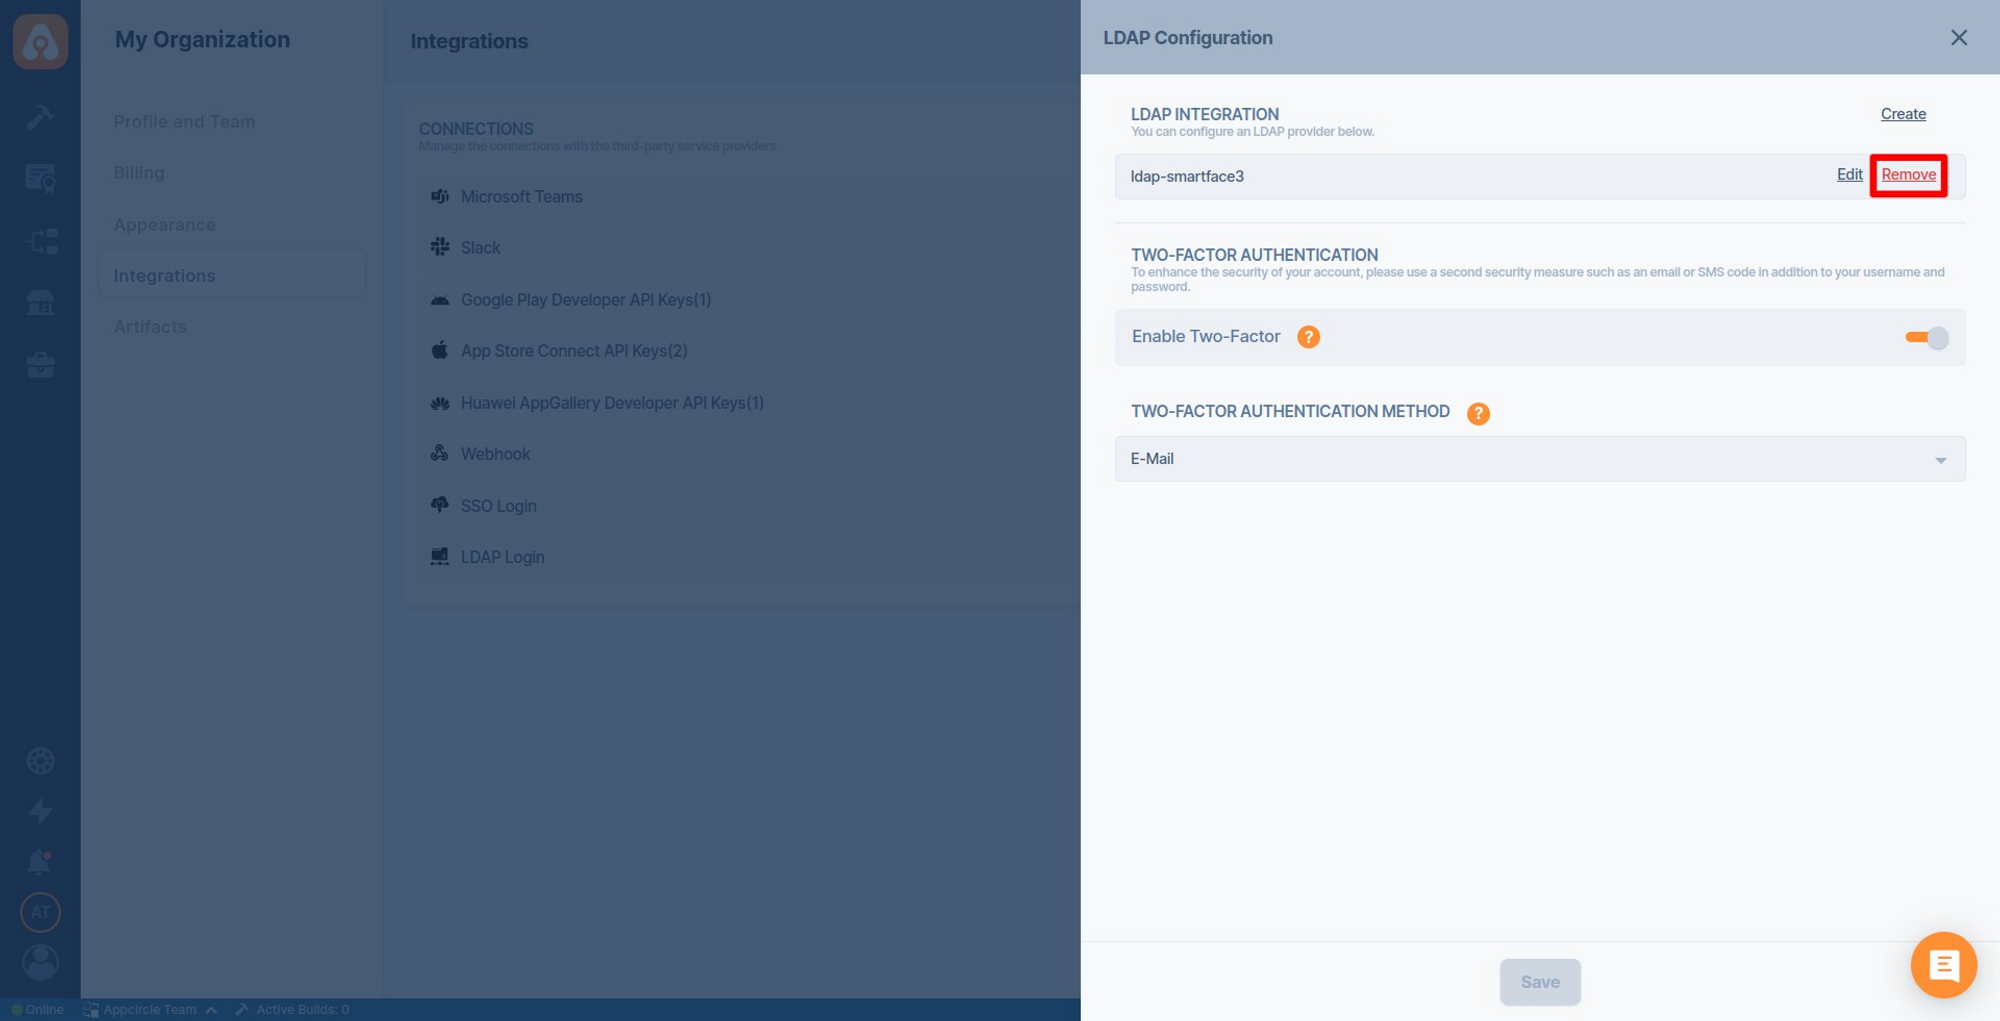
- Type the alias’s name to confirm deletion and click the Delete button.