Microsoft Entra ID SAML Configuration
The document provides a comprehensive guide for setting up Single Sign-On (SSO) login functionality within an organization's infrastructure. It outlines a series of steps to integrate SSO using Microsoft Entra ID as the identity provider, facilitating seamless access to various applications and resources.
Beginning with navigating to the organization's Integrations screen and initiating the connection process, users are guided through the configuration steps, which include creating and setting up a SAML SSO Provider. The document also covers the necessary configurations within Microsoft Entra ID, such as creating an app integration and configuring SAML 2.0 settings.
Additionally, it offers guidance on advanced settings, including the importation of SAML configurations from Microsoft Entra ID. Through clear instructions and actionable steps, the document aims to empower users in implementing a robust SSO solution.
Appcircle supports Microsoft Entra ID as OpenID or SAML provider.
Only Enterprise accounts support SSO.
Please be aware that, enabling SSO for APPCIRCLE LOGIN doesn't enable SSO for Testing Distribution and Enterprise App Store. They must be configured separately.
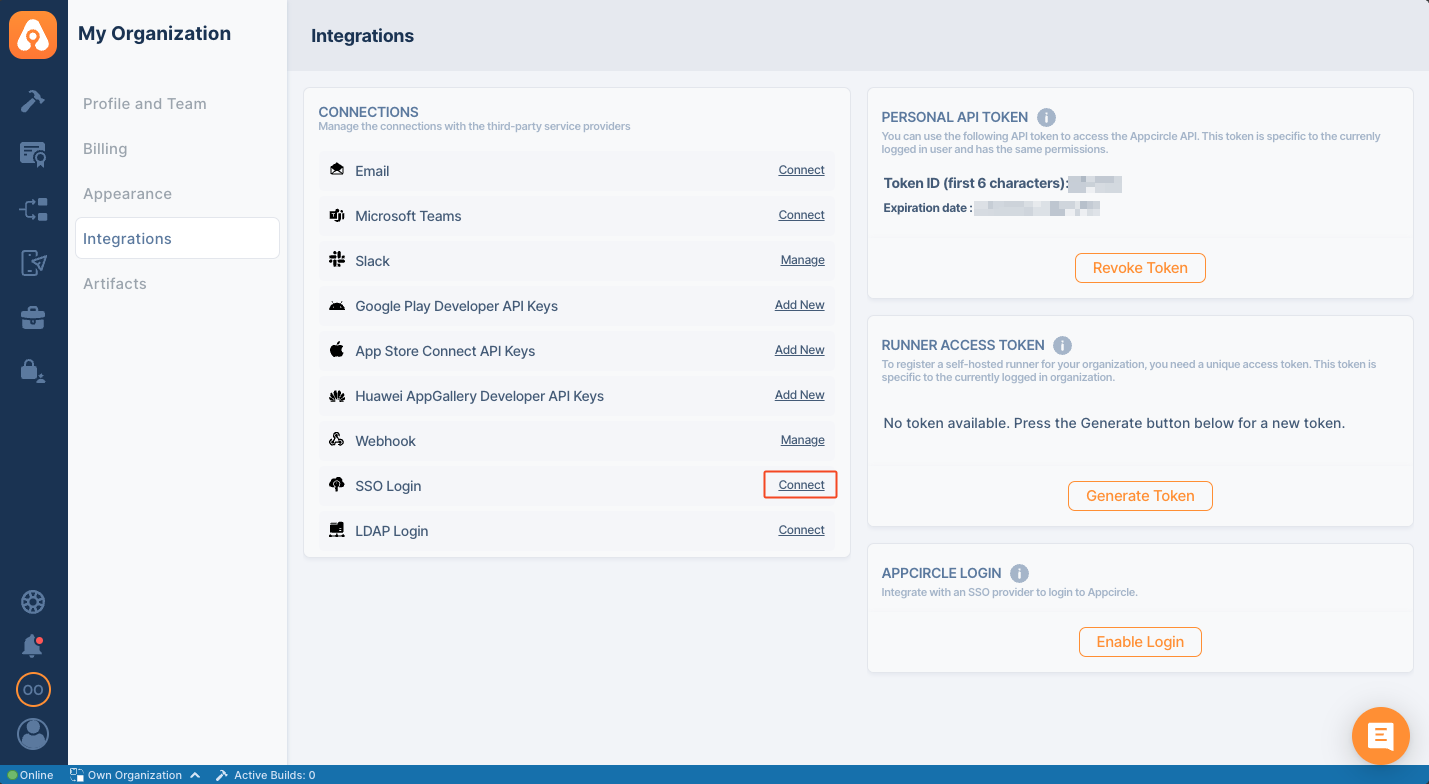
SSO Login
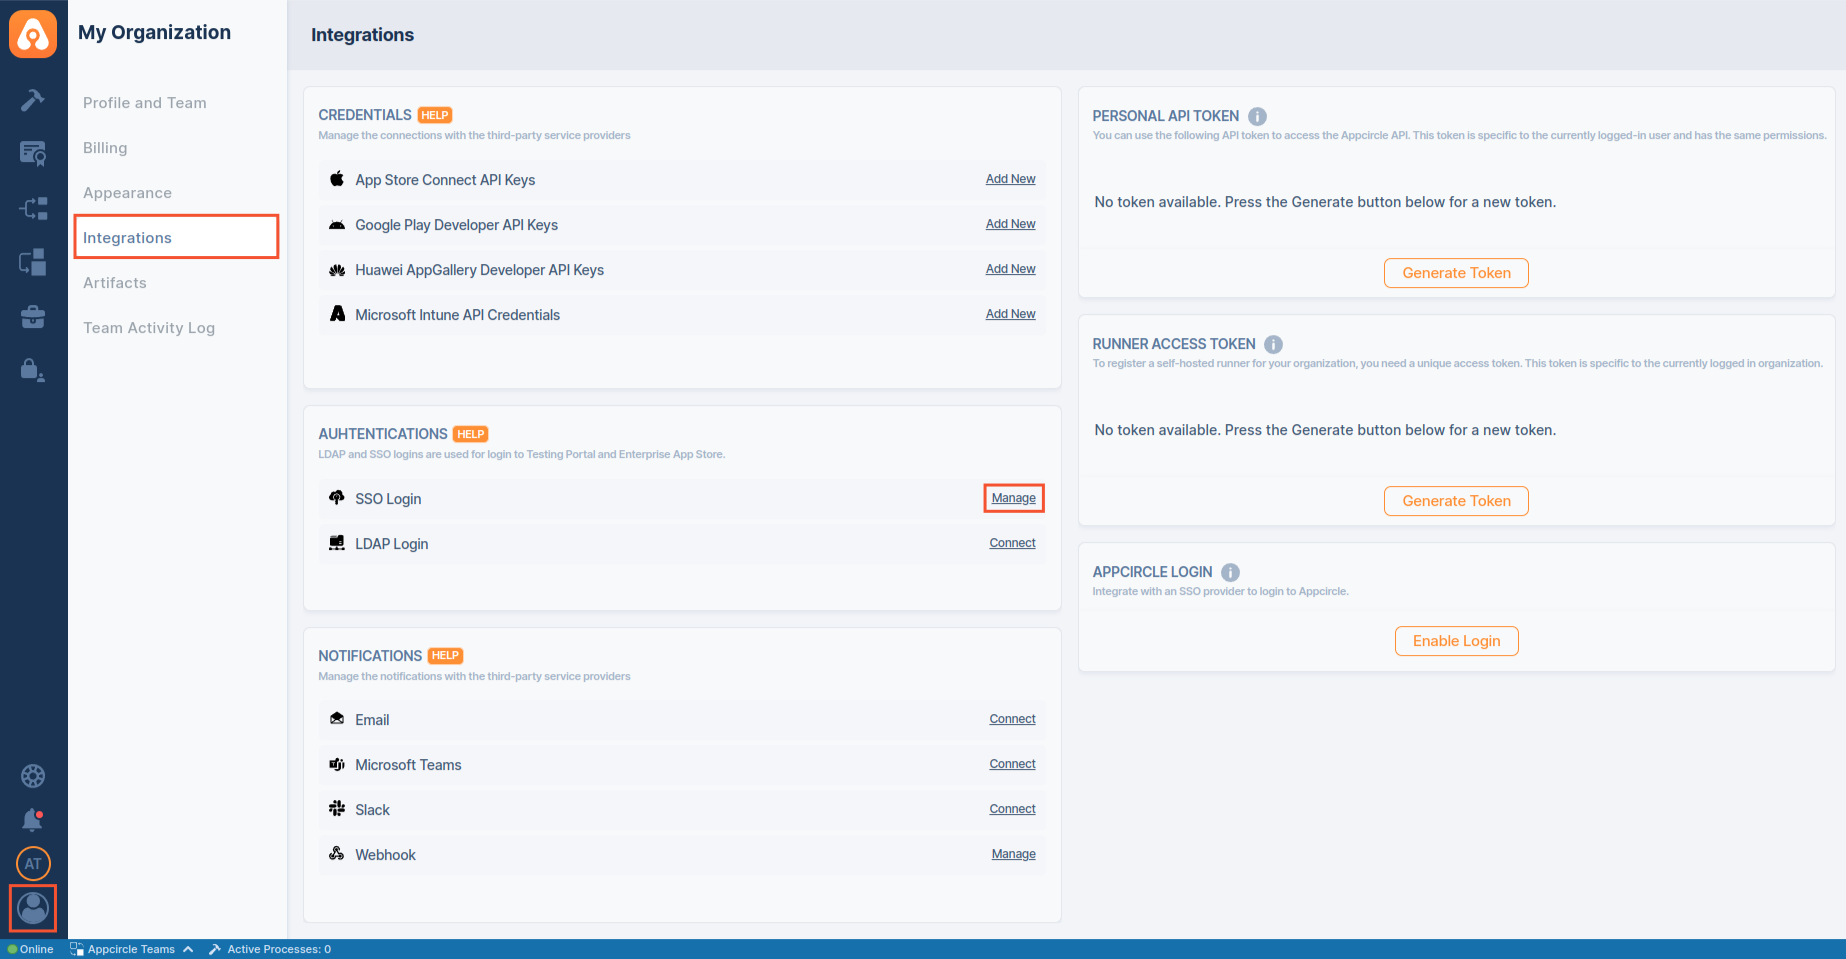
- To start, go to My Organization > Integrations screen and press the Connect button next to SSO Login under the Authentications section.
- Click Create button to create your SSO Login.
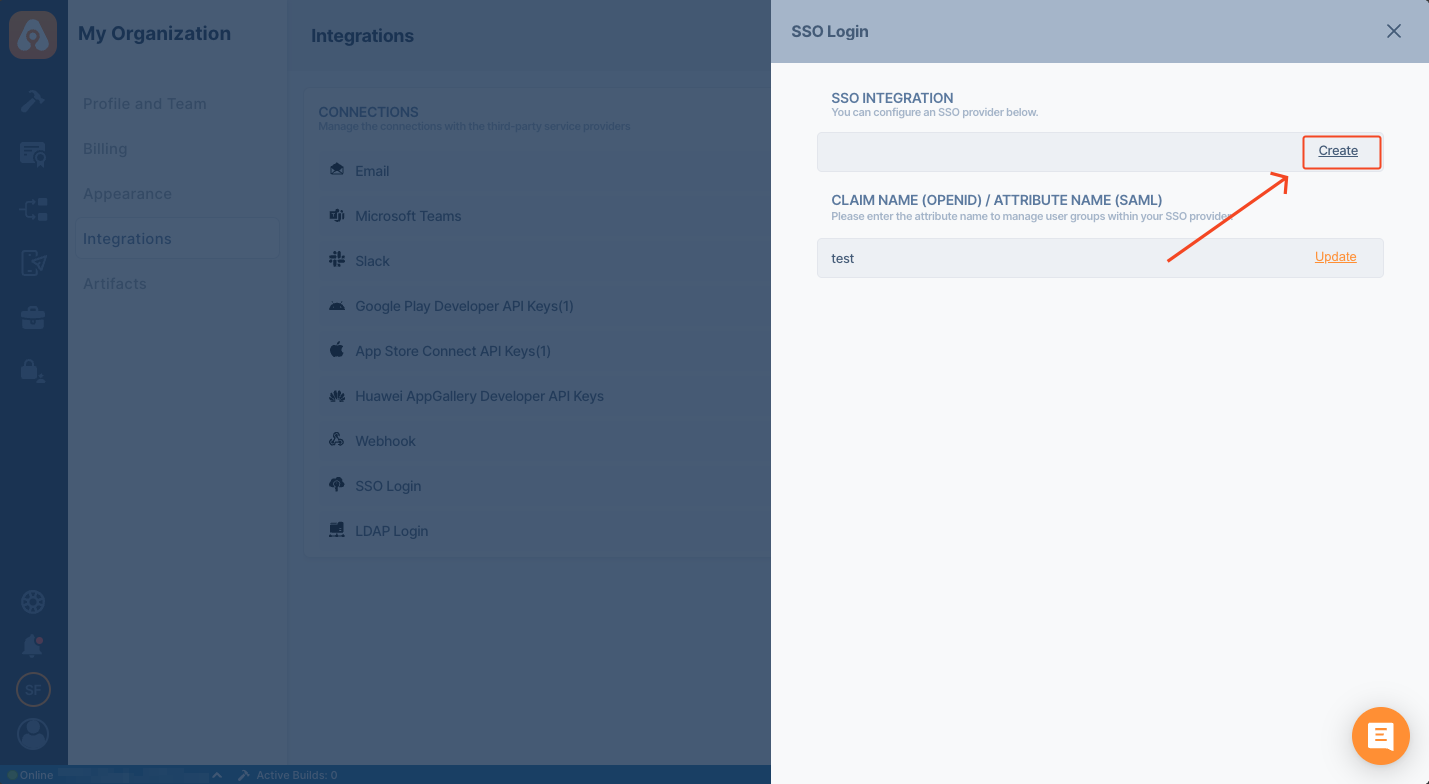
If you want to manage user groups within your SSO provider, you should set CLAIM NAME (OPENID) / ATTRIBUTE NAME (SAML) field.
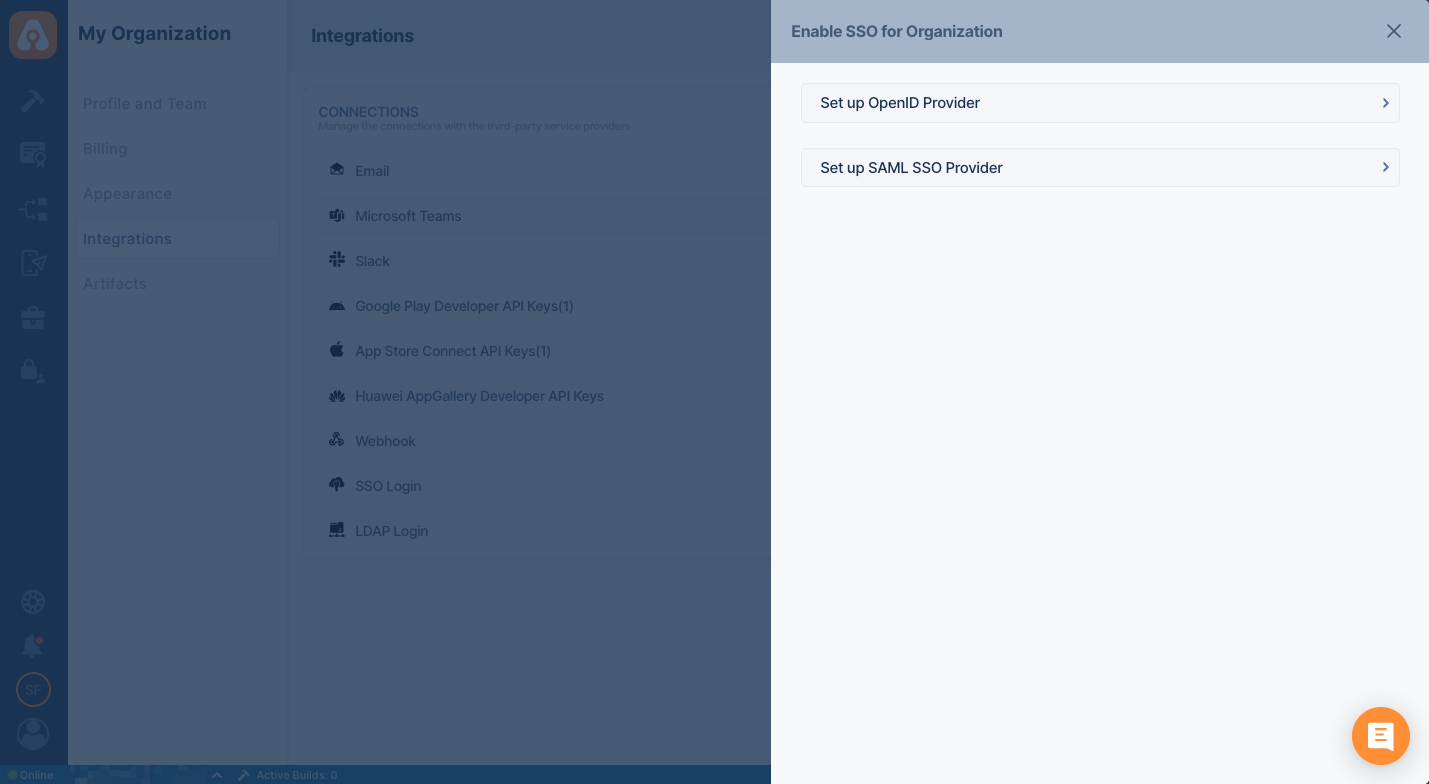
- Select Setup SAML SSO Provider.
-
Pick an alias and display name for your organization. Please pick a short and rememberable alias.
-
This screen will auto-generate an URL for the Enterprise App Store and Testing Distribution.

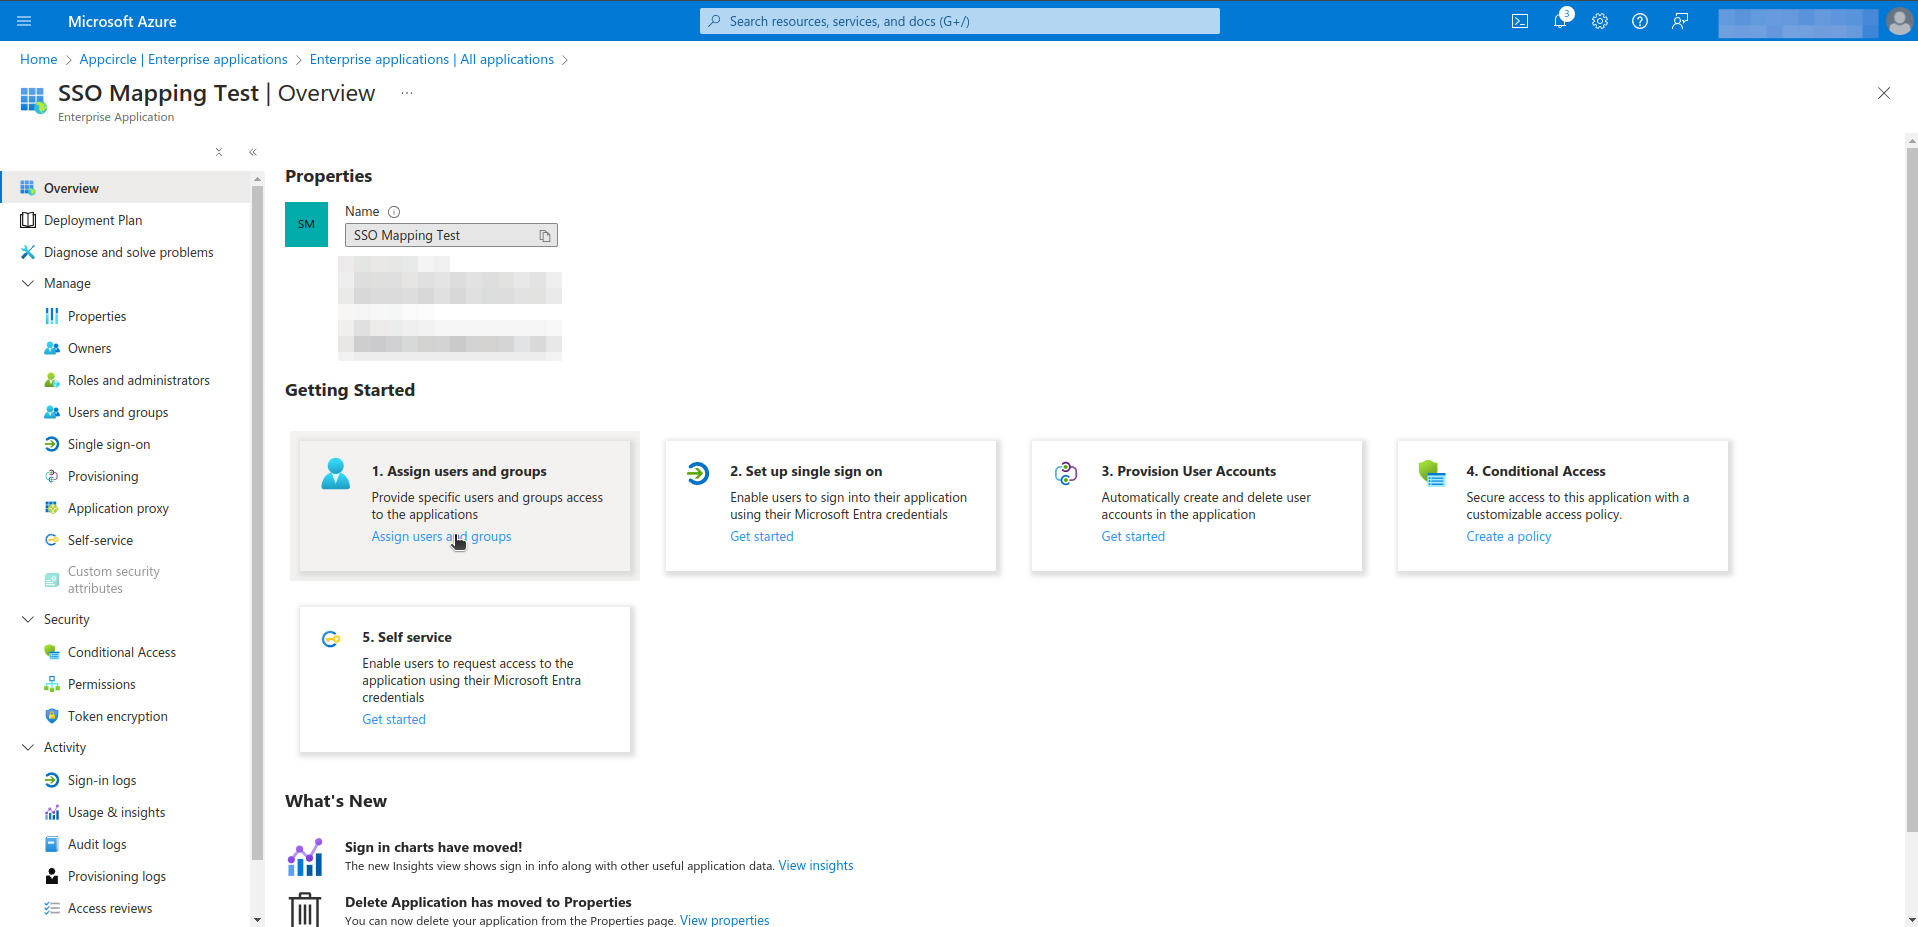
Microsoft Entra ID App Integration
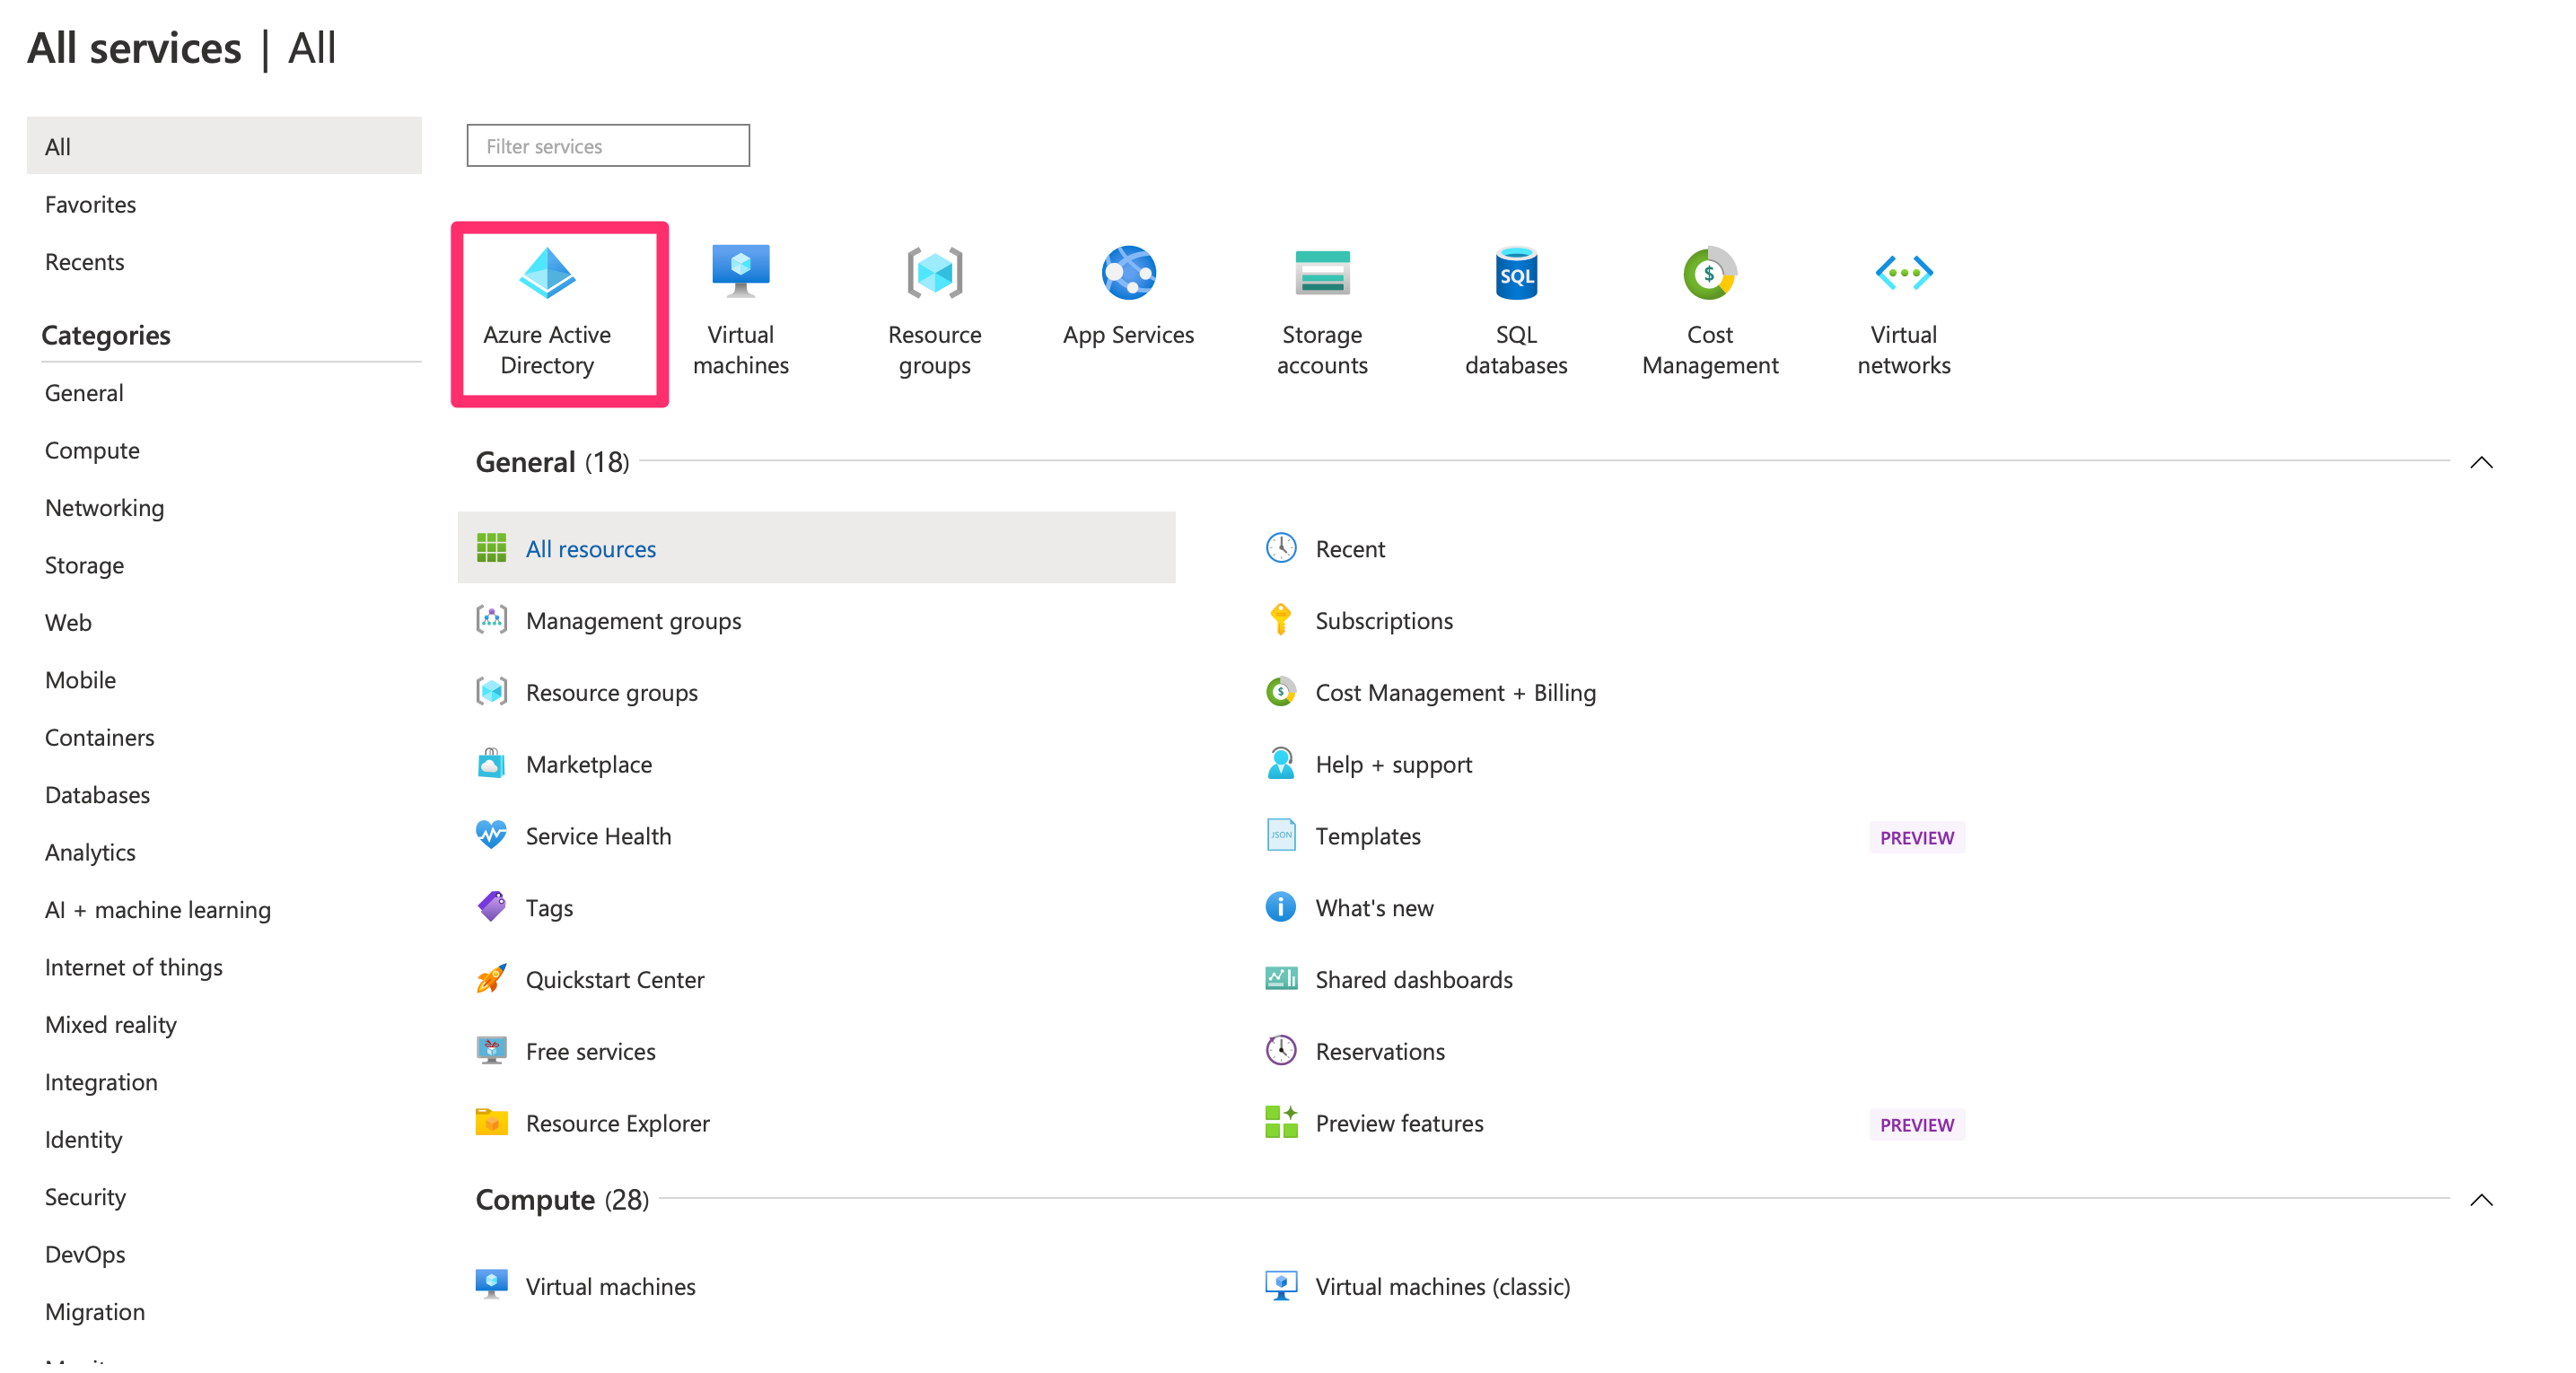
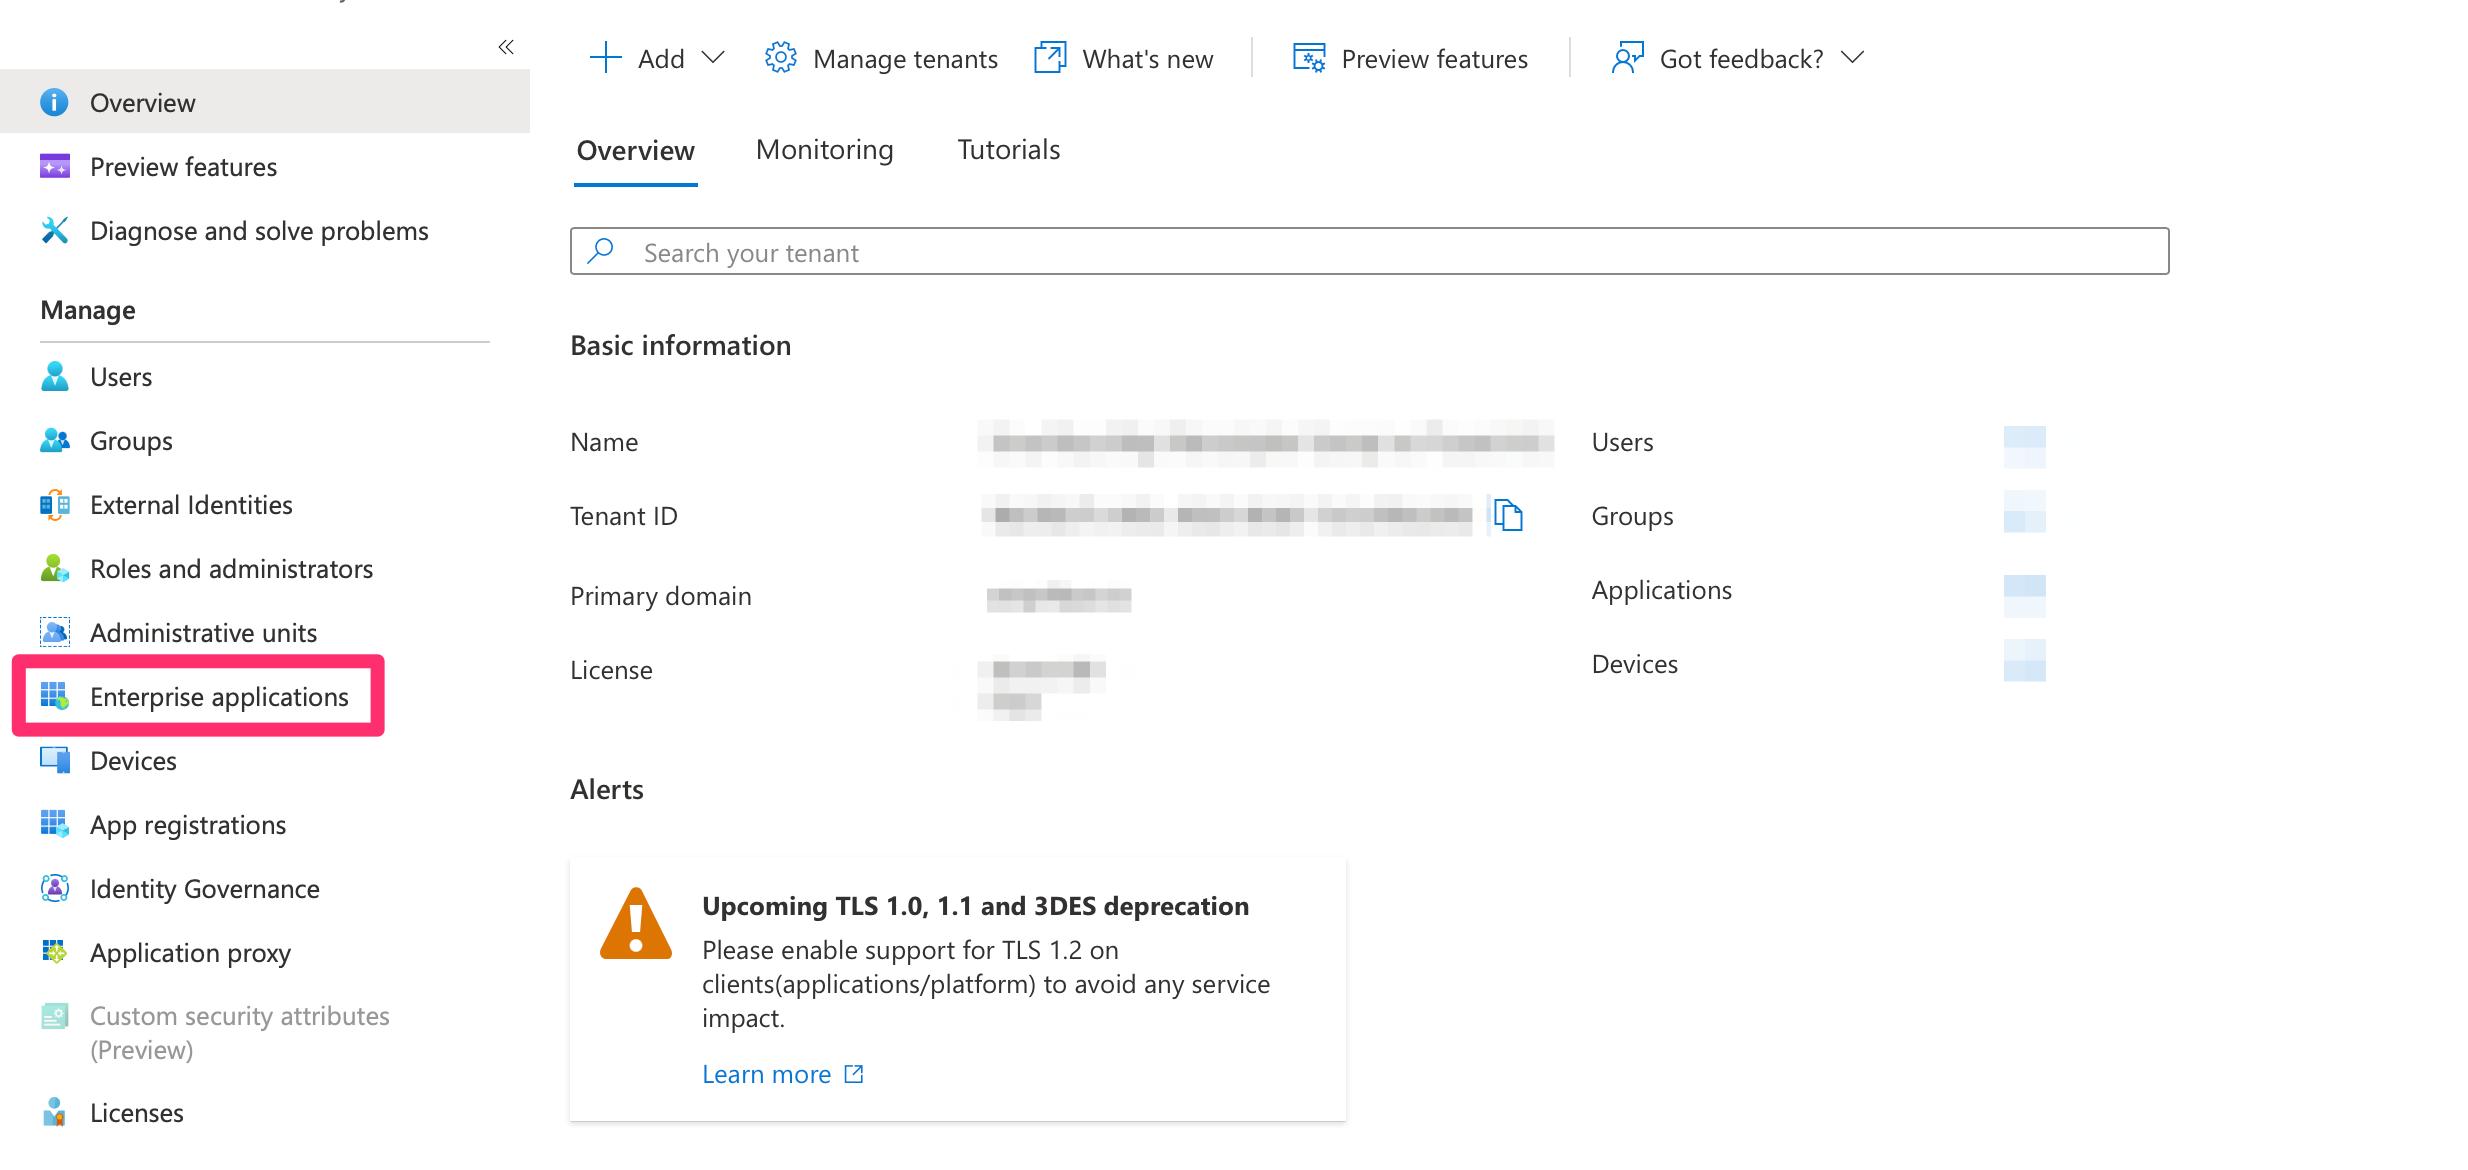
- Log in to Azure AD as an admin and navigate to Azure Services and then click Azure Active Directory.
- Click Enterprise applications
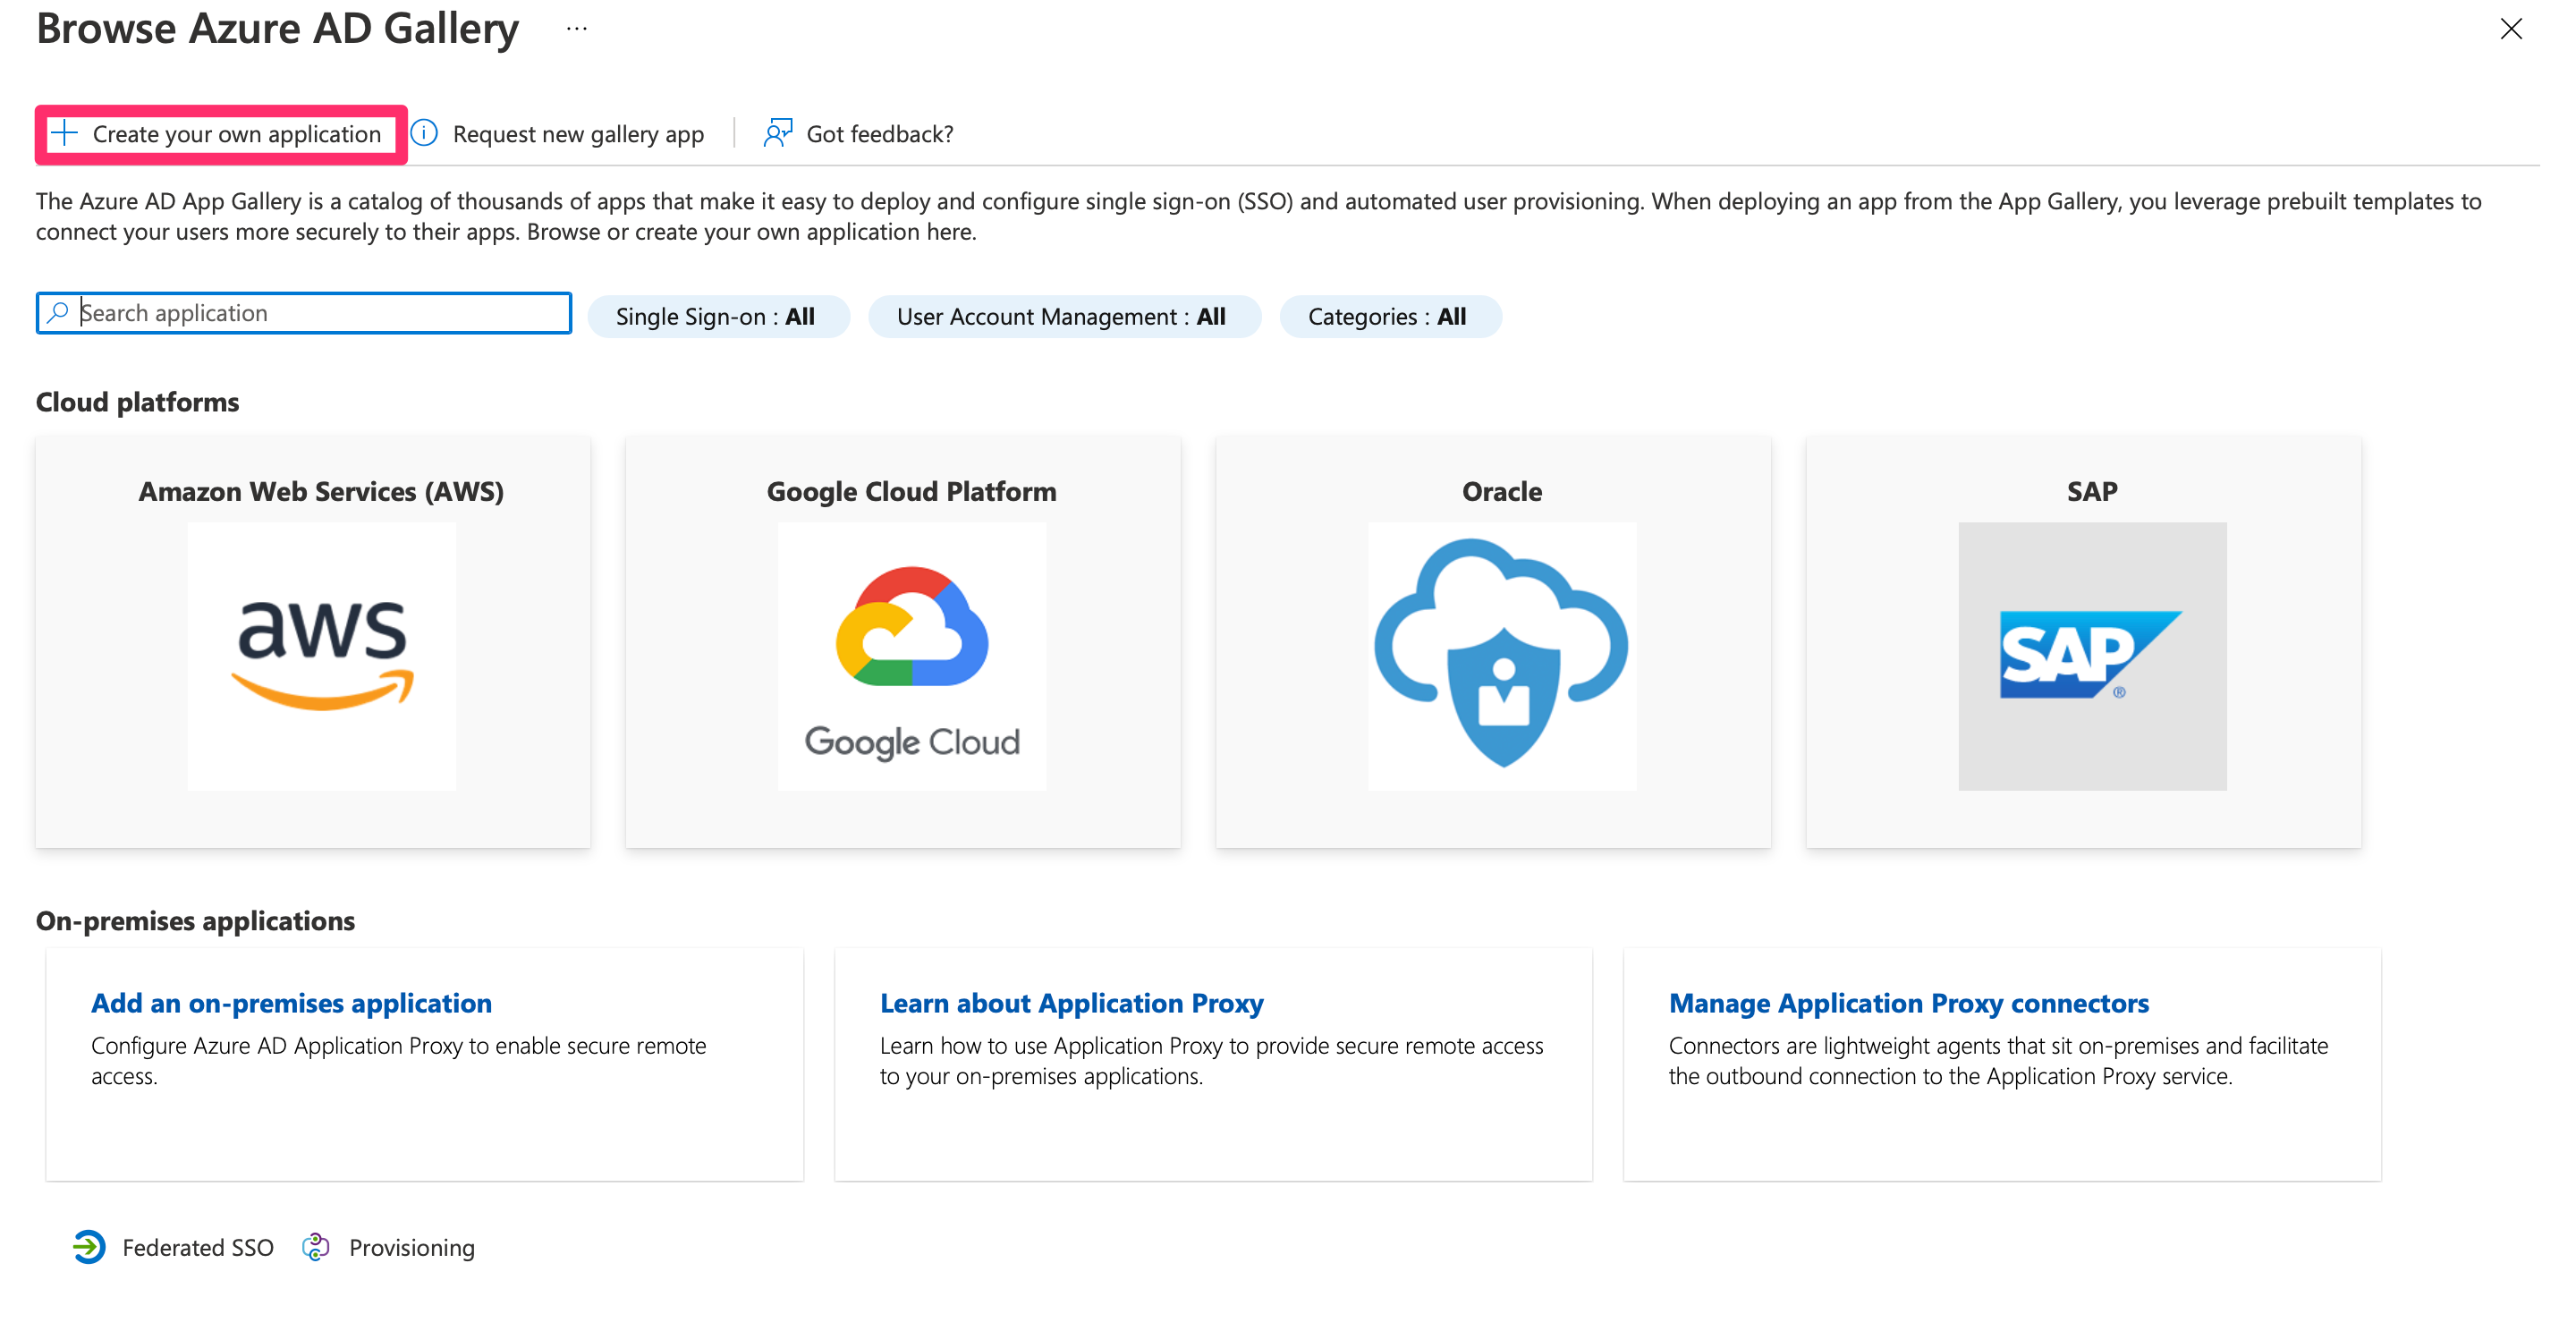
- Click New application.

- Click Create your own application.
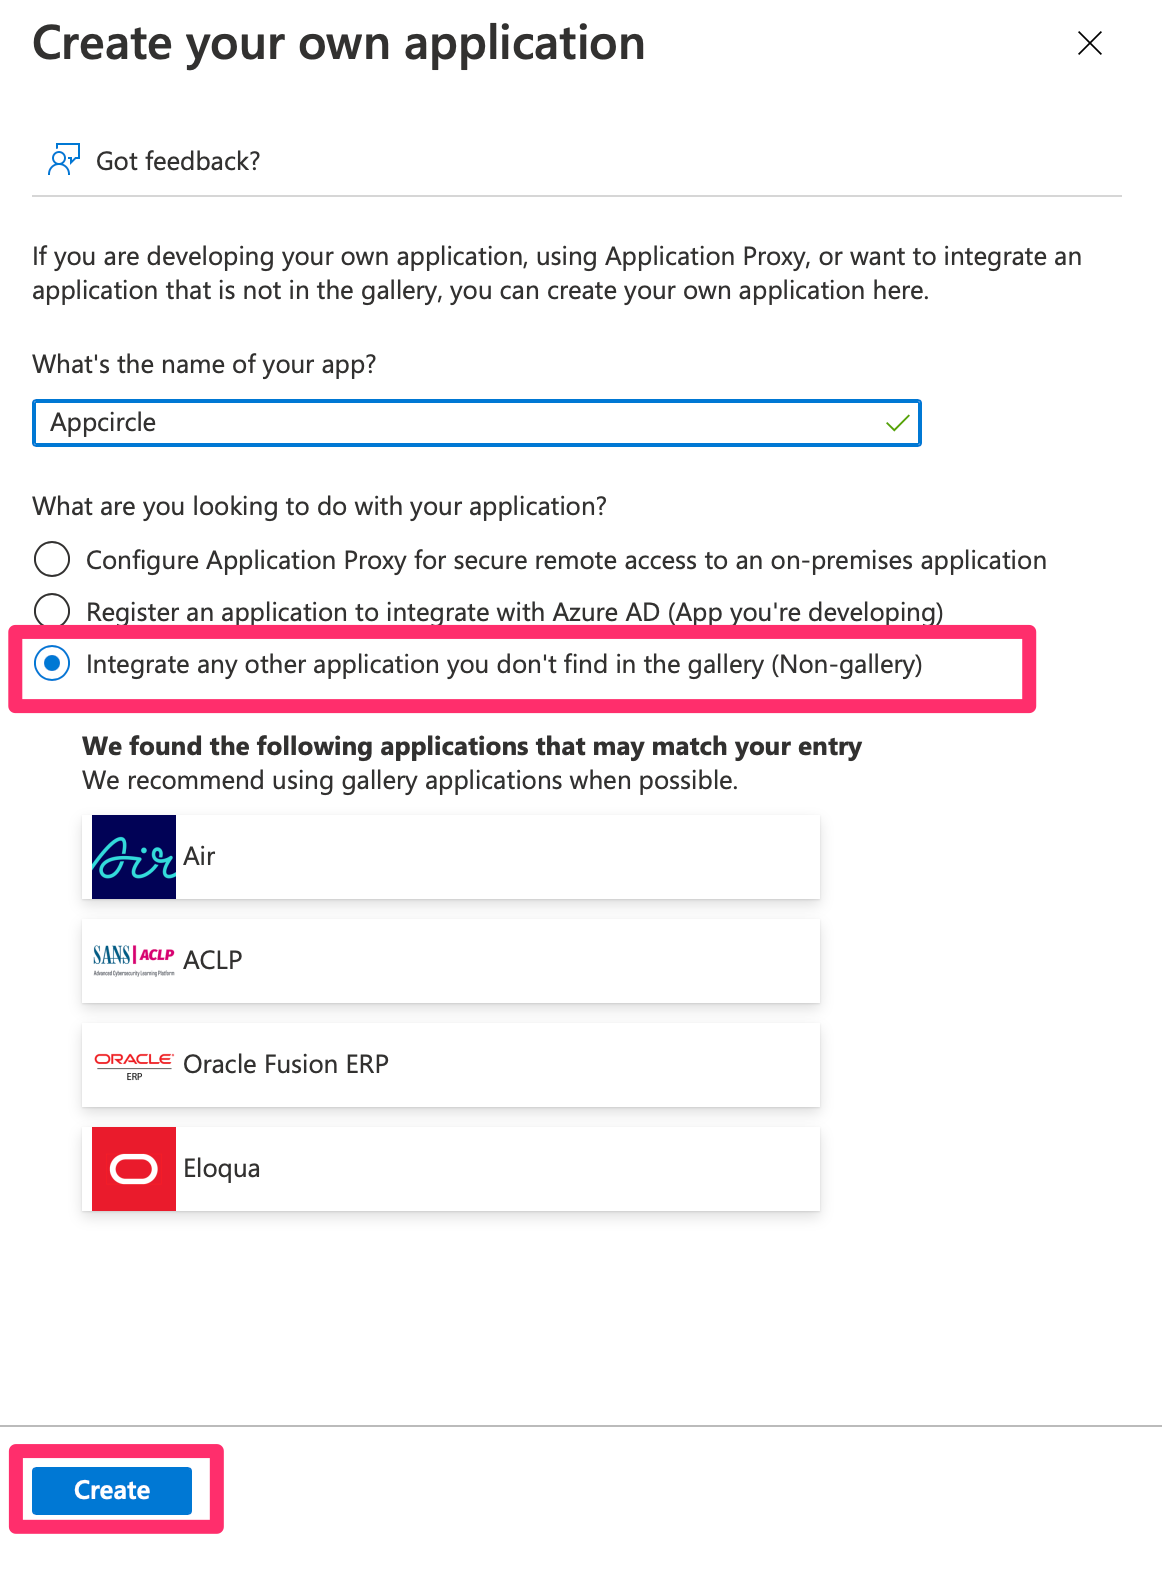
- Give a name for your application and select Integrate another application you don't find in the gallery (Non-gallery) and click Create.
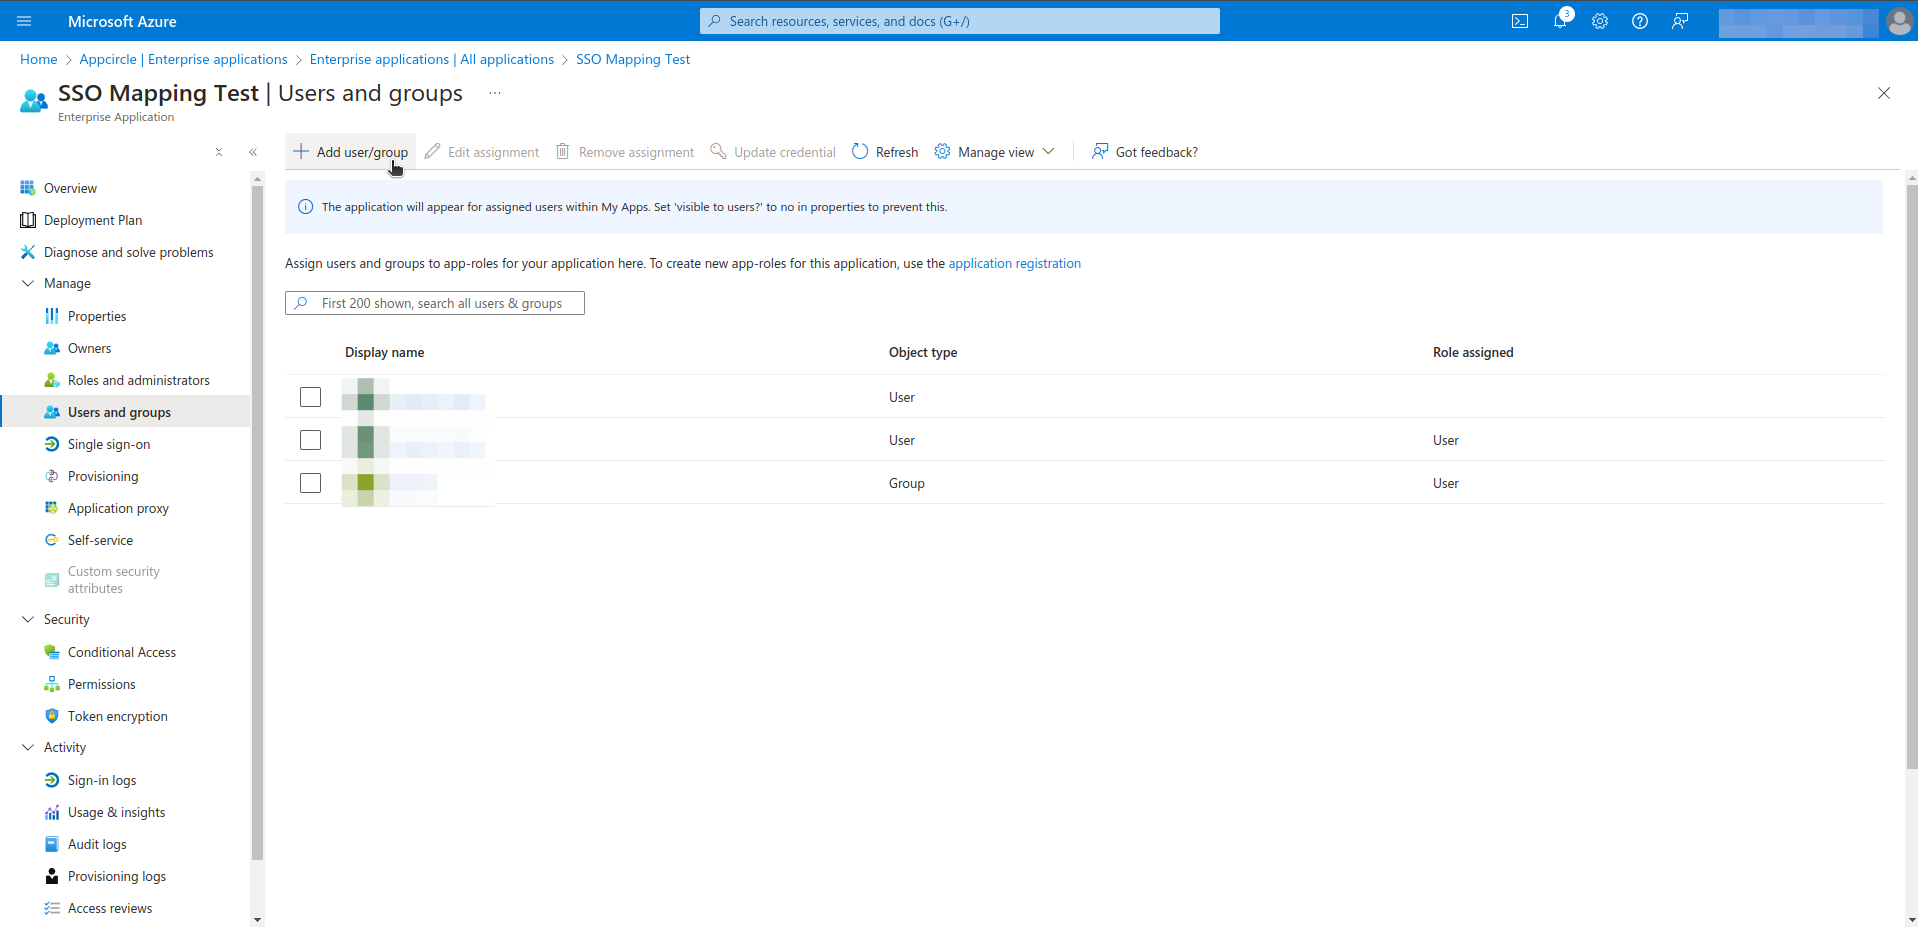
Adding Users
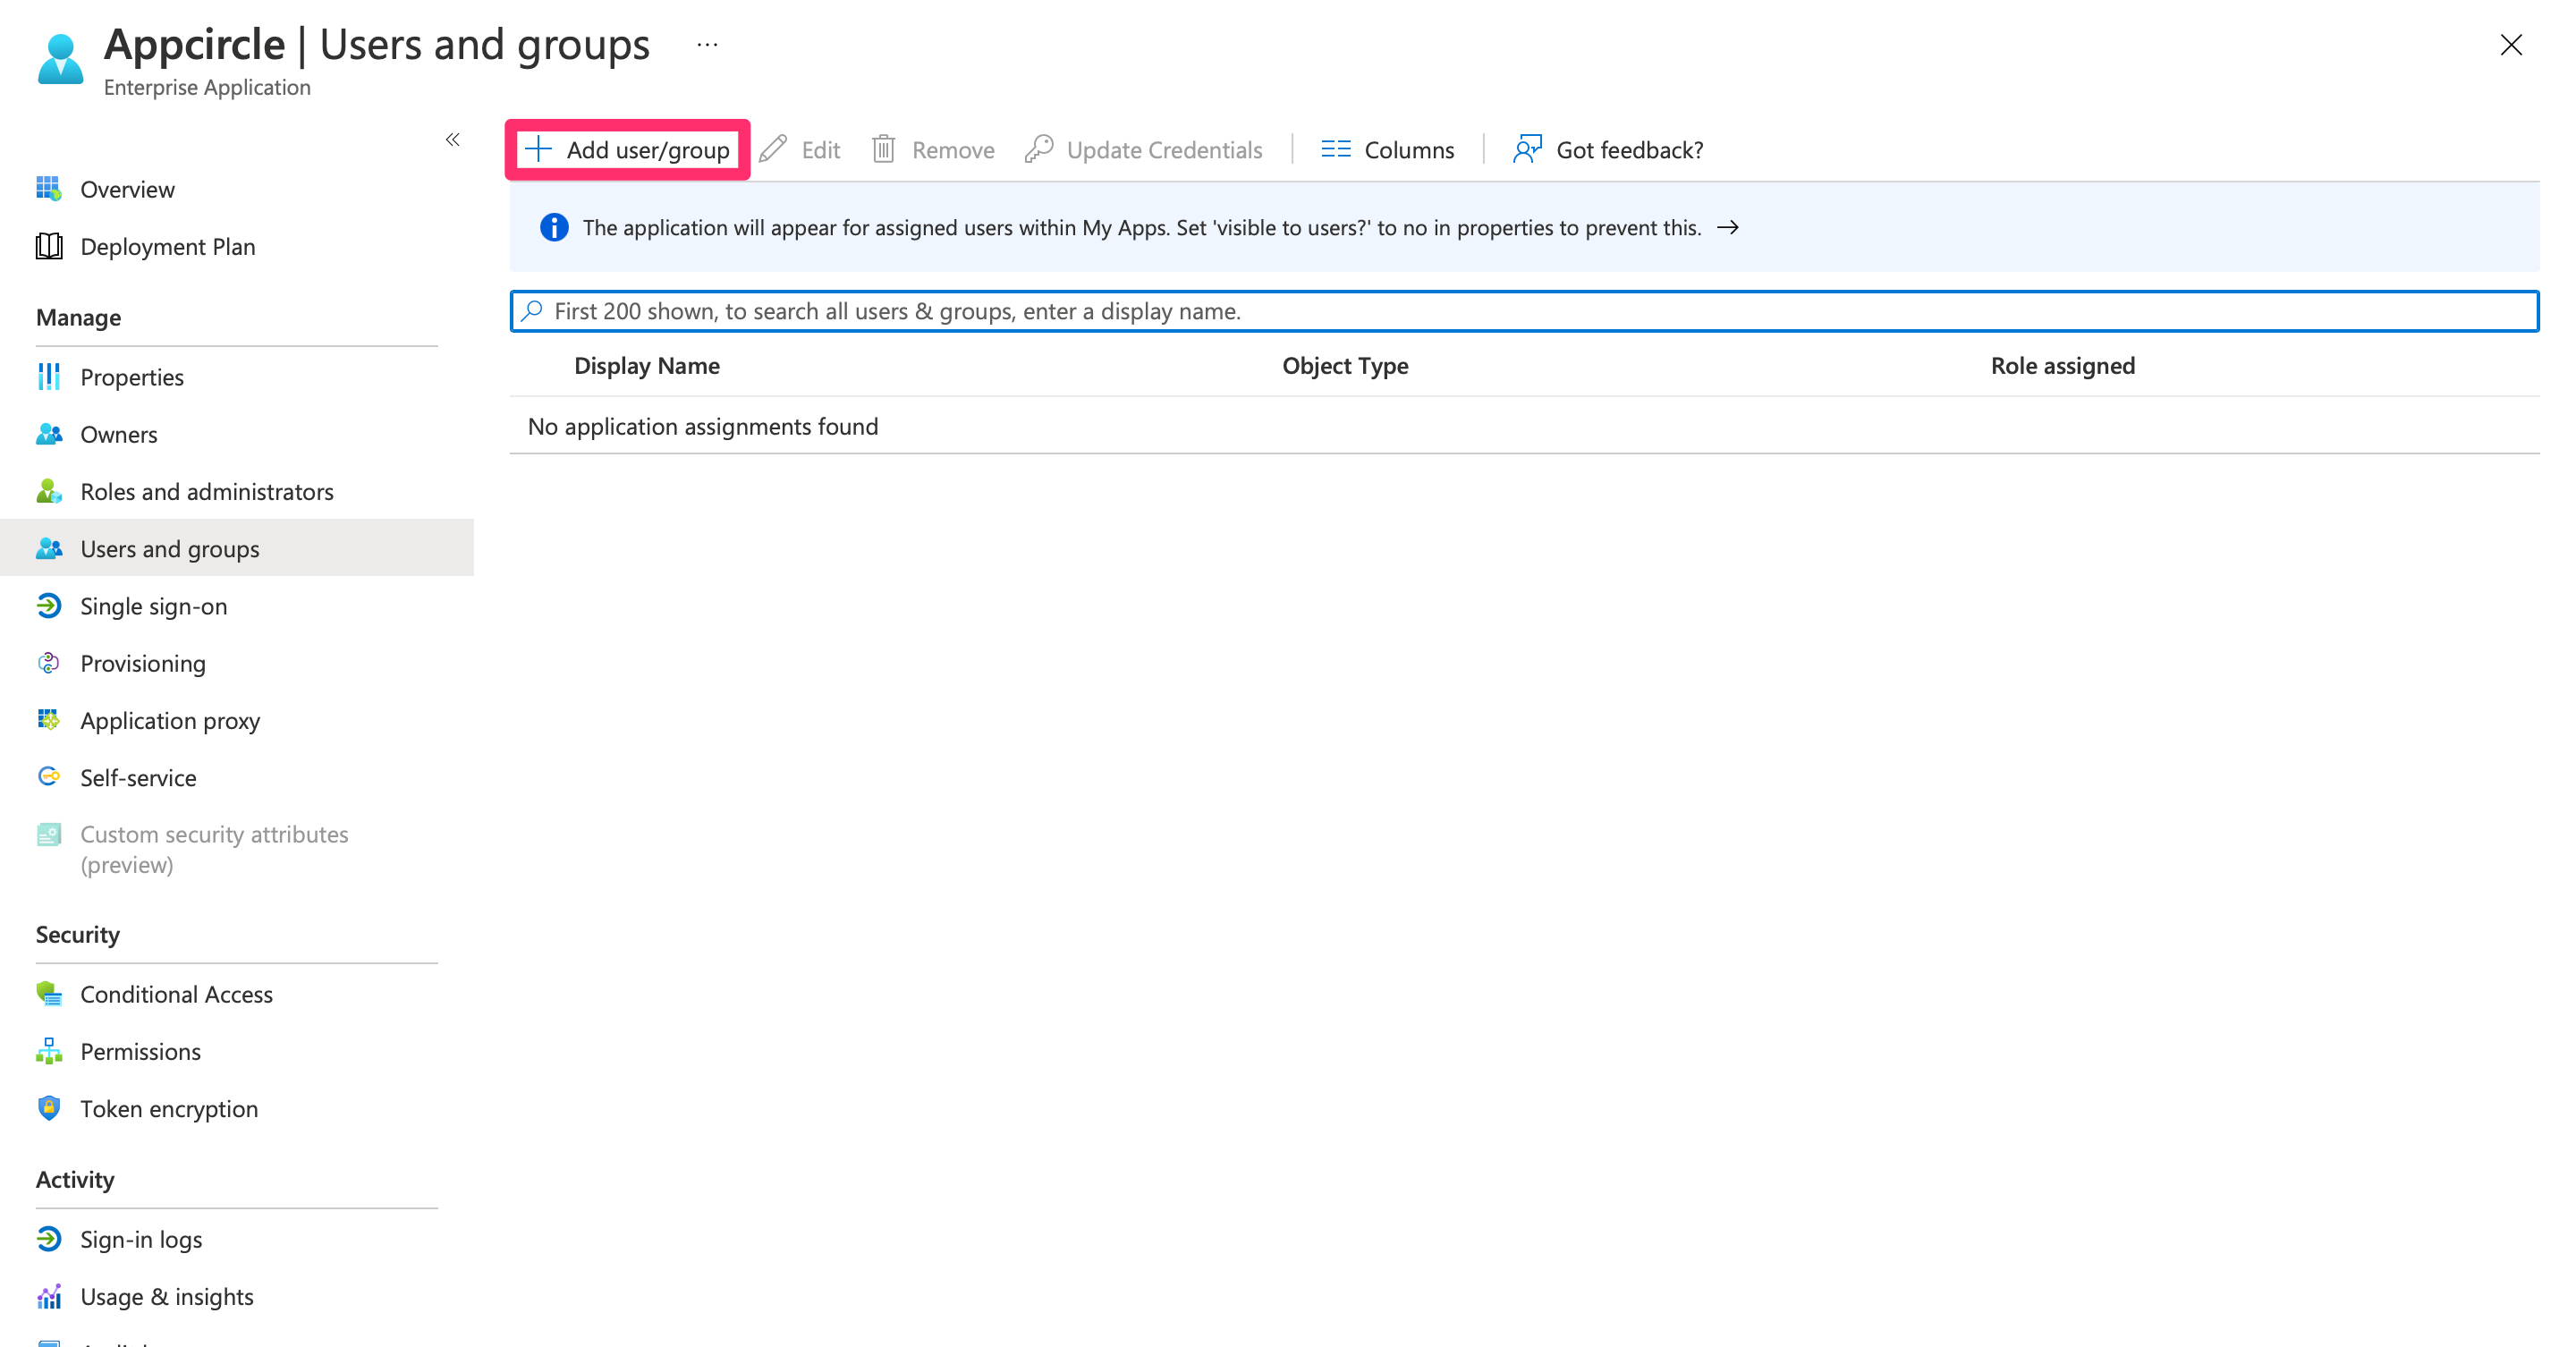
You need to select users/groups in Azure AD to enable SSO. All members of your Appcircle organization must be added to Azure AD.
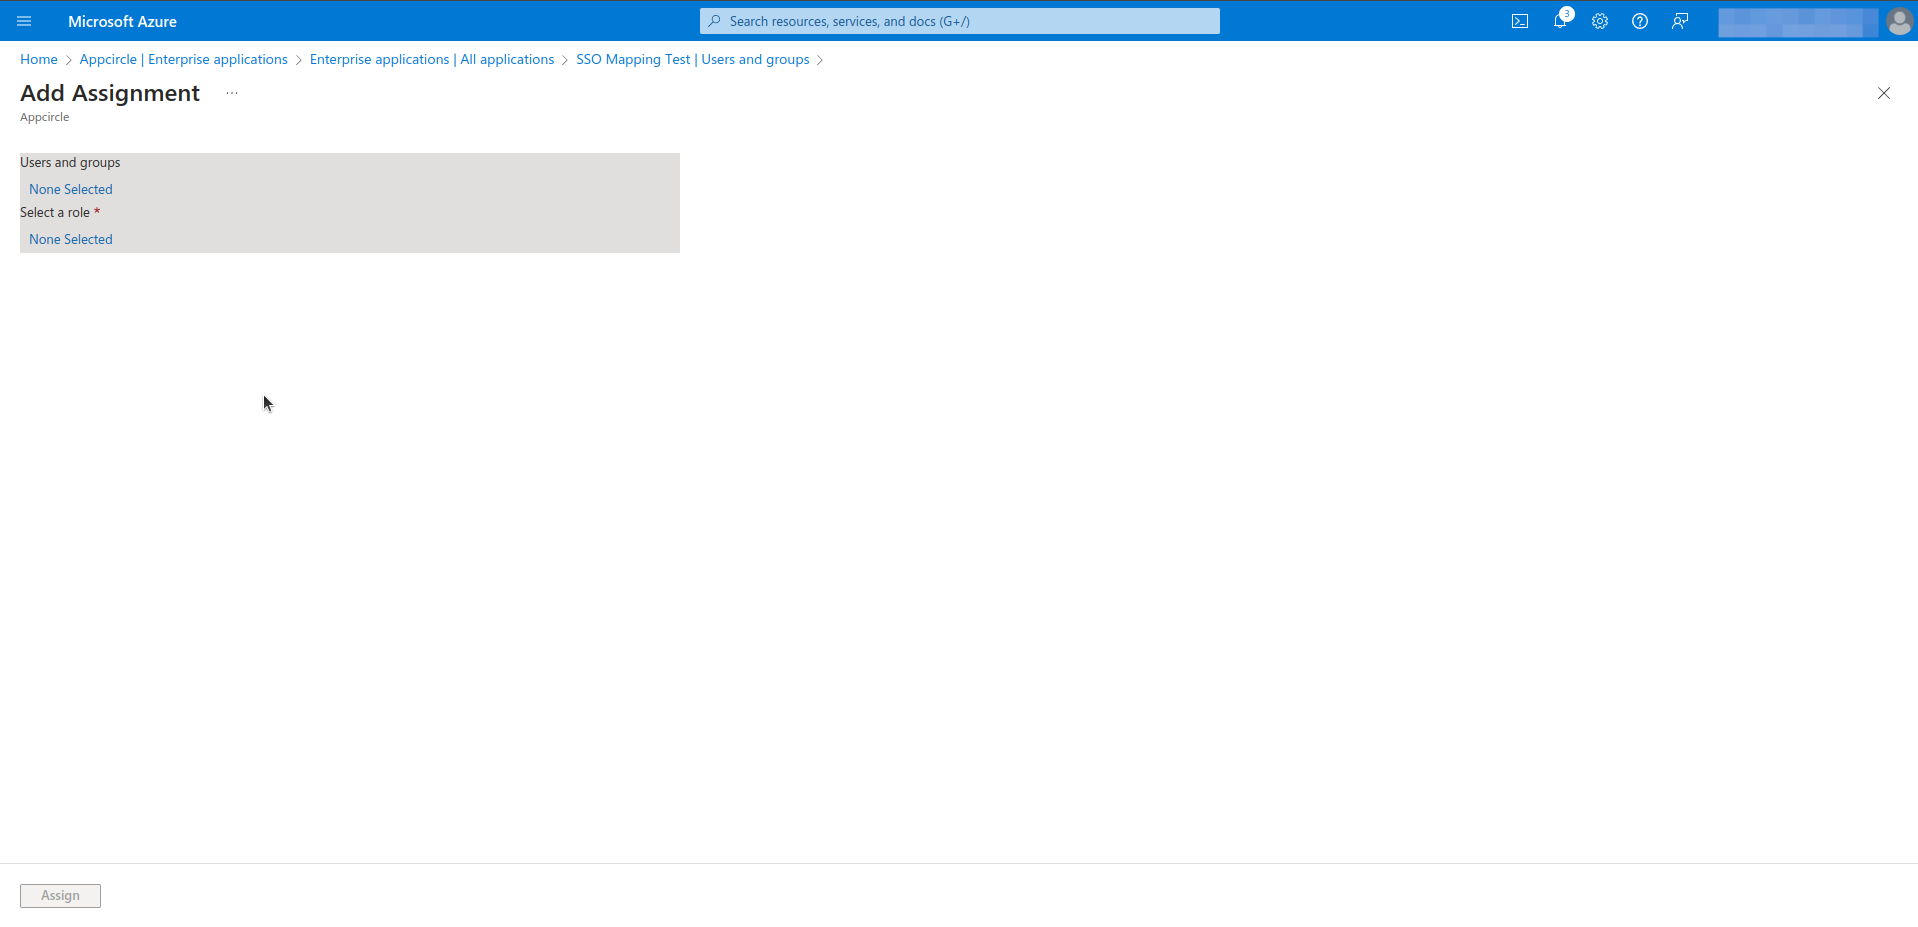
- Select Users and groups and click Add user/group.
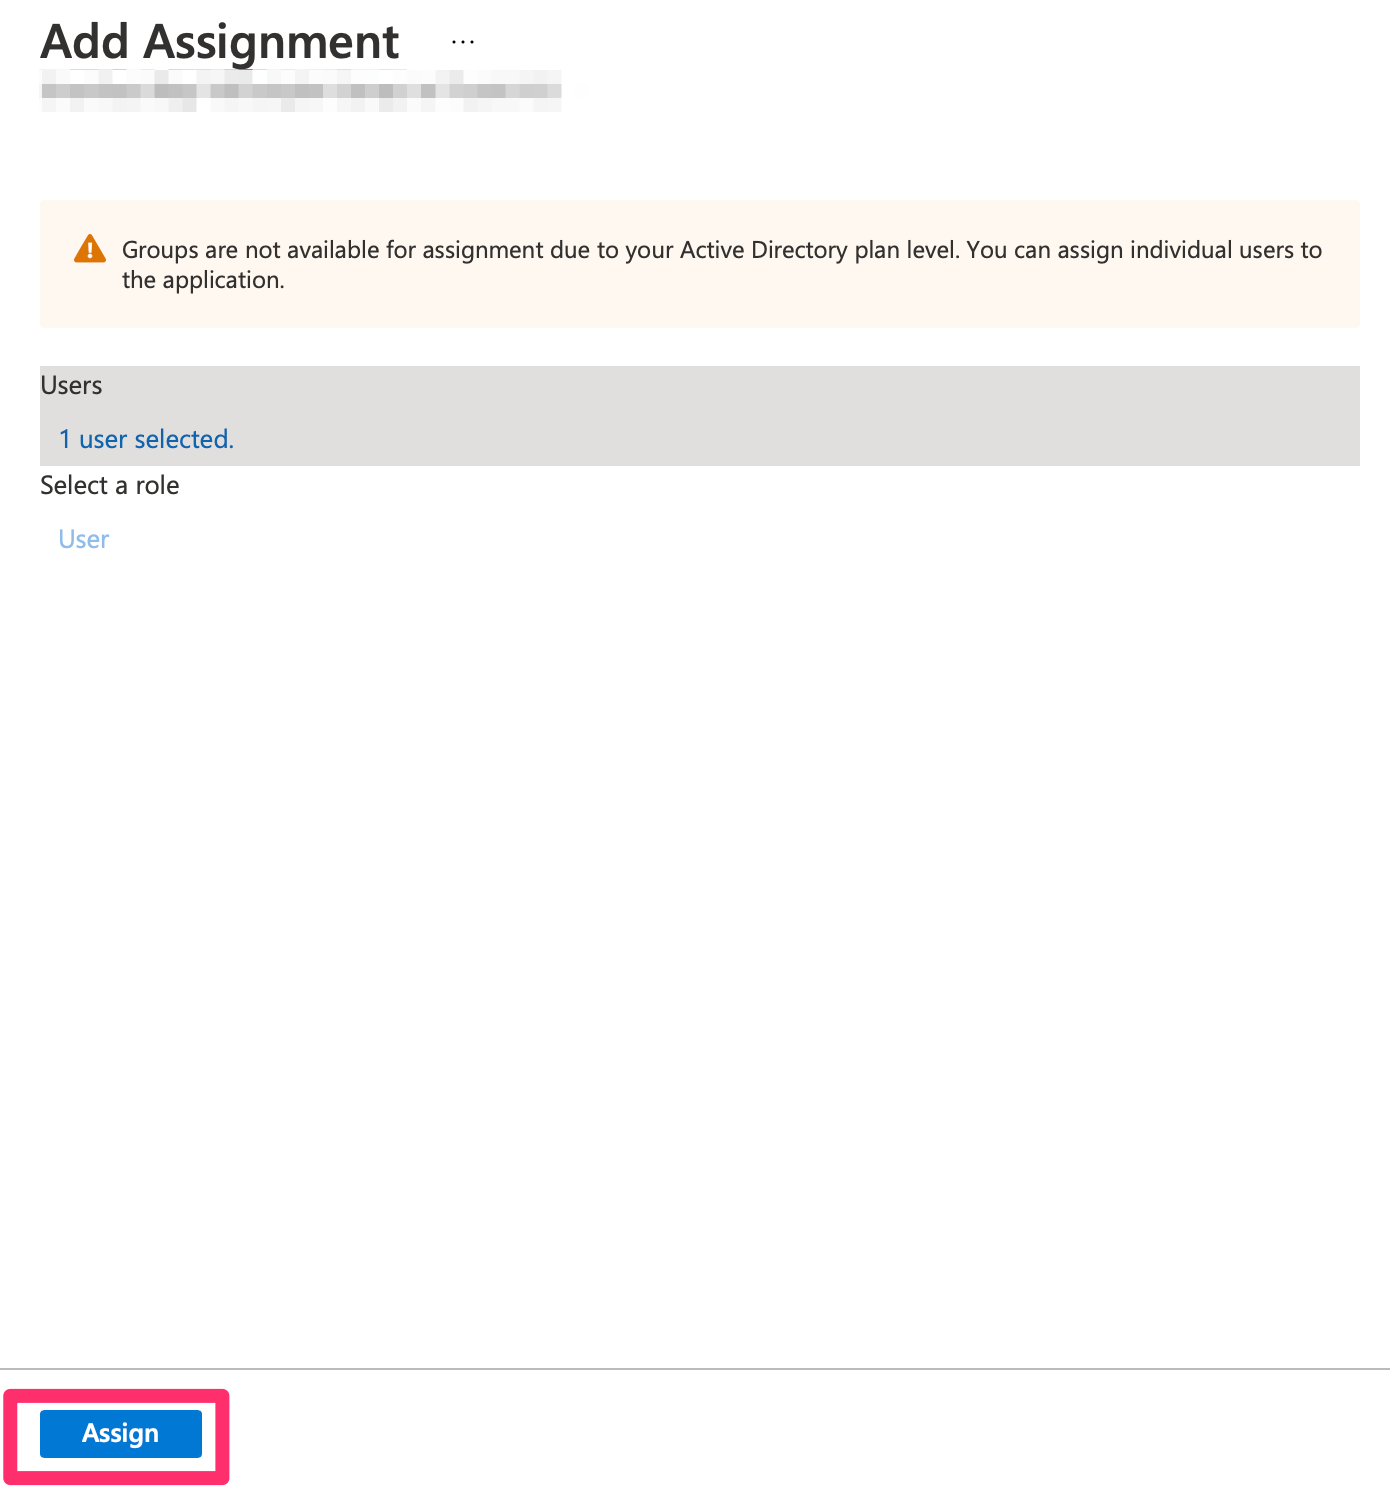
- Click Add Assignment, find the users from the list, and click Select.
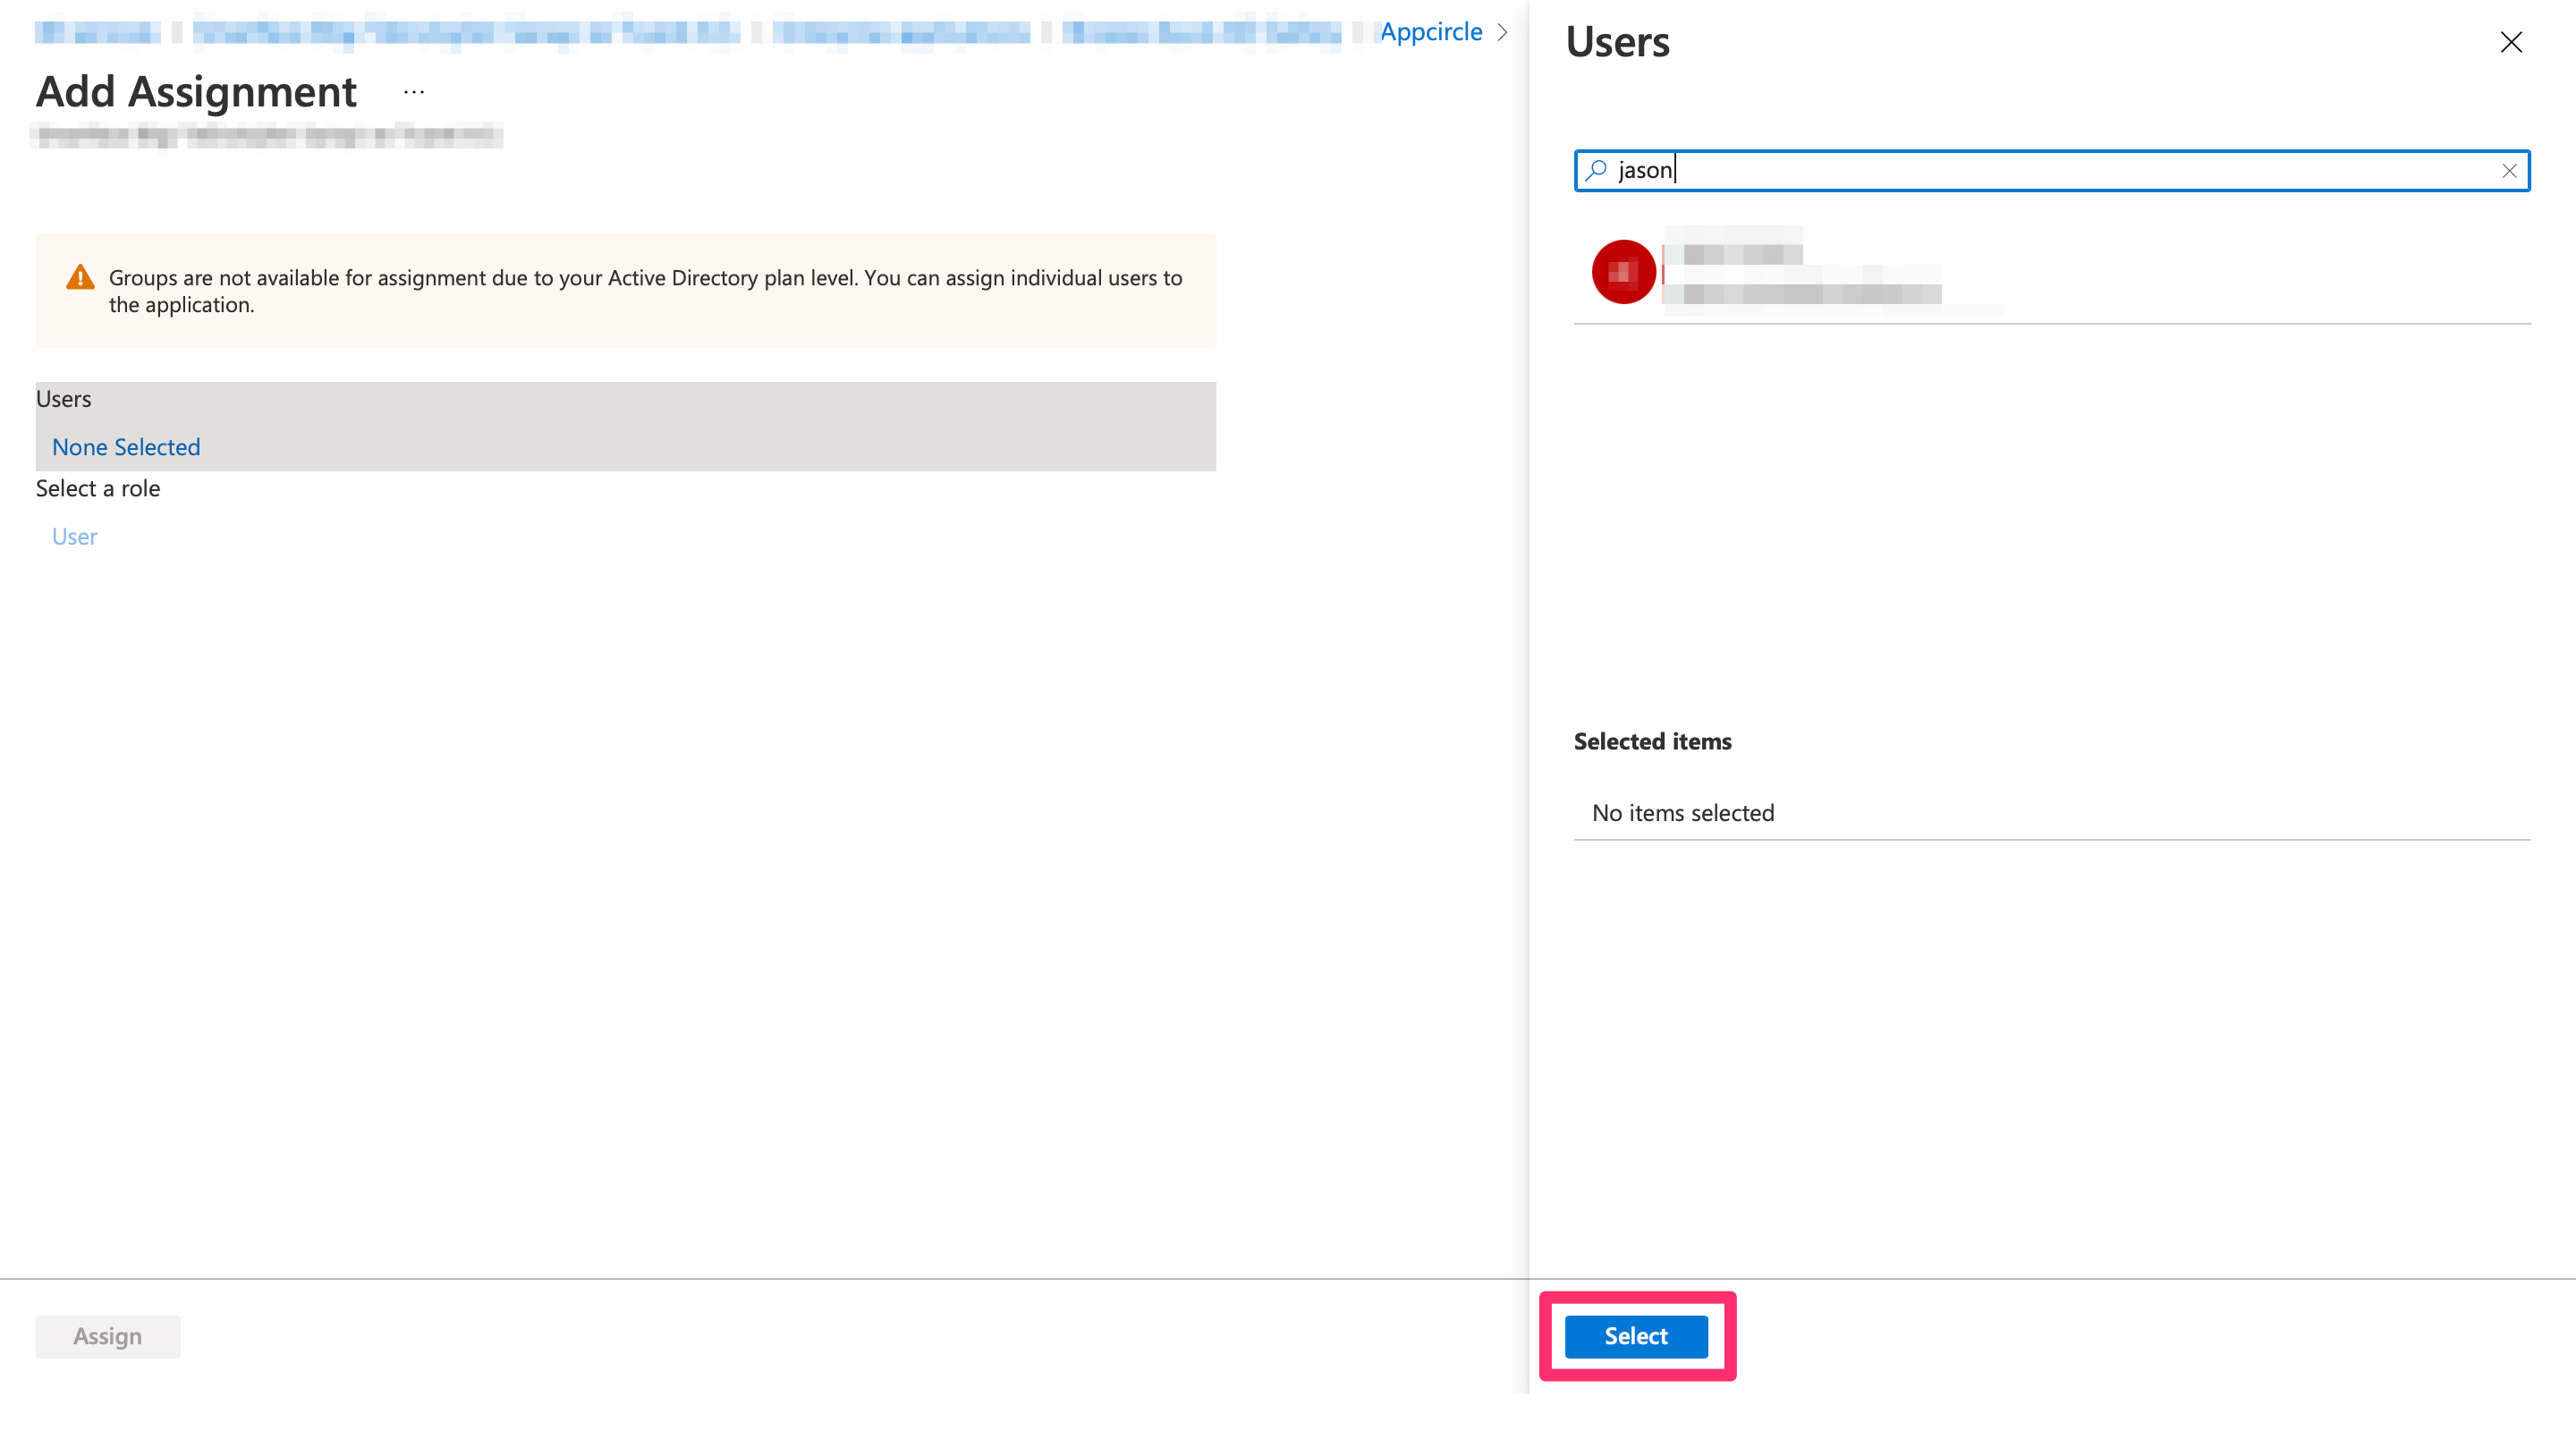
- Finally, click the Assign button to confirm the assignment.
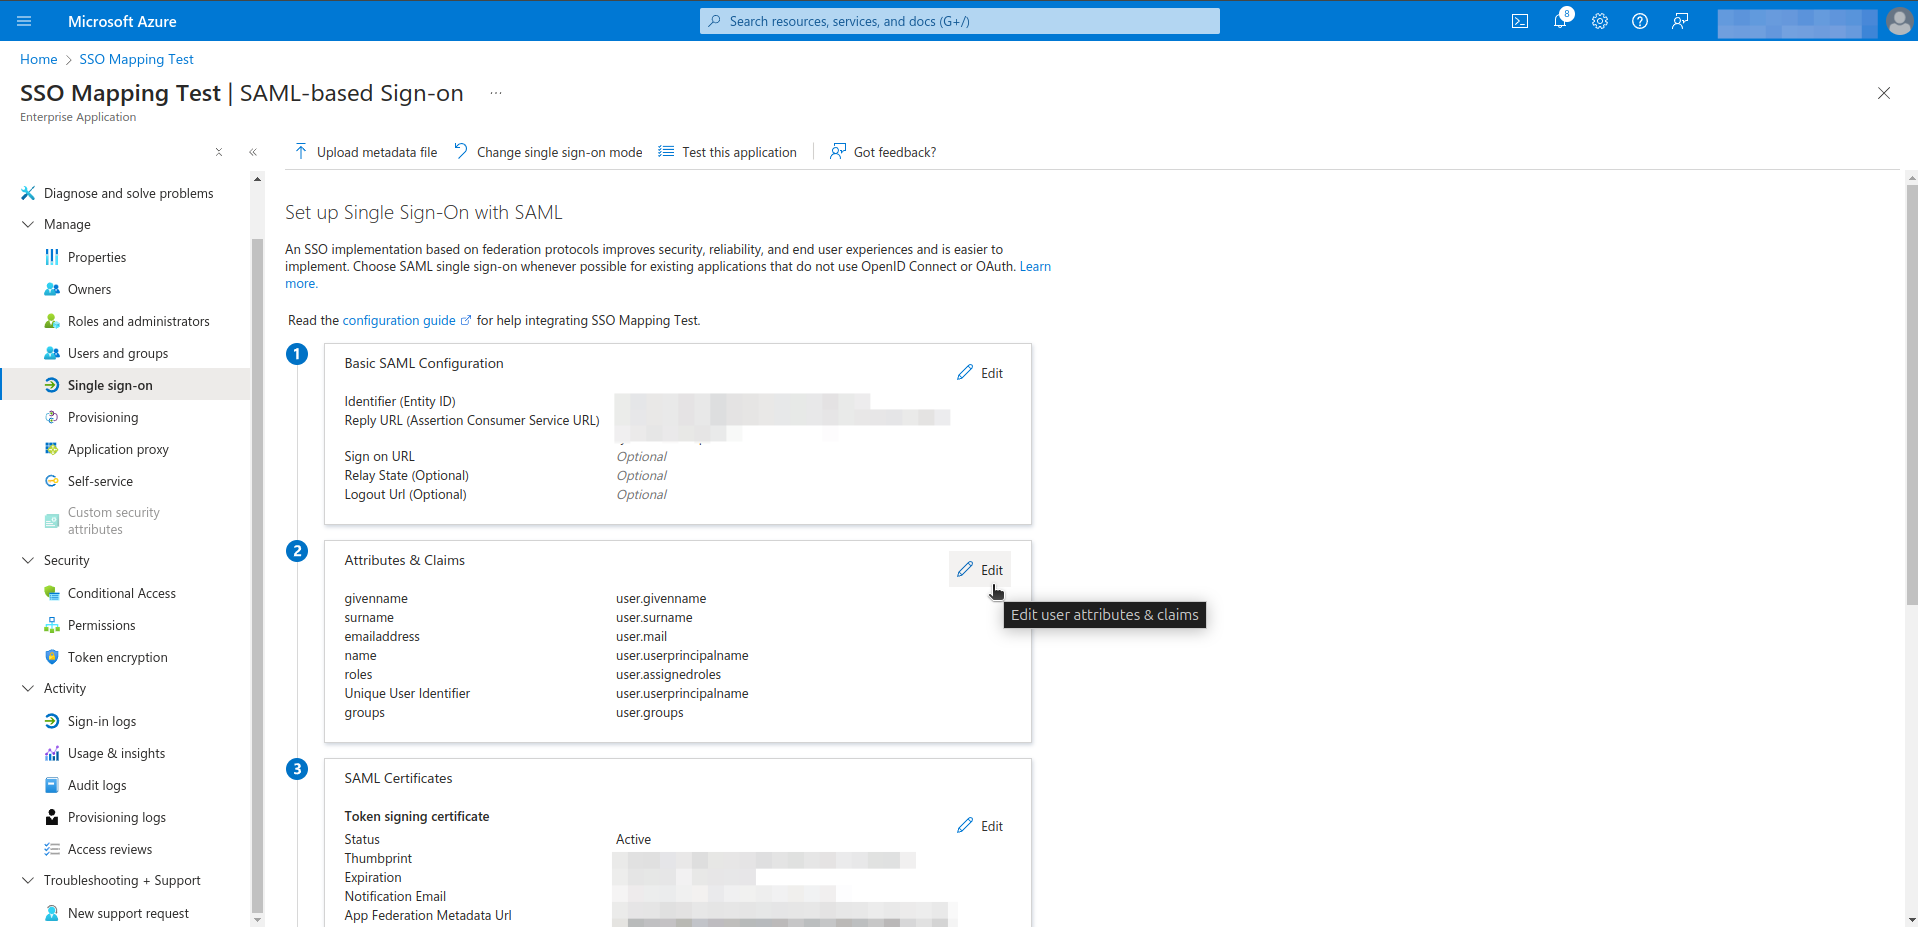
Configuring SSO
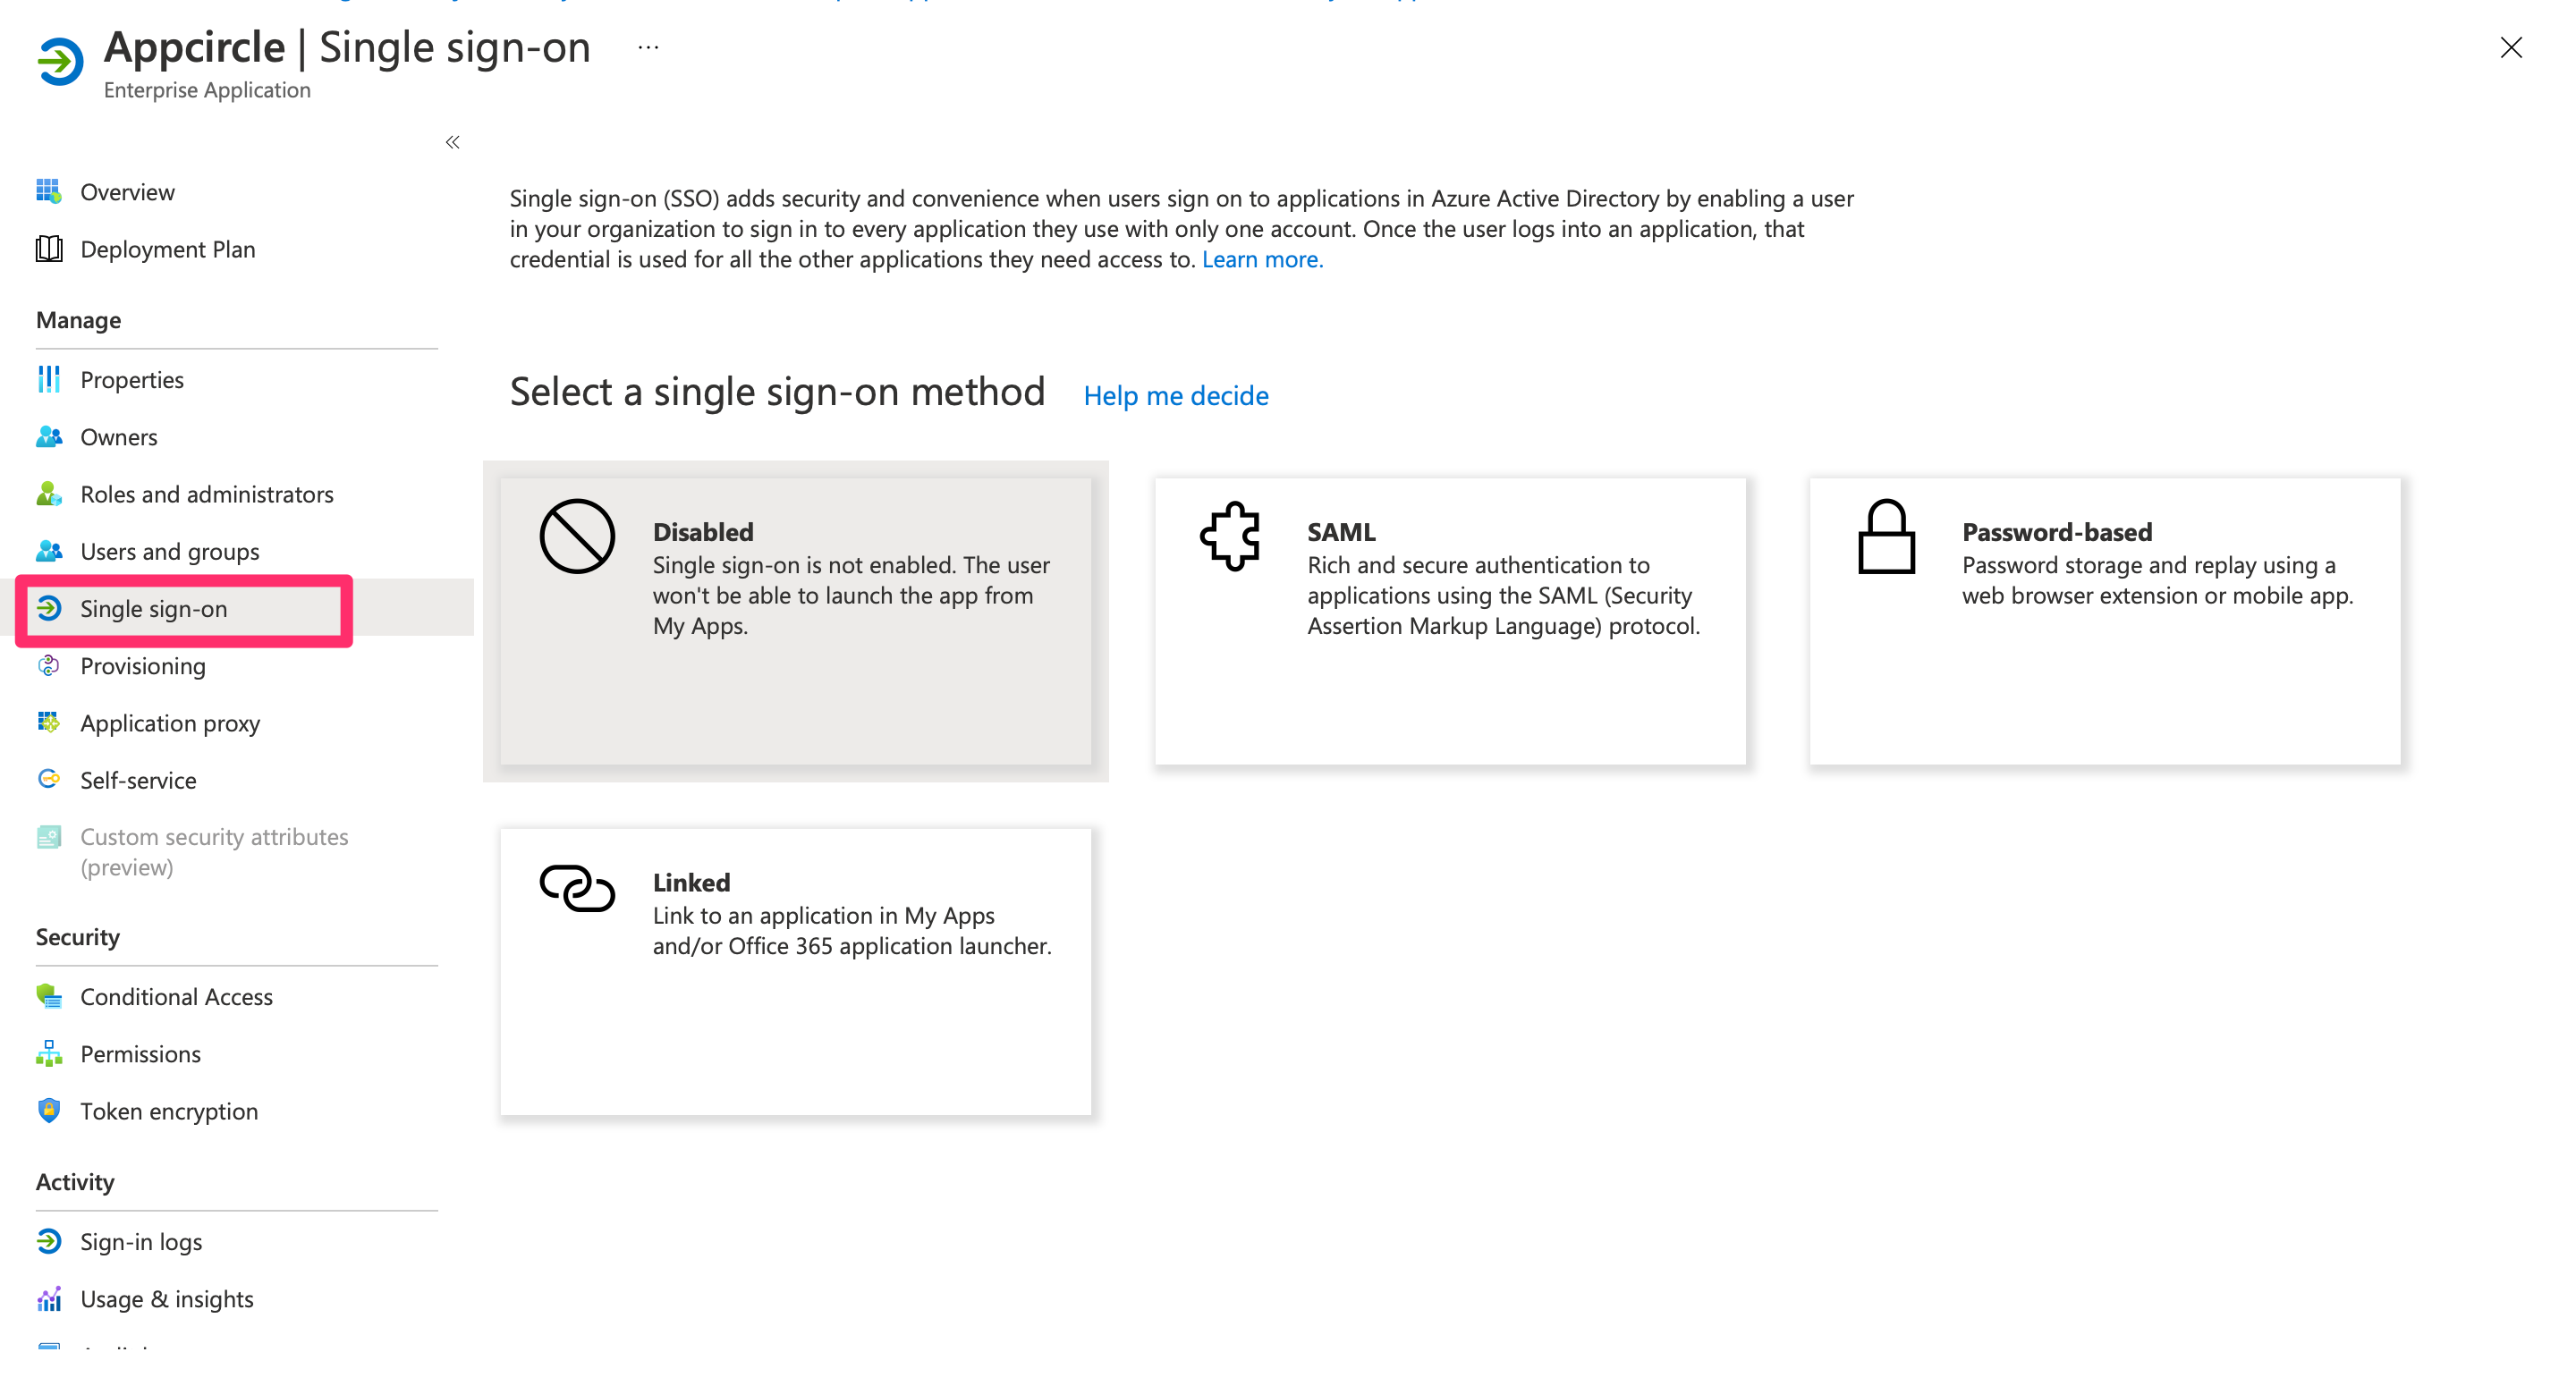
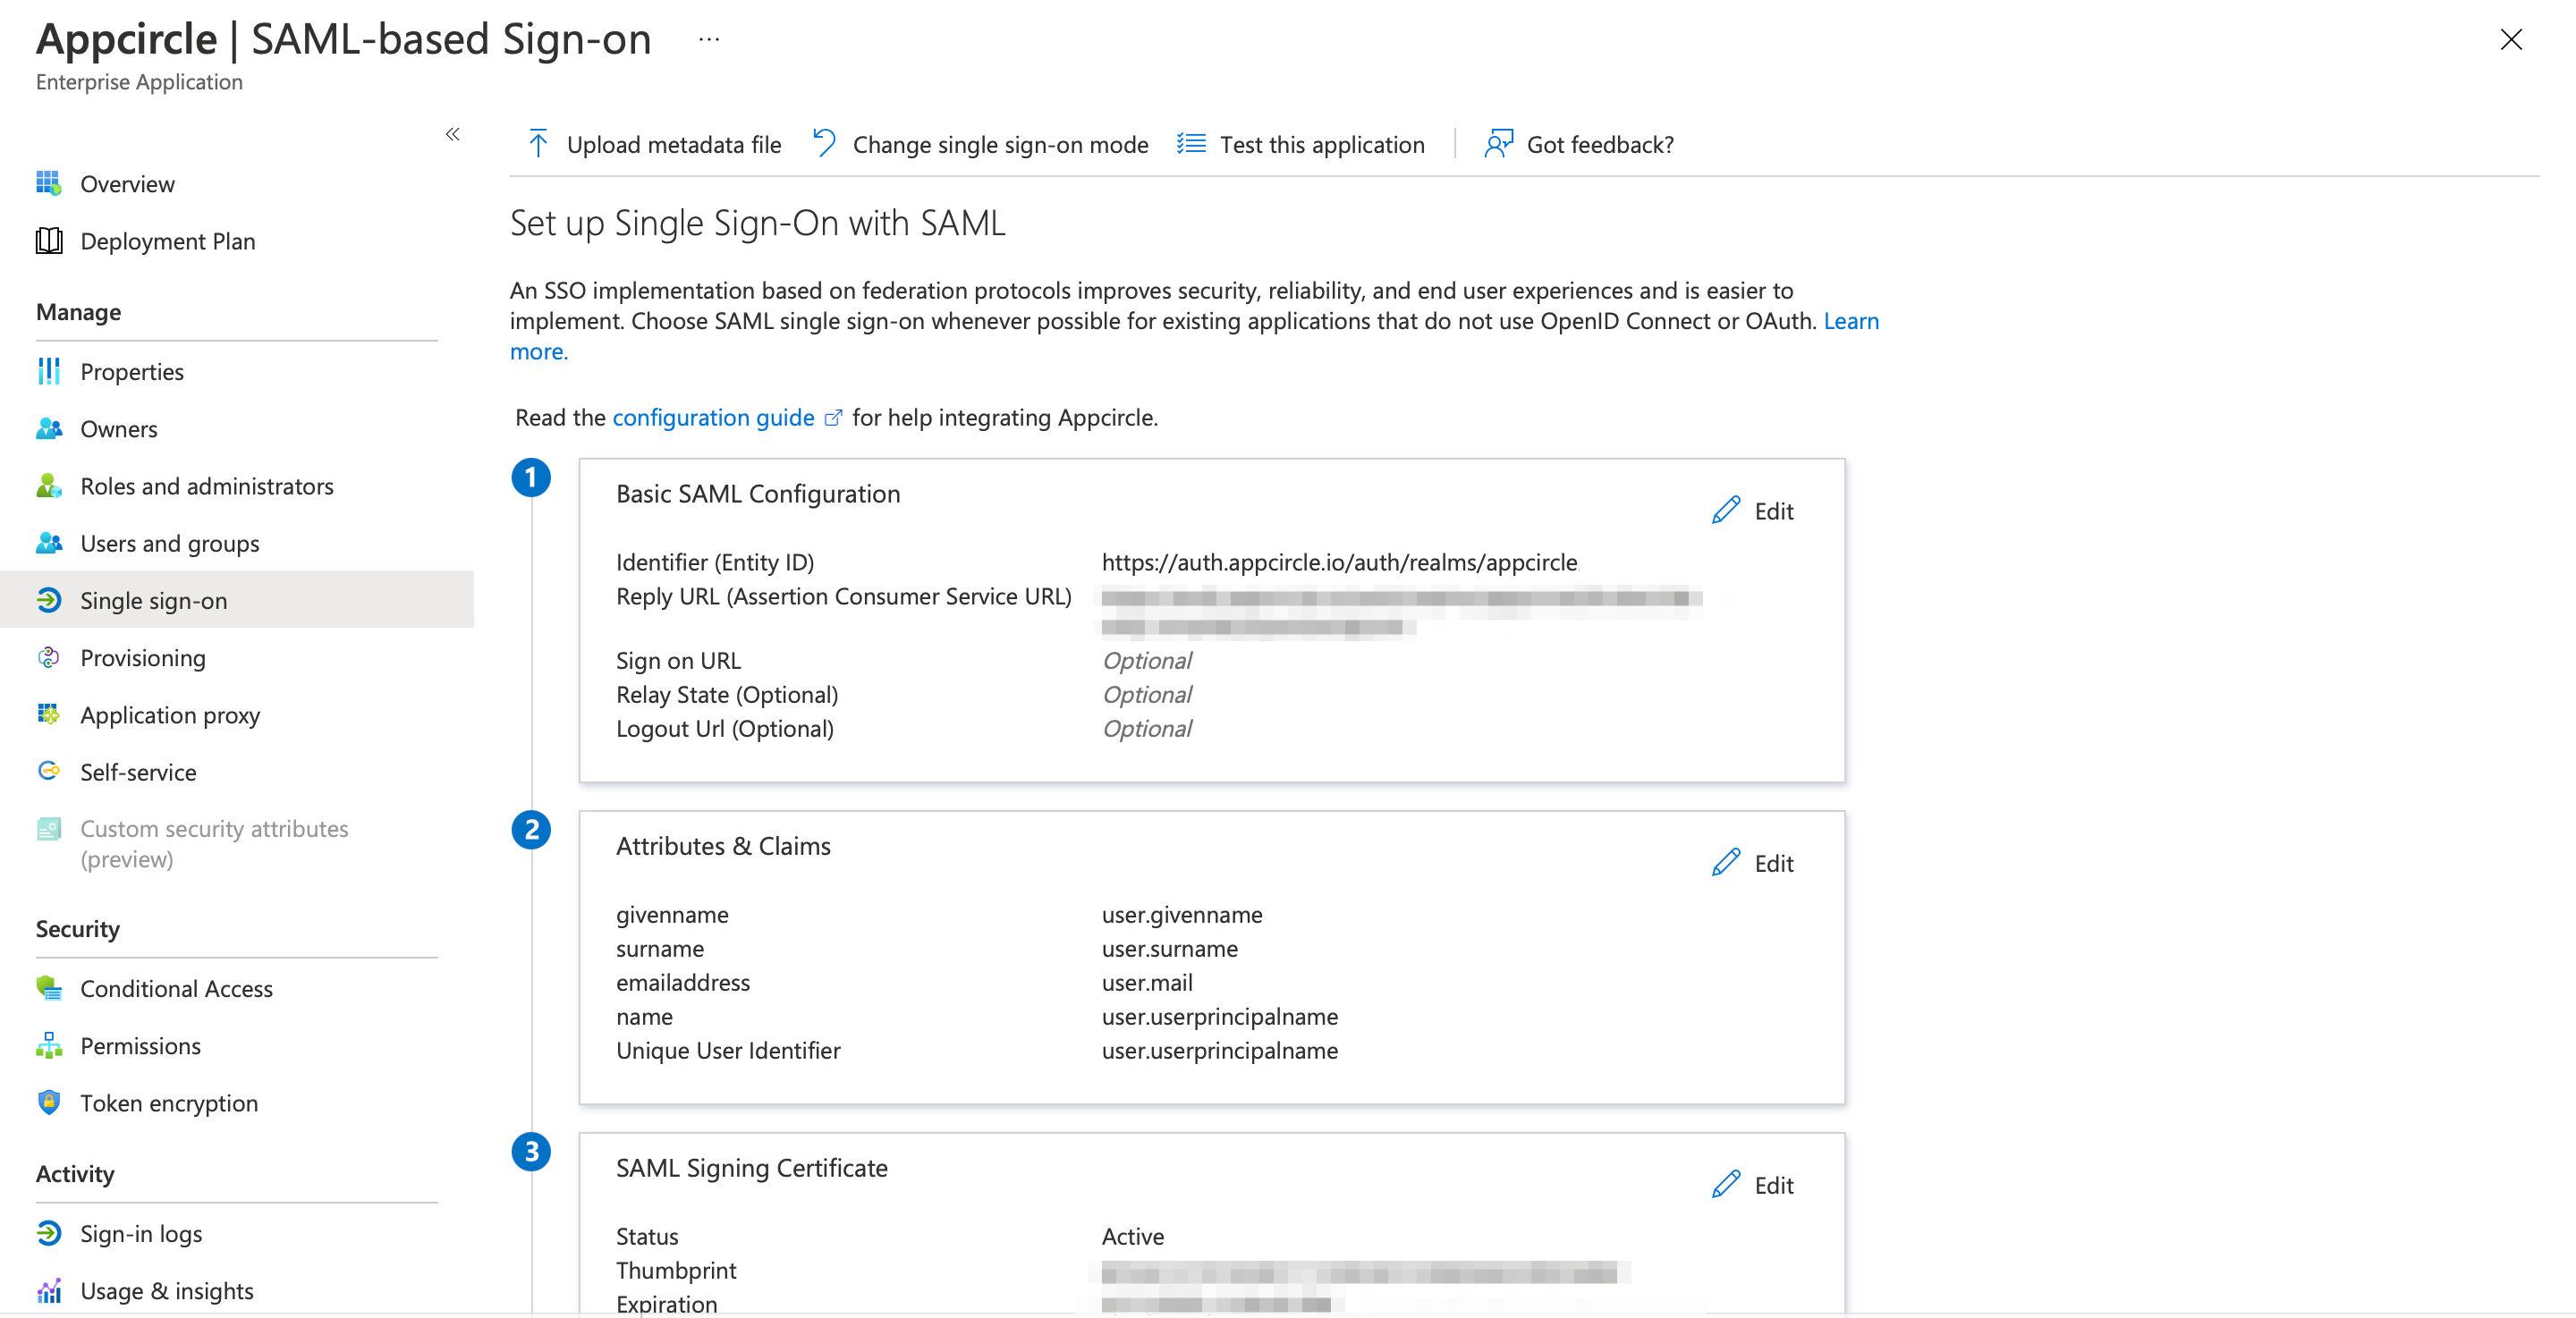
- Click Single sign-on and select SAML.
- Click Edit button on Basic SAML Configuration section.
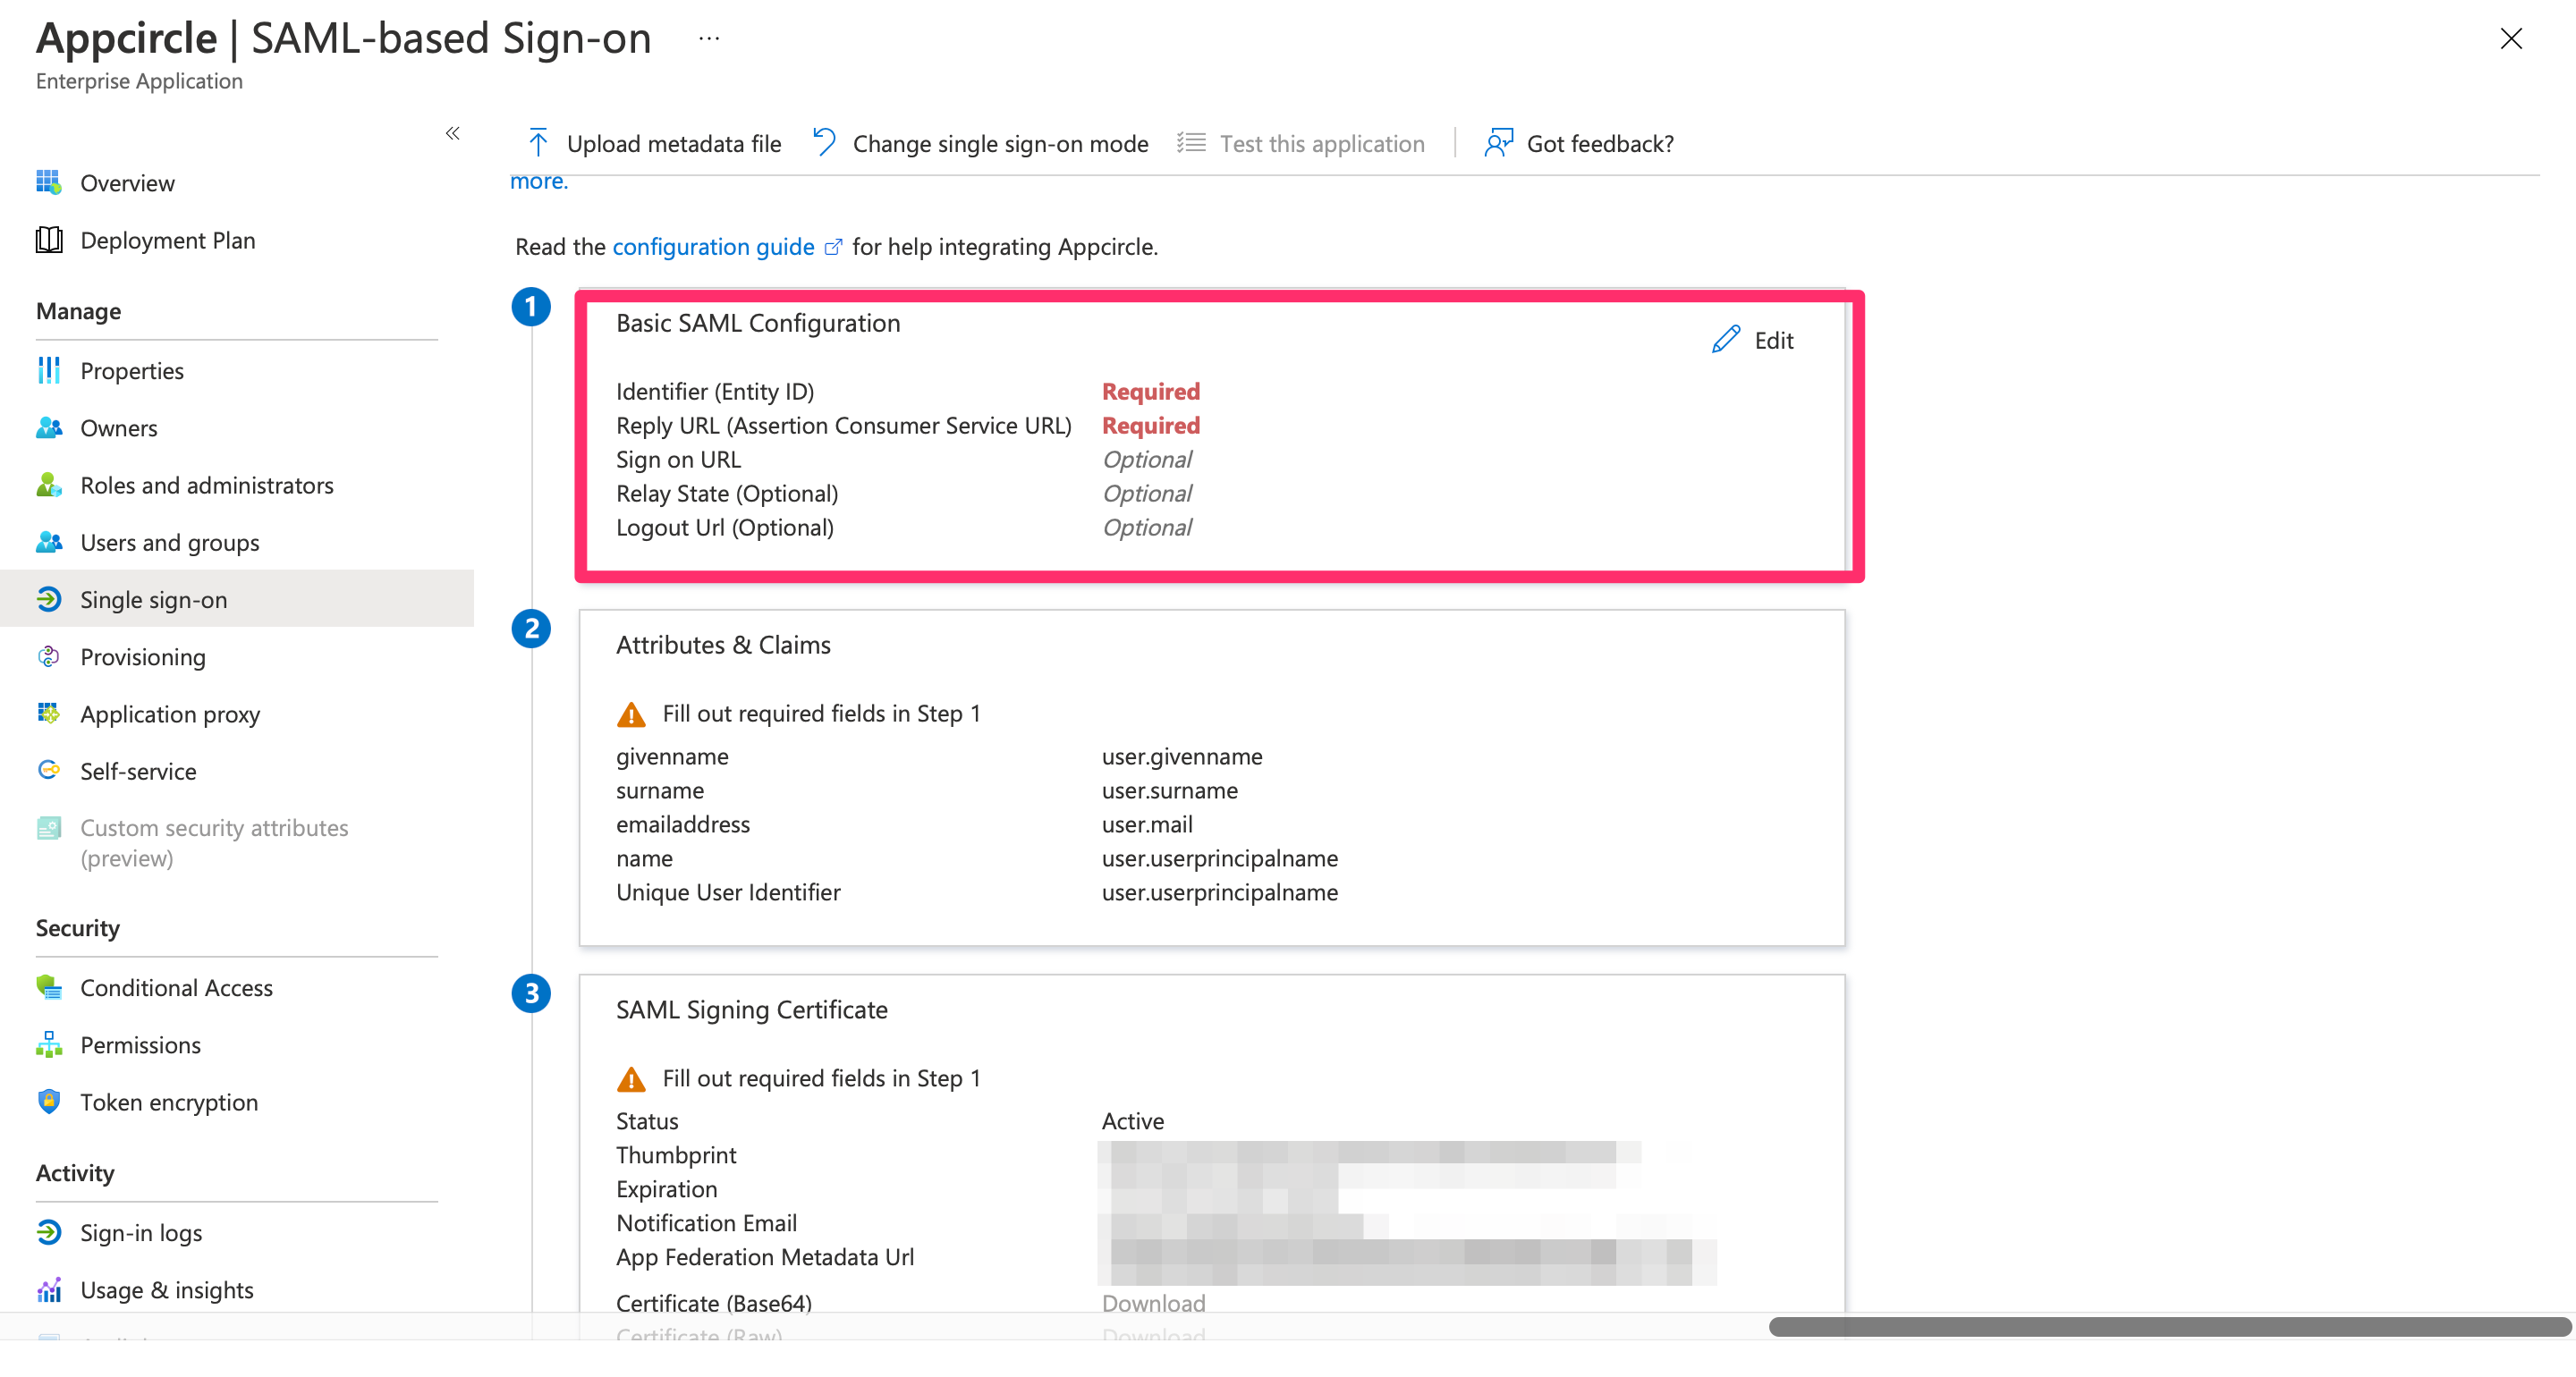
- Add
the Store Redirect URLandDistribute Redirect URLto Reply URL (Assertion Consumer Service URL). - Write
https://auth.appcircle.io/auth/realms/storefor the Identifier (Entity ID).
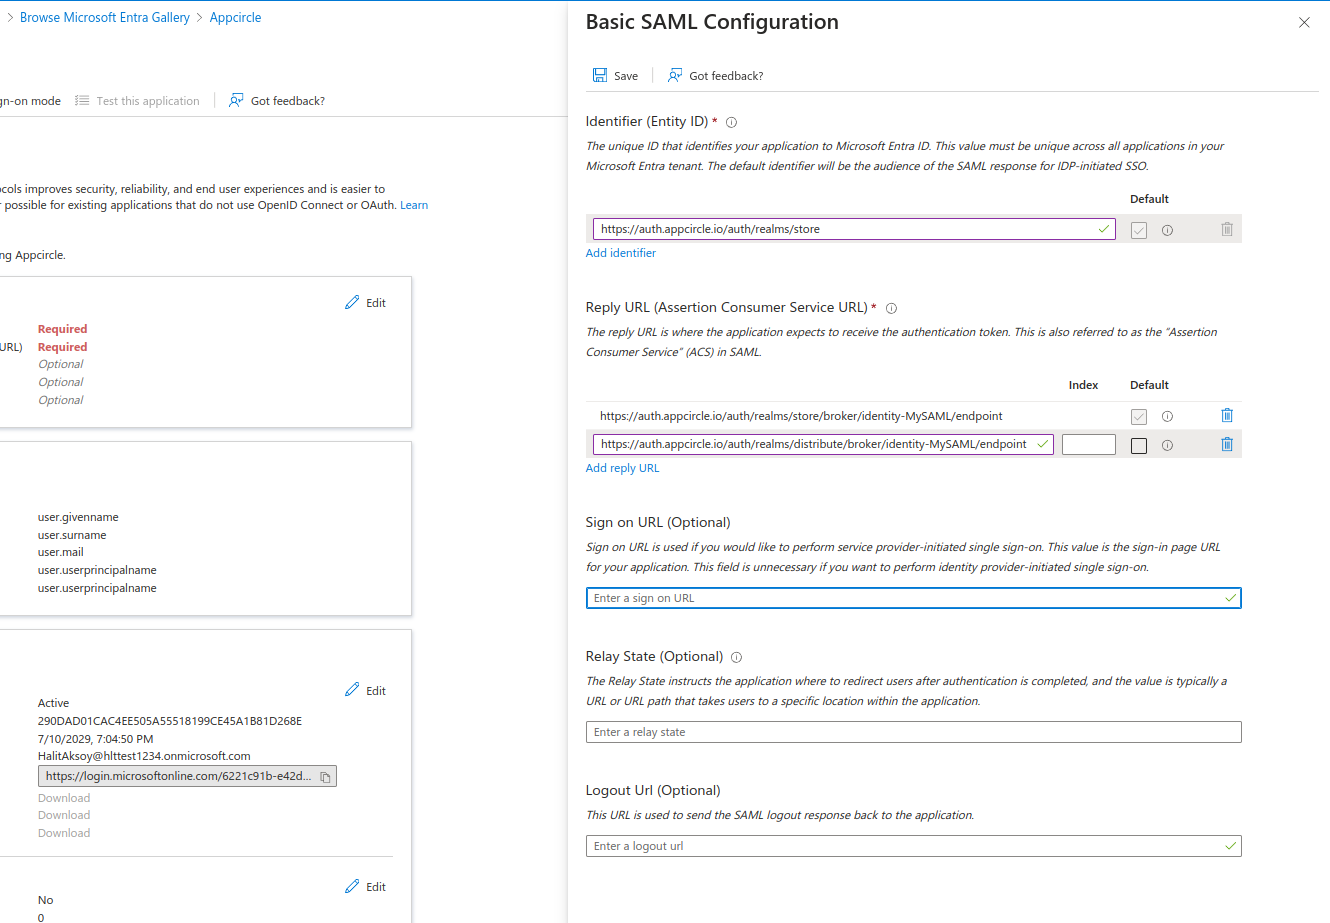
- Edit the attributes according to the below screenshot.
- Instead of writing all the settings of SAML, you can download the settings file from Azure AD and upload it. Click the Download button next to the Federation Metadata XML link to download the XML file.
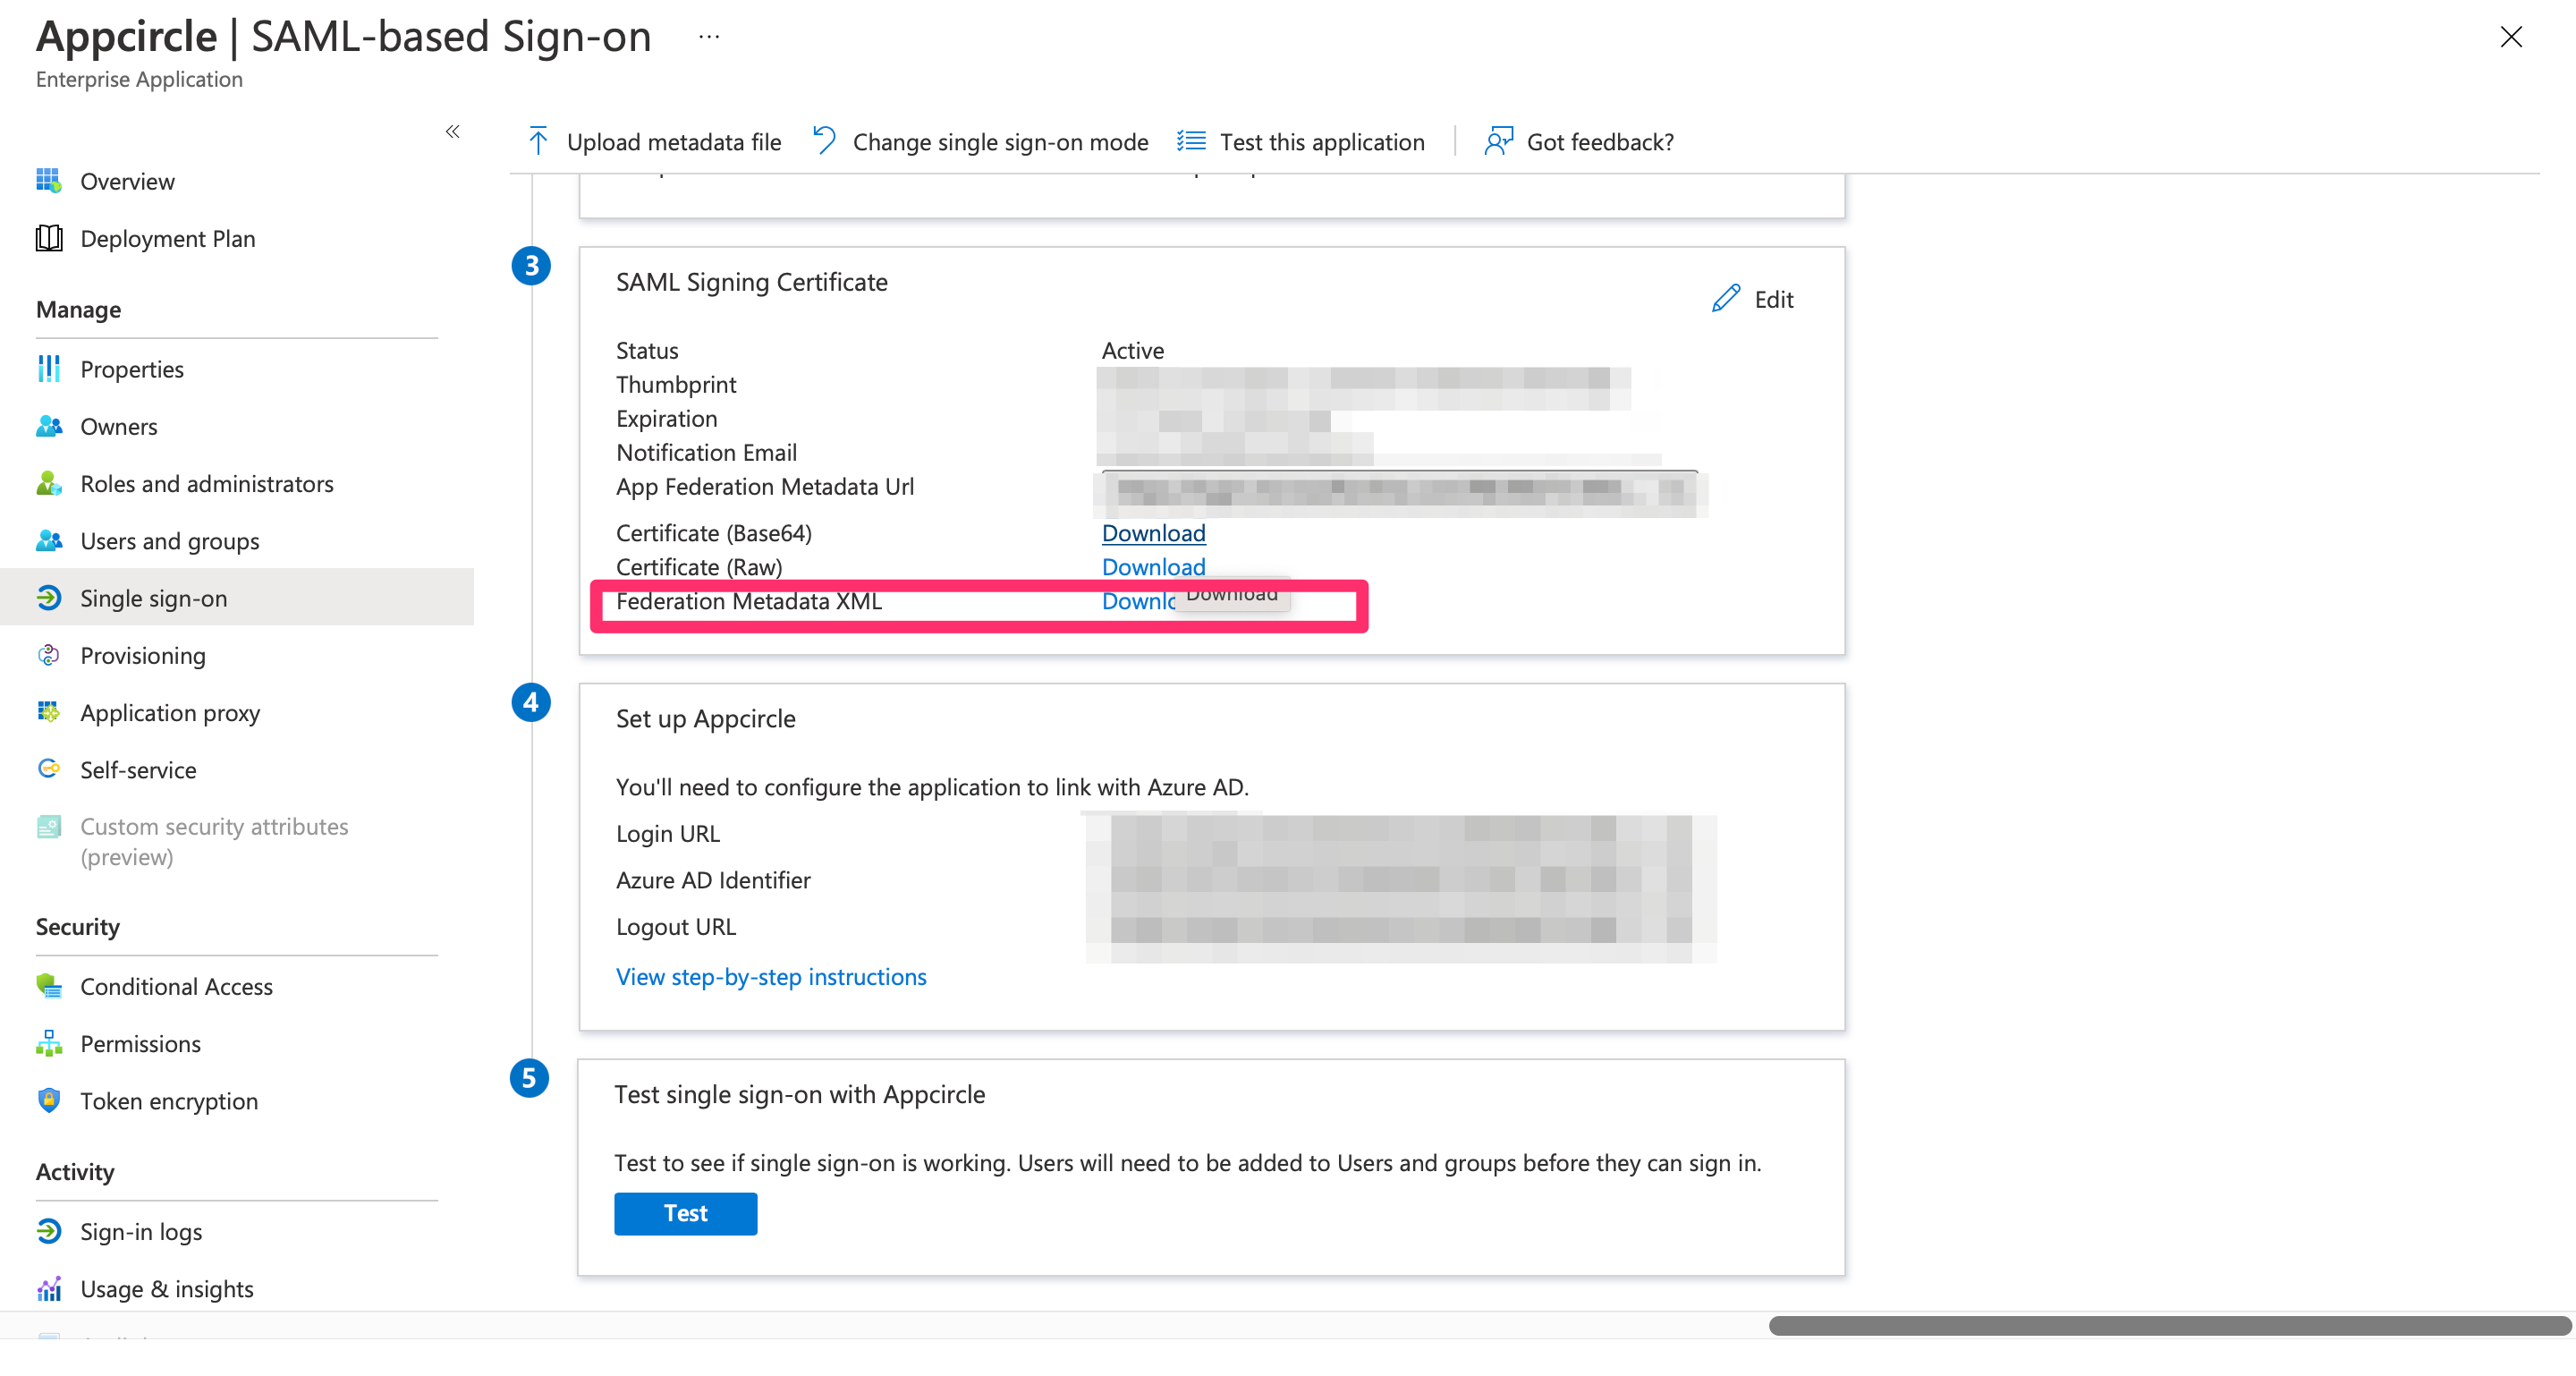
- Go back to Appcircle, upload this XML file by clicking the button under Import SAML Configuration.
- Check all the settings on this page and confirm that Redirect and SSO URLs are imported correctly. You can check if the X509 Certificate is imported correctly as well. If you want to enter multiple certificates you can separate them by using a comma between them. Please be aware that you need to remove any new lines or file headers from this edit box. This edit box only accepts a long base64 encoded string.
If you are a self-hosted Appcircle user, then you should change the domain of the Store and Distribute Redirect URL to your own domain.
You must use the same auth domain address with the store redirect URL.
For example your Store Redirect URL is https://auth.self.spacetech.com/auth/realms/store/broker/identity-spacetech/endpoint, Distribute Redirect URL is ![]()
Microsoft Entra ID Managing User Groups
Managing user groups within Microsoft Entra ID provides users and organizations with several benefits. By organizing users into groups, administrators can efficiently manage access permissions for various applications and resources, saving time and effort. Administrators can synchronize Microsoft Entra ID user groups with Appcircle, allowing for granular access control and group-based permissions. This integration enhances security, simplifies access management, and promotes collaboration within organizations utilizing the Appcircle platform.
- Log in to Azure as an admin and navigate to Azure Services and then click Microsoft Entra ID.
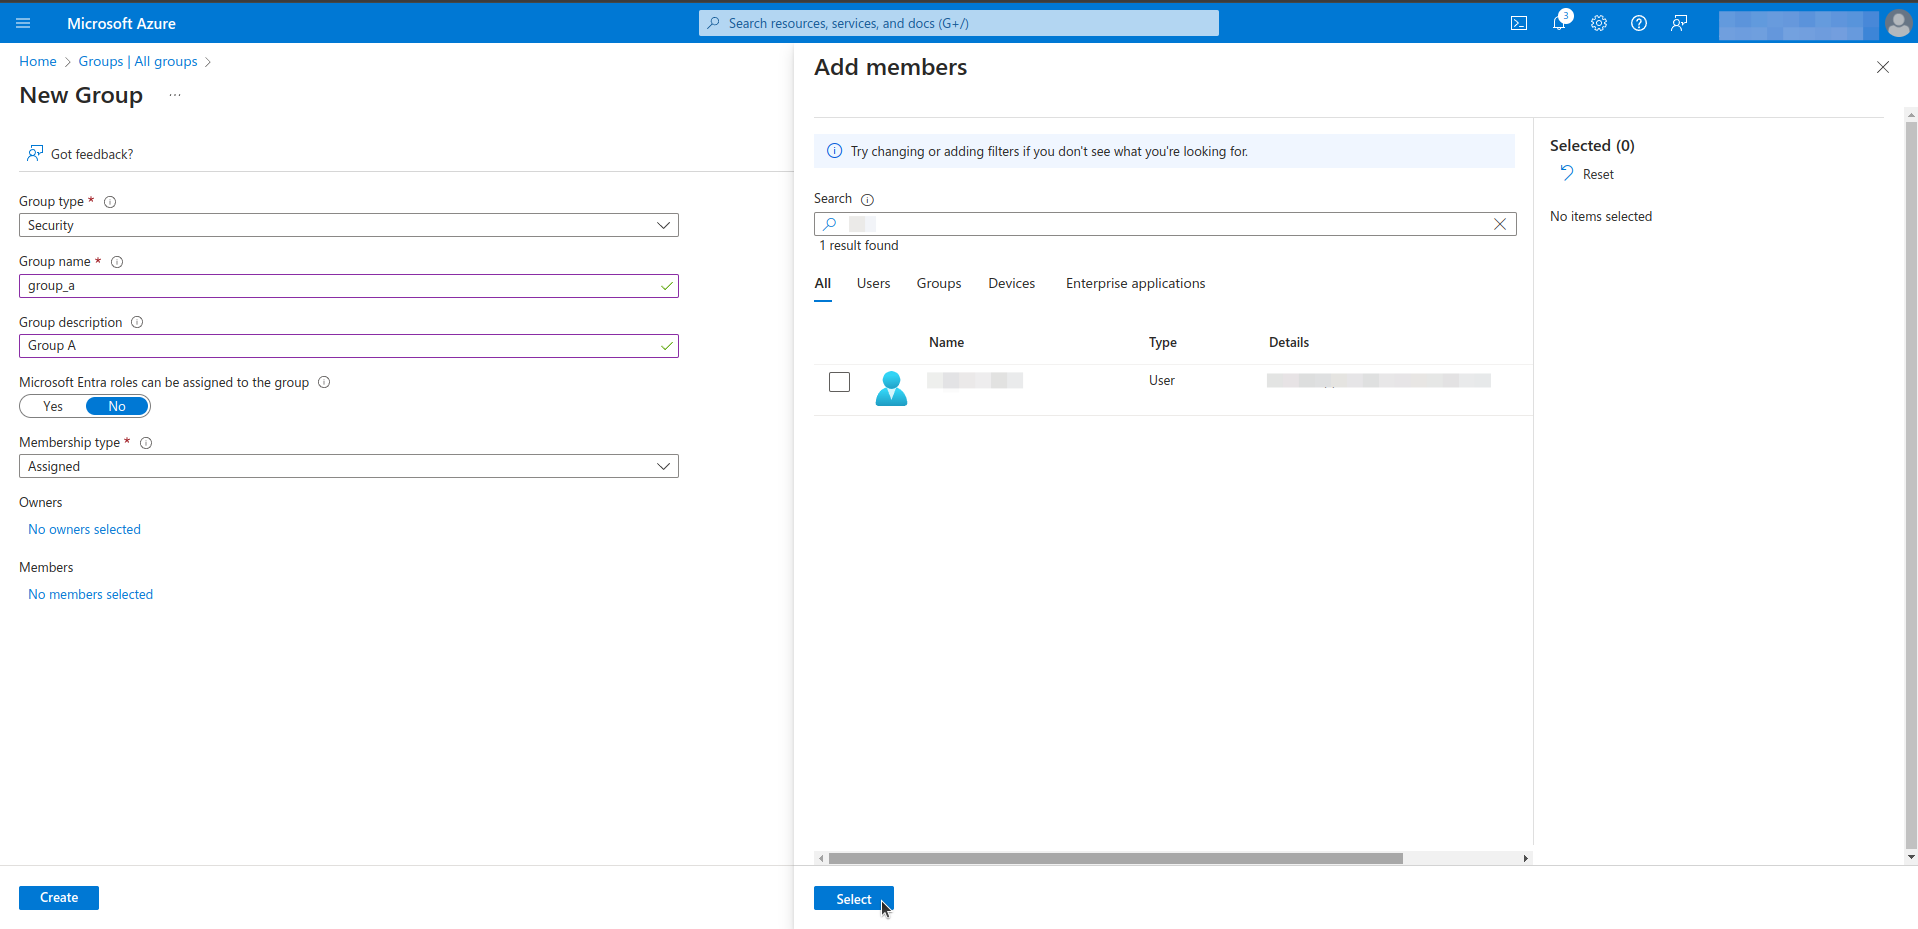
- Navigate to Manage > Groups, and click on New Group.
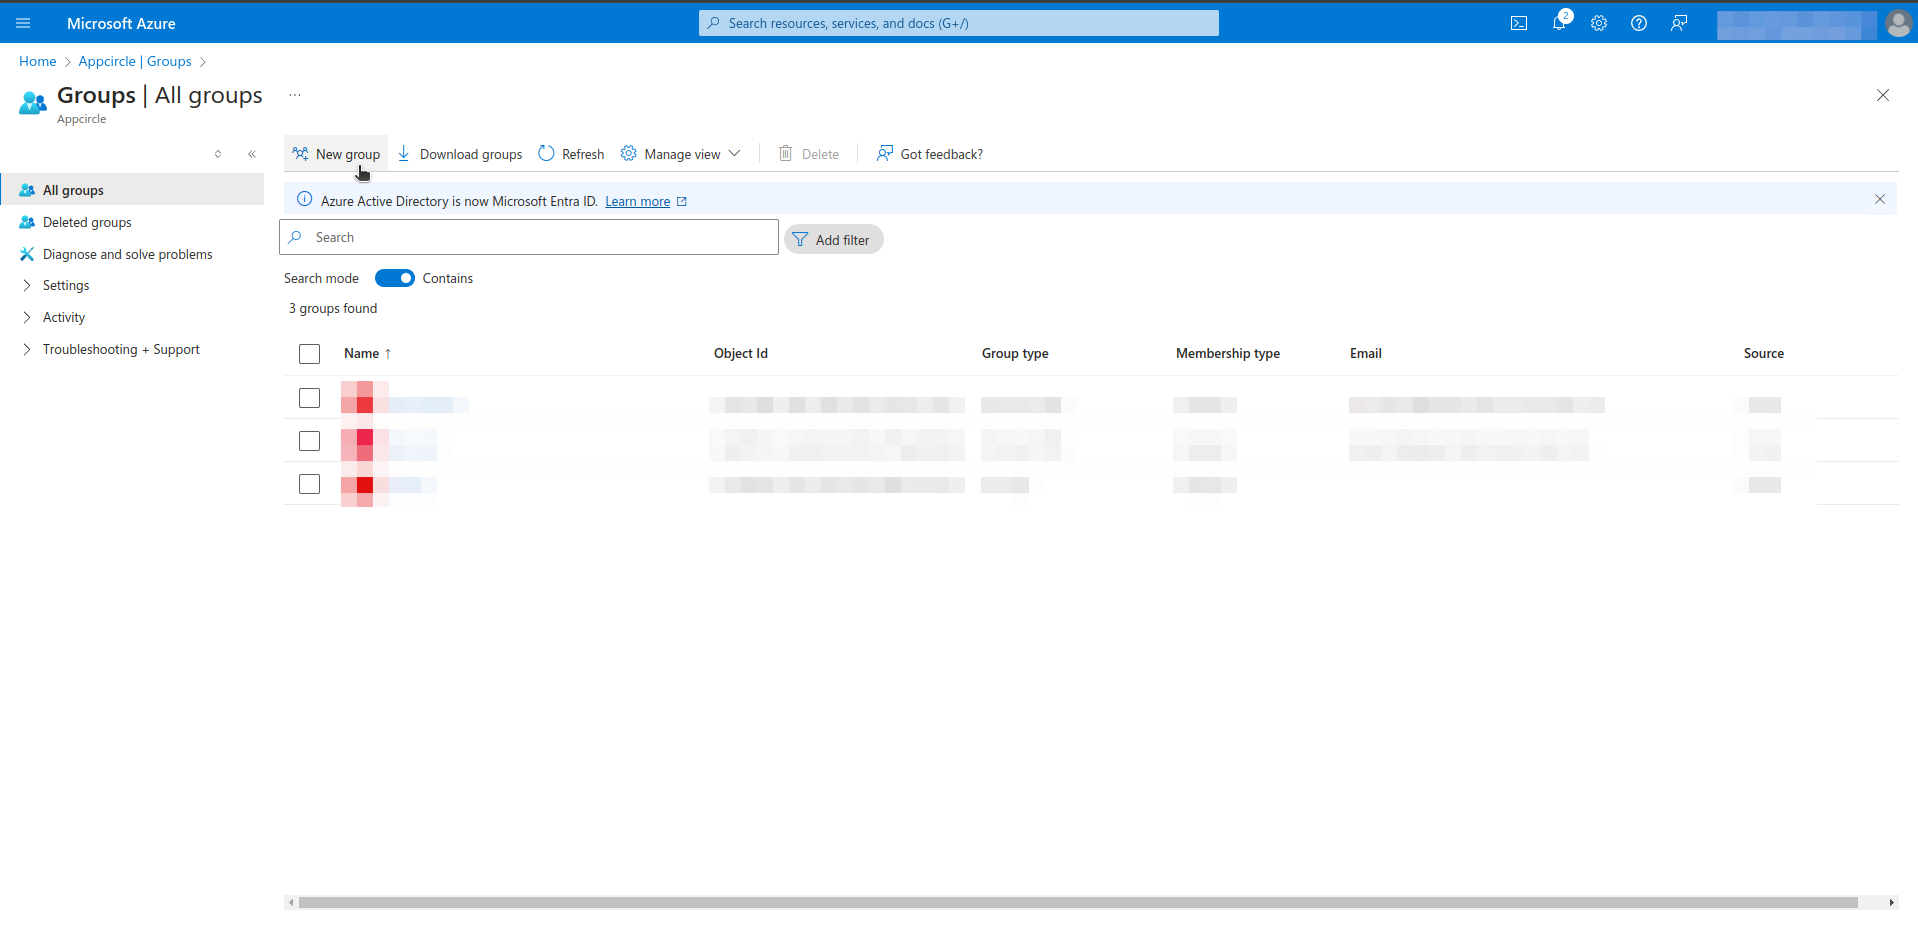
- Assign a proper name and description to the new group. Designate an owner and members to the group.
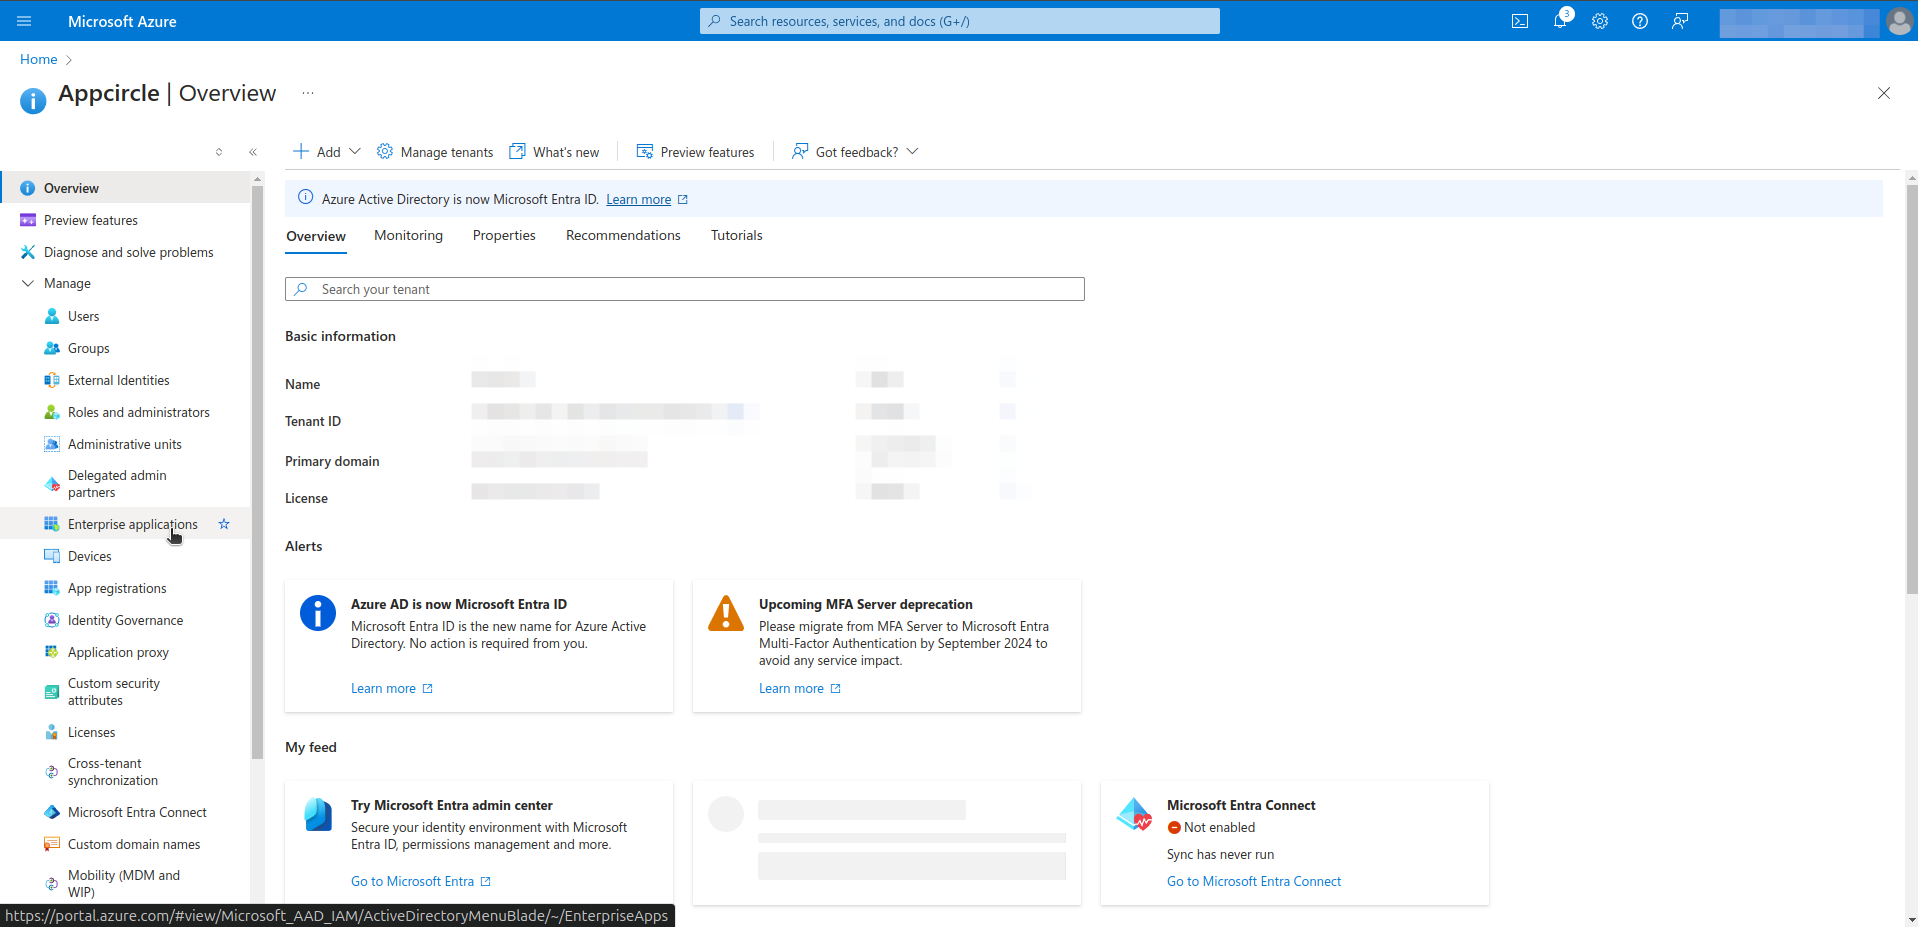
- Navigate to Azure Services and then click Microsoft Entra ID. Click on Manage > Enterprise applications.
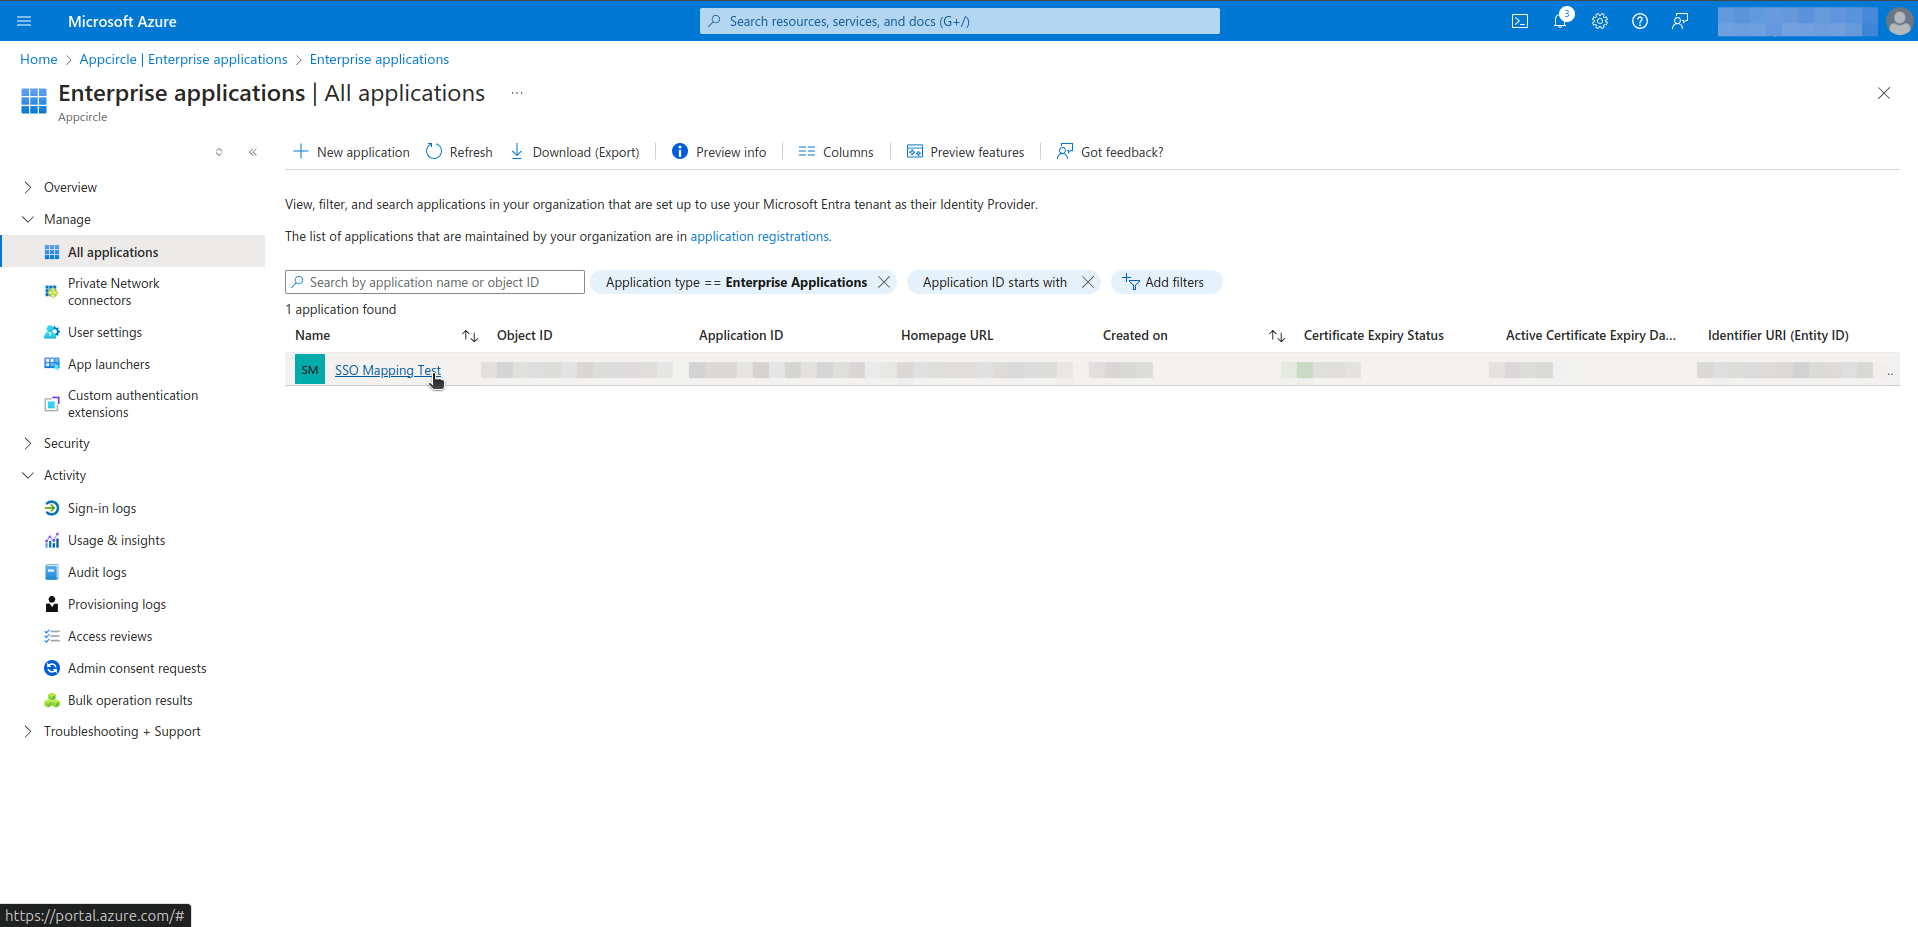
- Click on your application.
- Click on Assign users and groups.
- Click on Add user/group.
- Select users and groups . This process can be repeated as needed.
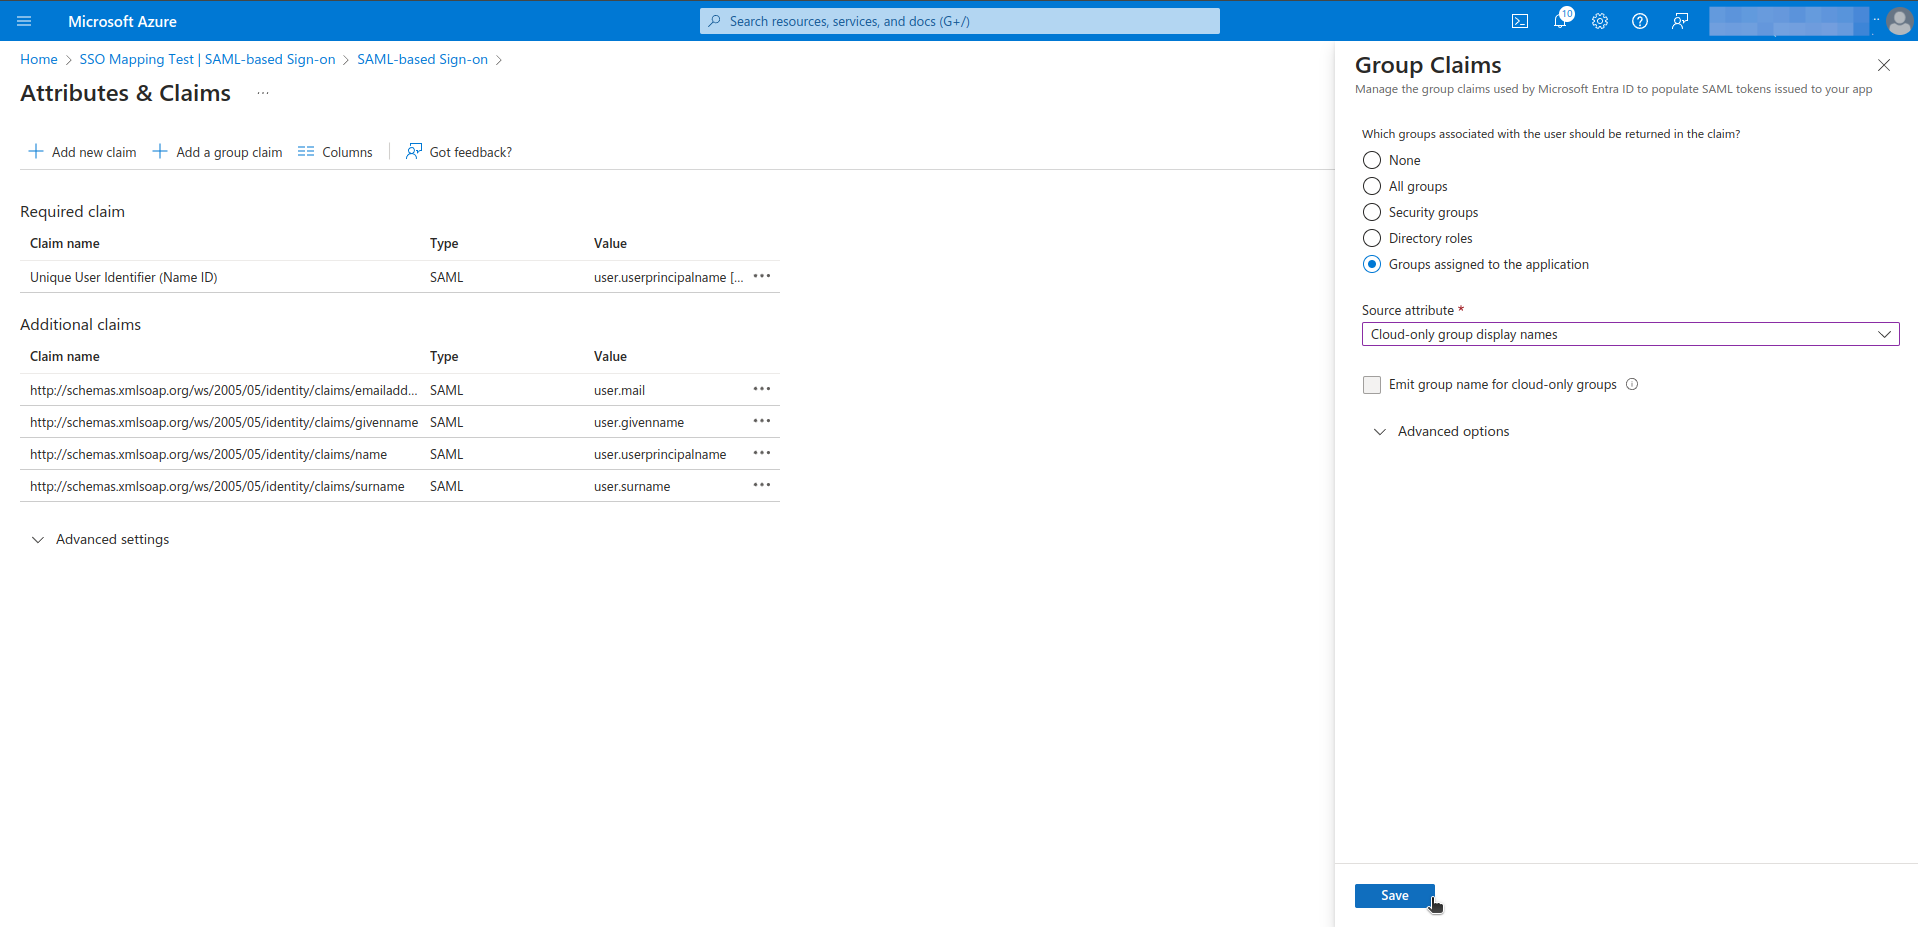
- Navigate to Manage > Single sign-on. Click on Edit in Attributes & Claims section.
- Click on Add a Group Claim. Select Groups assigned to the application and select Groups assigned to the application as source attribute. Then click on Save.
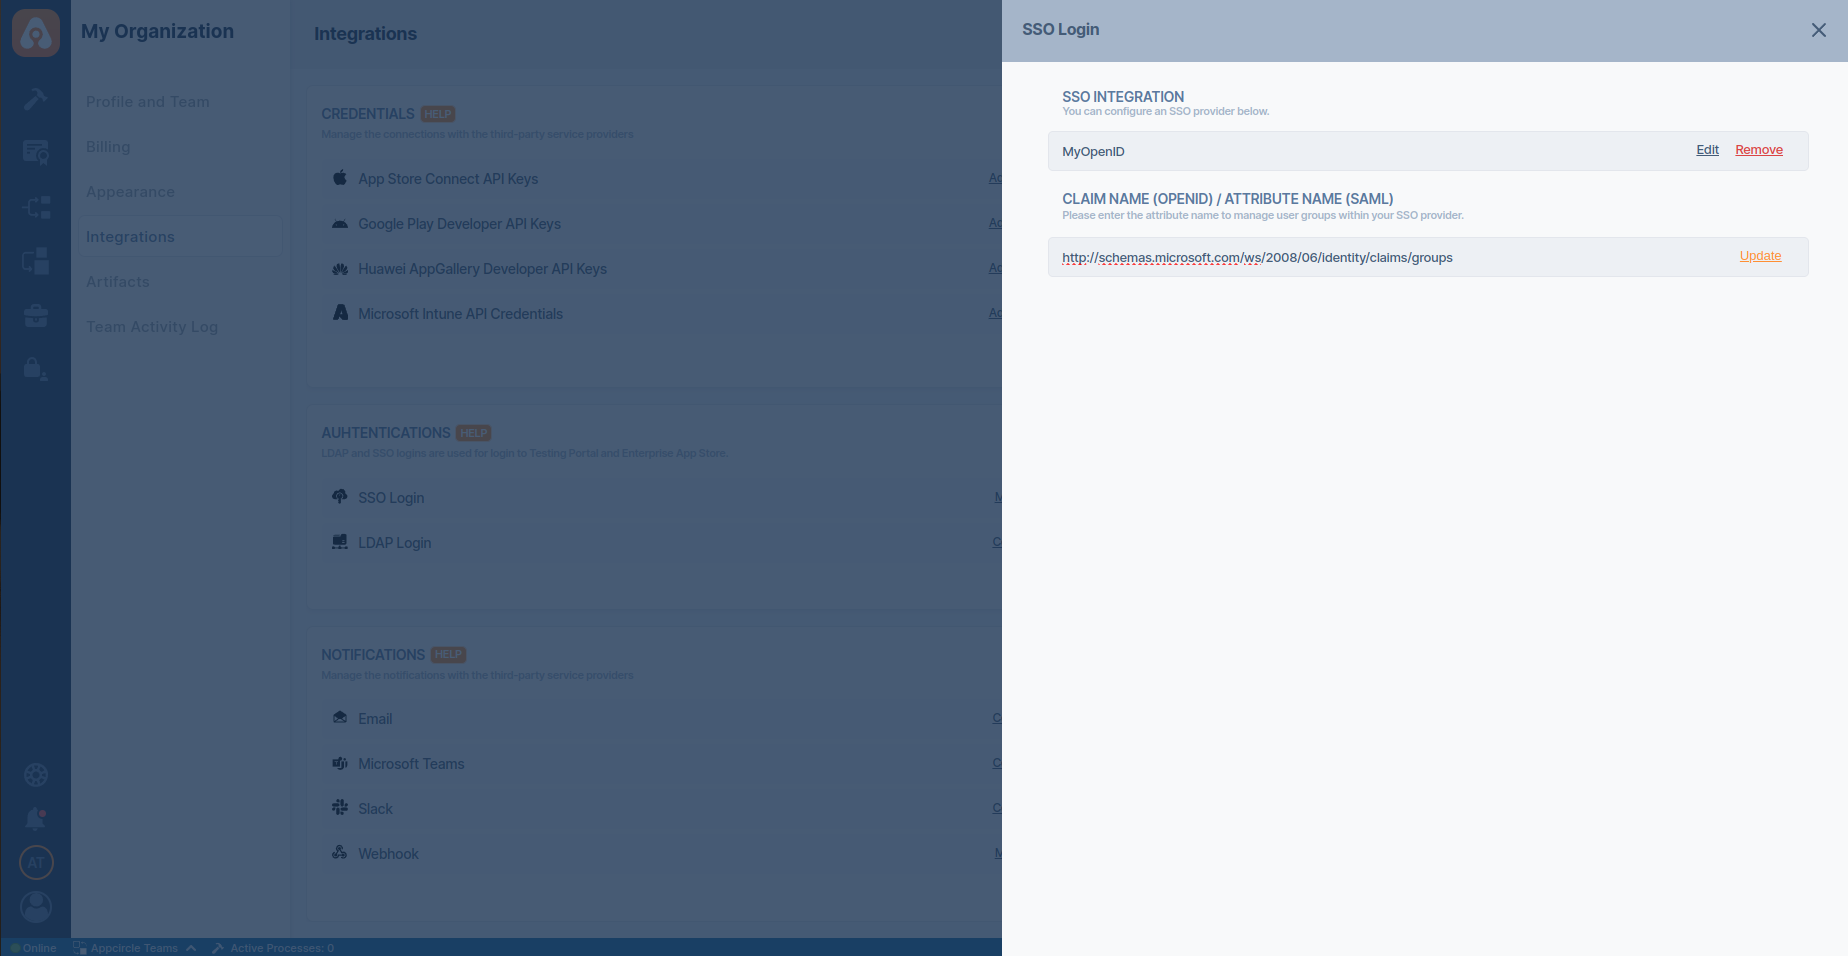
- Go back to Appcircle, go to My Organization > Integrations screen and press the Manage button next to SSO Login under the Authentications section.
- Update the Claim Name as
http://schemas.microsoft.com/ws/2008/06/identity/claims/groups.
Sample Scenario
For example there are two groups, one is developers and other one is users.
The beta channel on Enterprise App Store should be available for developers group and not for users group that has end-users.
The live channel should be available for both groups in this case.
Appcircle Integration Configuration
- Go back to Appcircle, upload this XML file by clicking the button under Import SAML Configuration.
-
Check all the settings on this page and confirm that Redirect and SSO URLs are imported correctly. You can check if the X509 Certificate is imported correctly as well. If you want to enter multiple certificates you can separate them by using a comma between them. Please be aware that you need to remove any new lines or file headers from this edit box. This edit box only accepts a long base64 encoded string.
-
Hit
Savebutton and save the SAML configuration on Appcircle. -
To enable SSO Login for the Enterprise App Store, you should navigate to the Enterprise App Store -> Settings and then click on the
Activatebutton next to SSO Login.

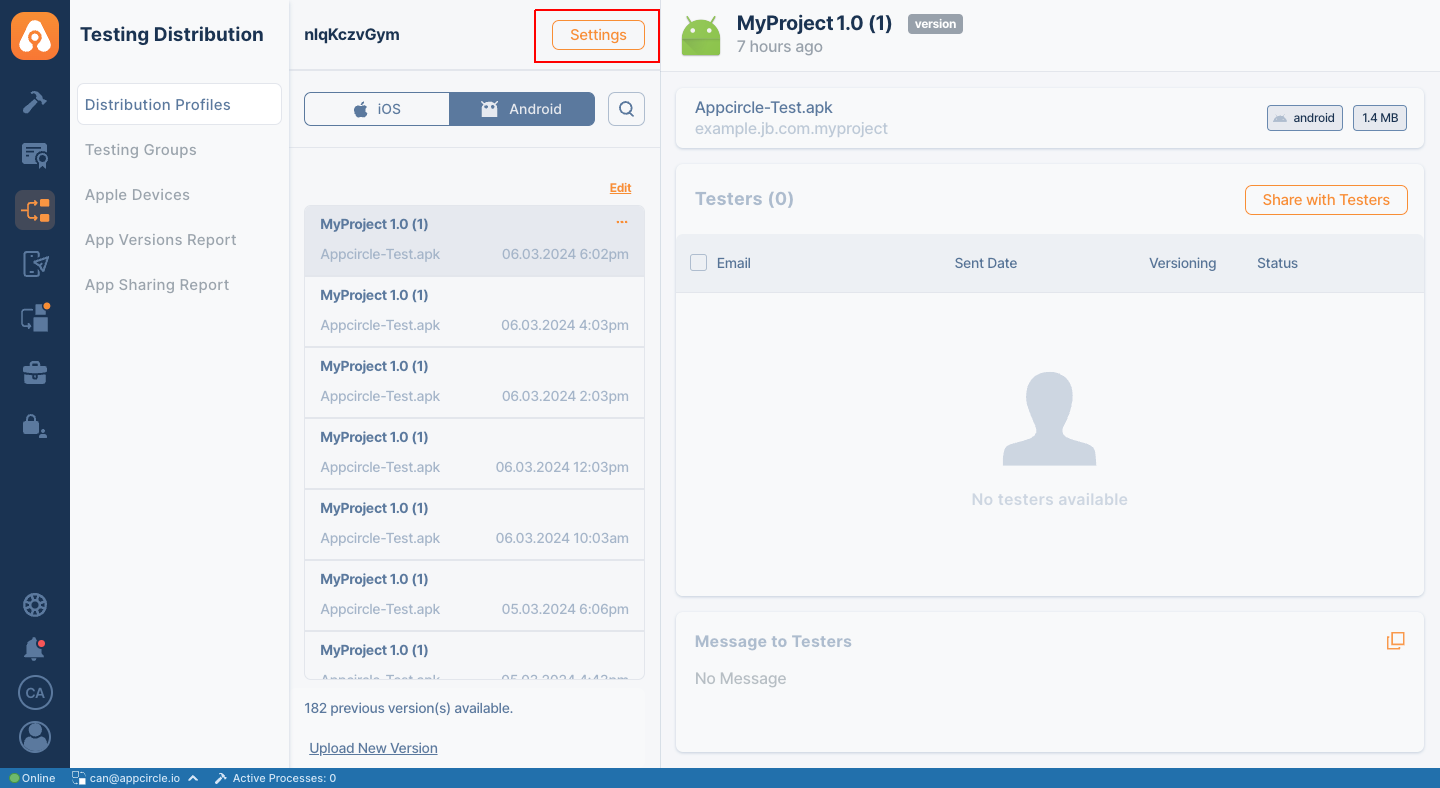
- To enable SSO login for the Testing Distribution, go to the Testing Distribution module and select related profile.
- Click on the
Settingsbutton on the detail screen.
- Navigate to the
Authenticationtab and select SSO Login as the authentication type.
