Auth0 OpenID
Appcircle supports Auth0 as OpenID or as SAML provider.
Only Enterprise accounts support SSO.
Enable SSO
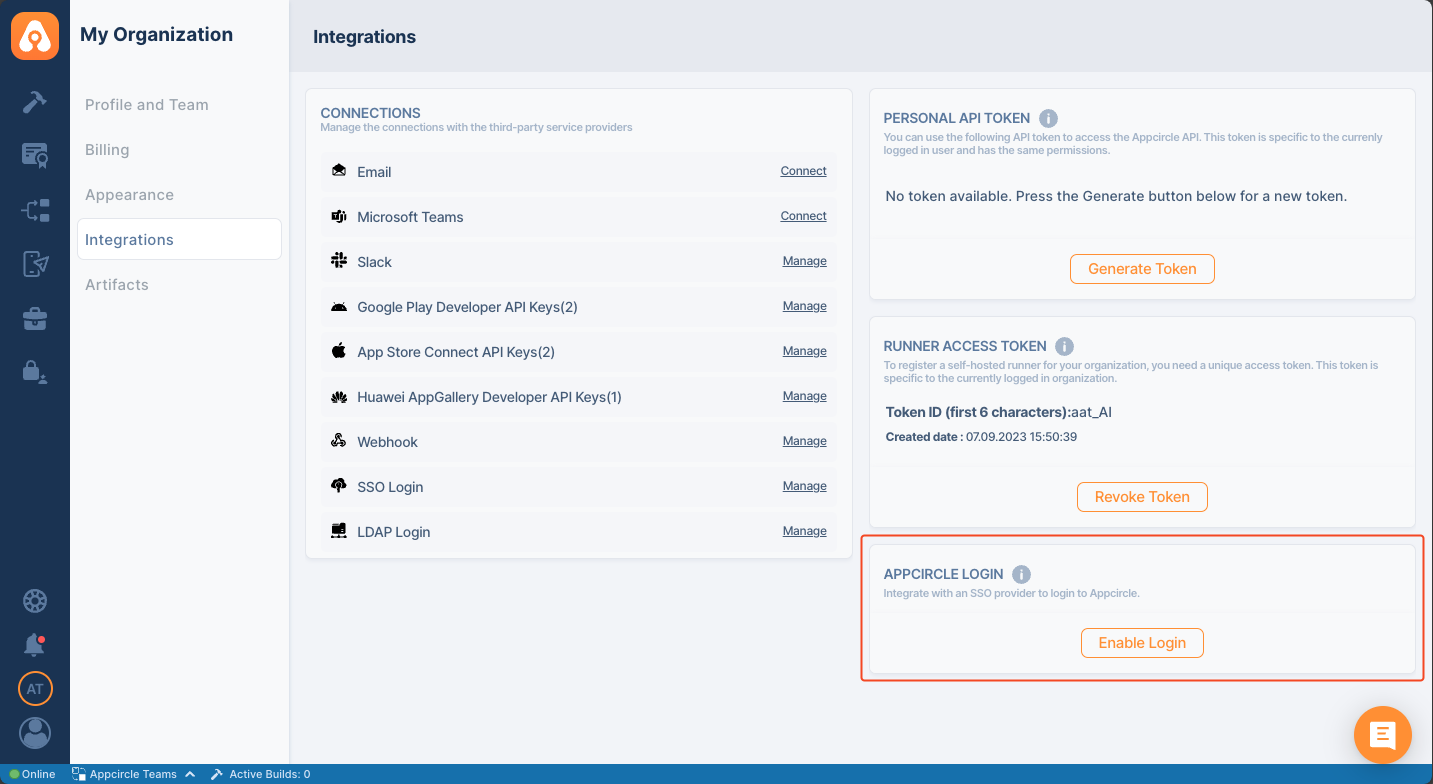
SSO can only be enabled by the organization's administrator. To start, go to My Organization screen and click the Enable Login button under the APPCIRCLE LOGIN section.
Configure Appcircle and Auth0
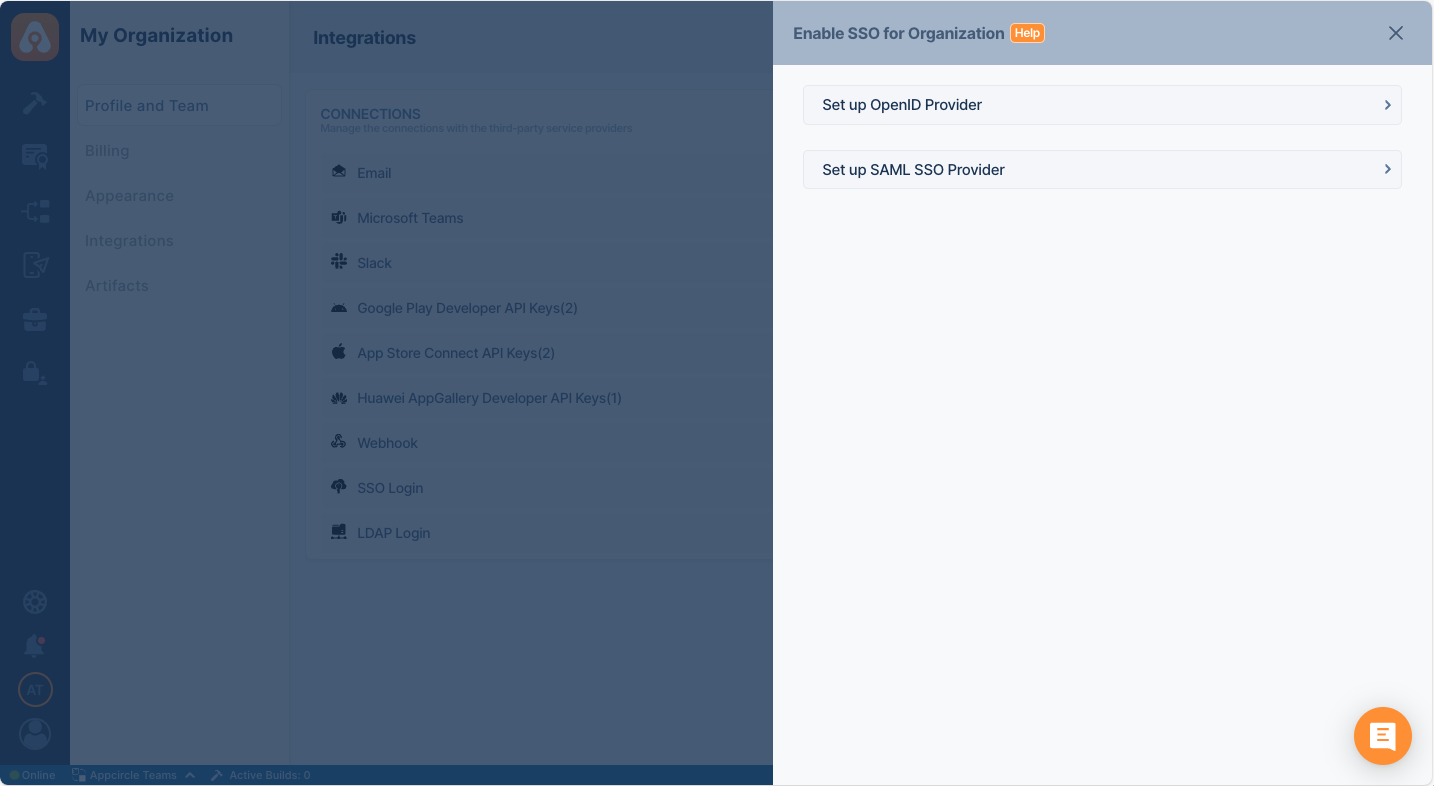
- Select Setup OpenID Provider
-
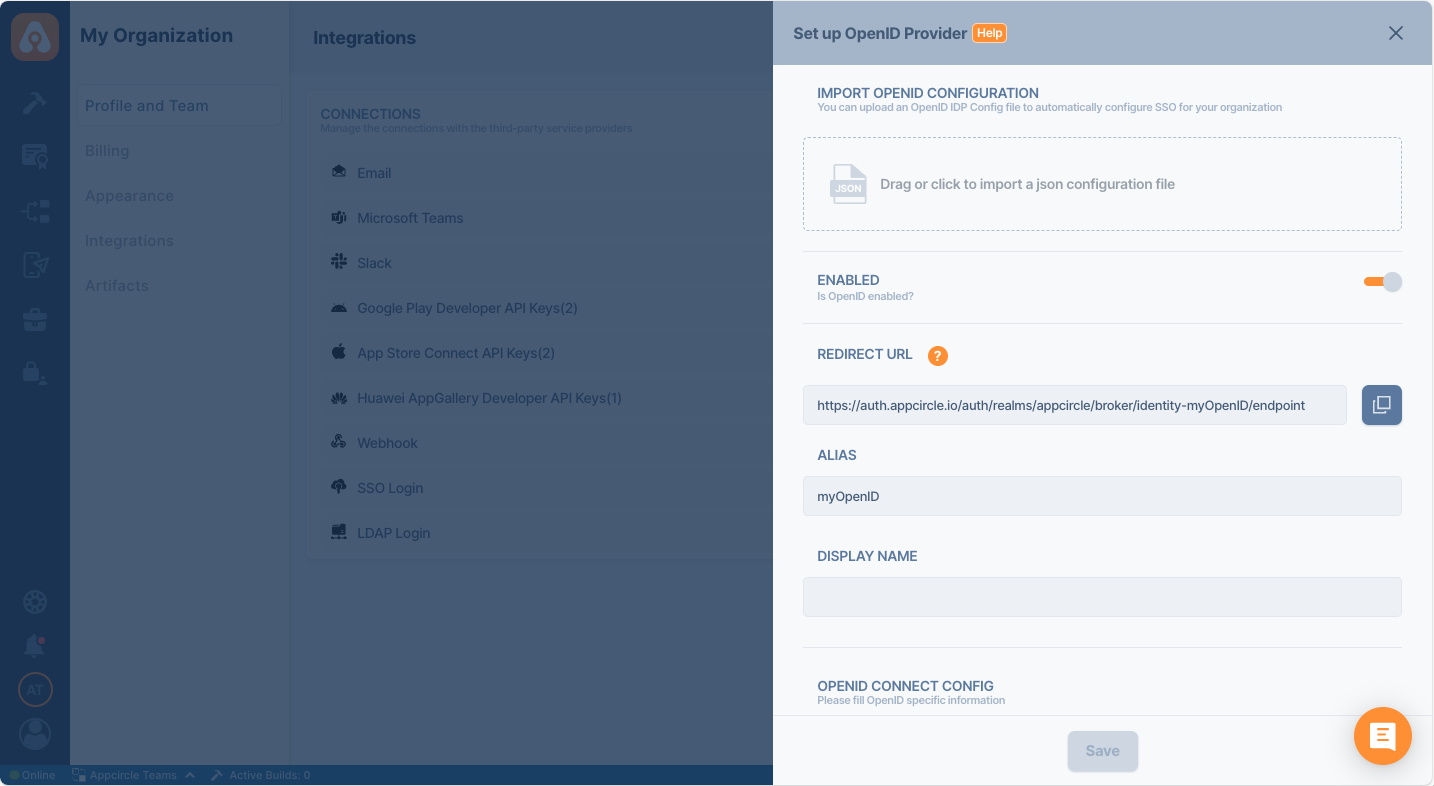
Pick an alias and display name for your organization. Please pick a short and rememberable alias.
-
This screen will auto-generate an URL for the next step
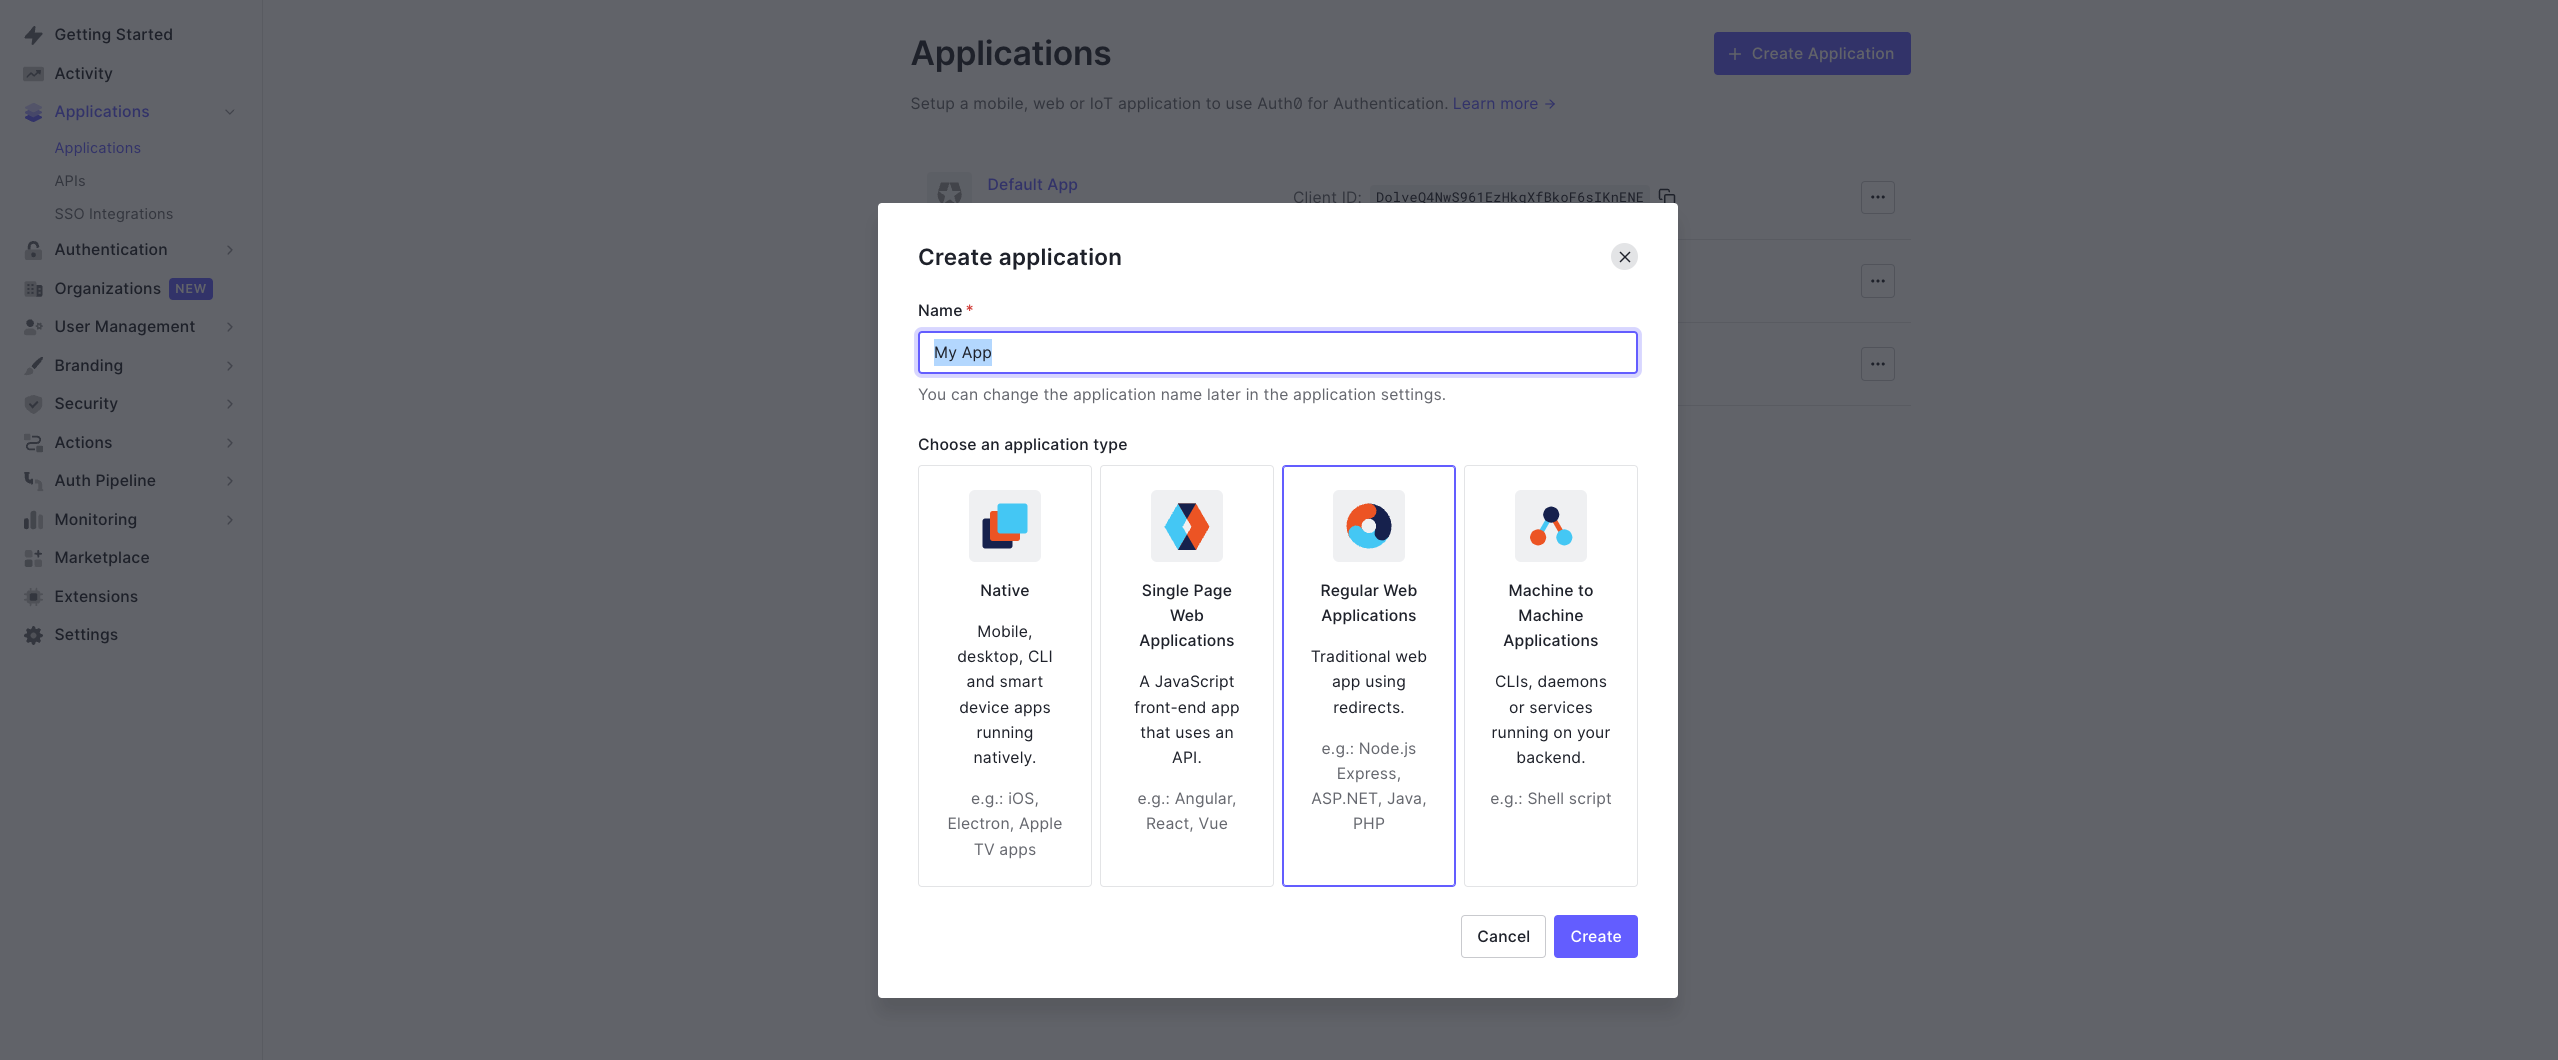
- Login to your Auth0 account and navigate to Applications and then click Create Application.

- Select Regular Web Applications and give a name
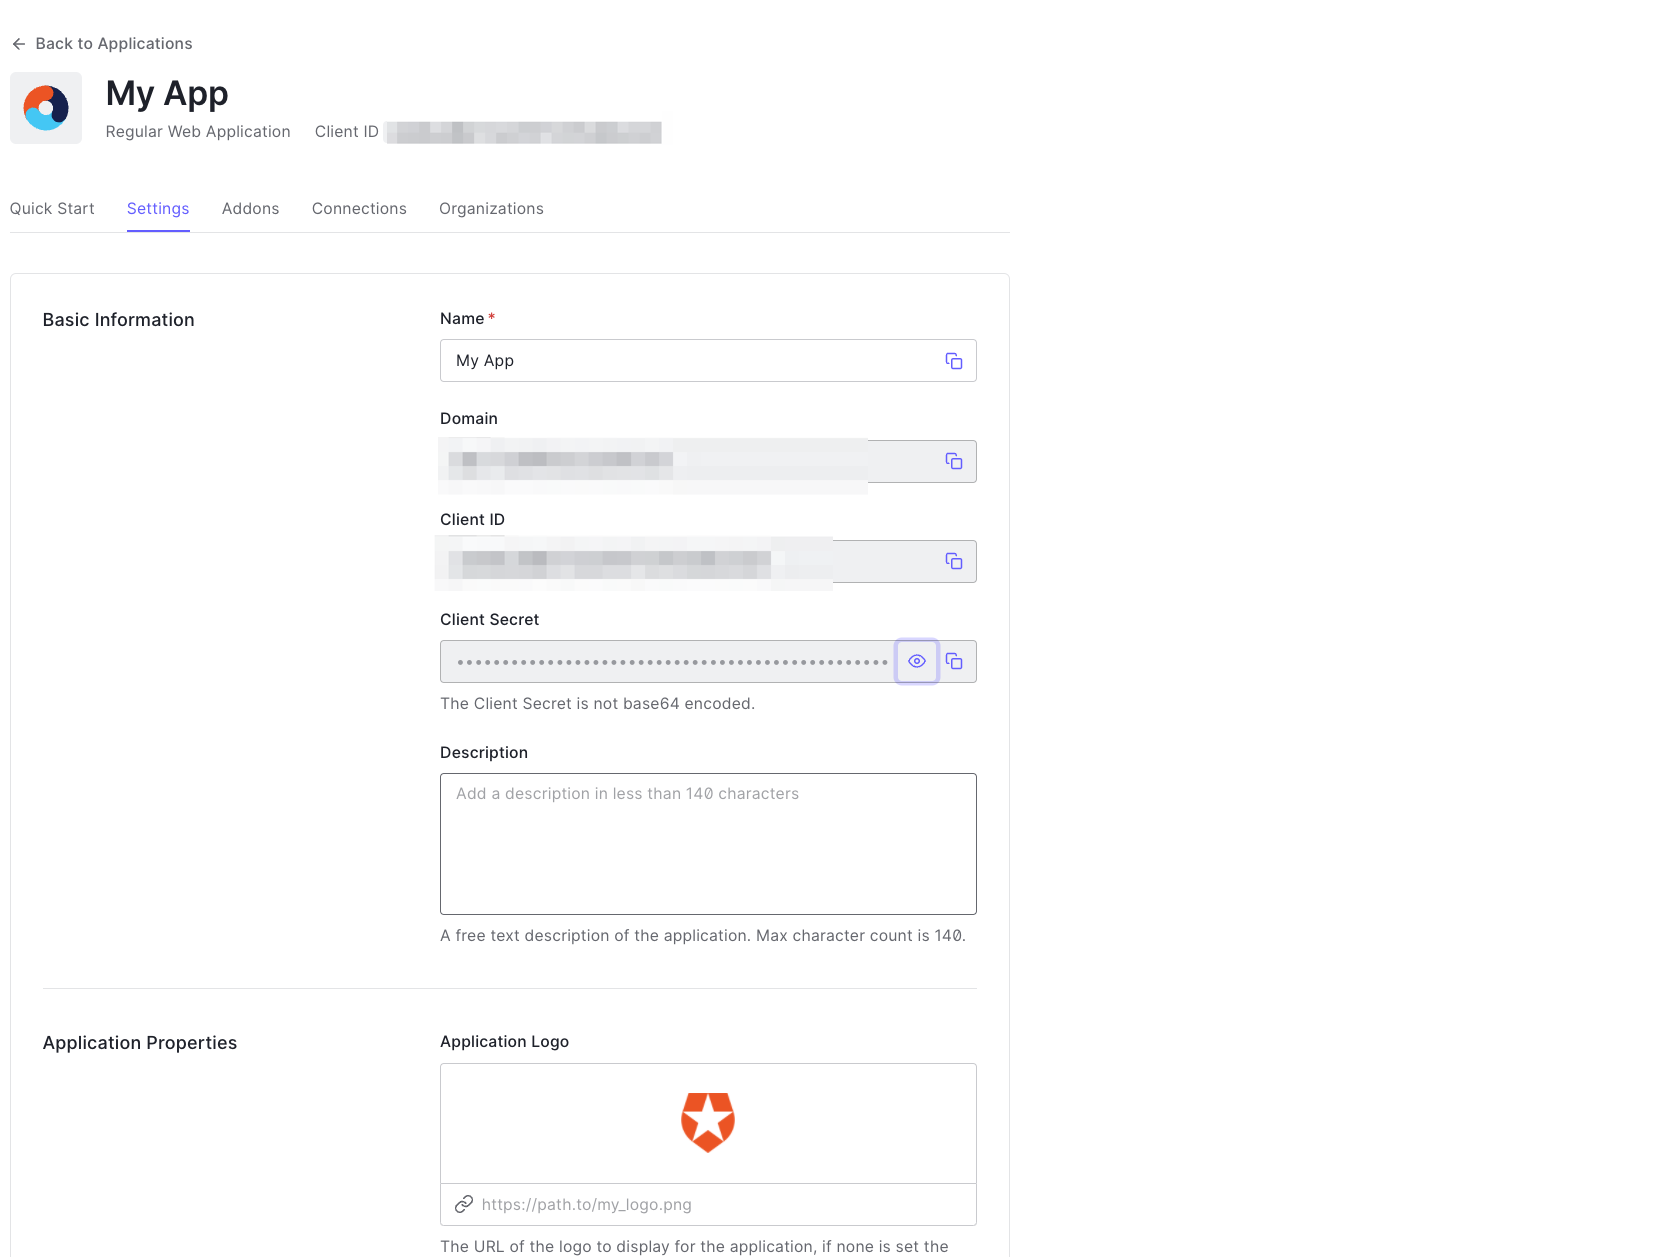
- Navigate to settings of the app and note, Client ID and Client Secret
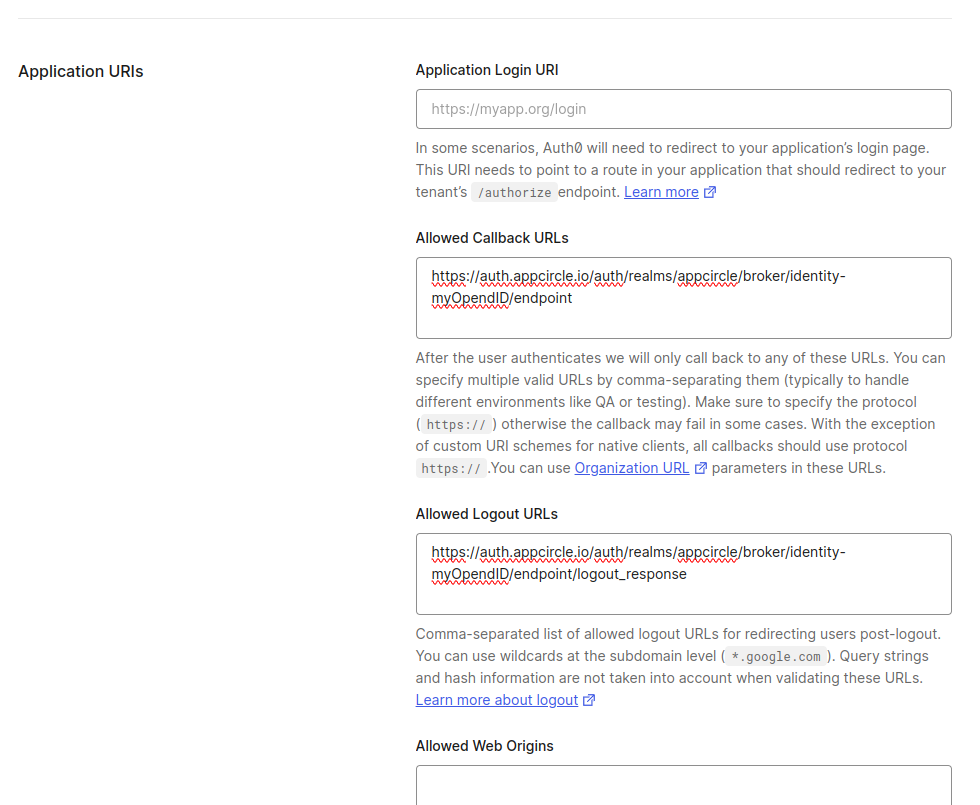
- Add the Appcircle Redirect URL to your allowed list
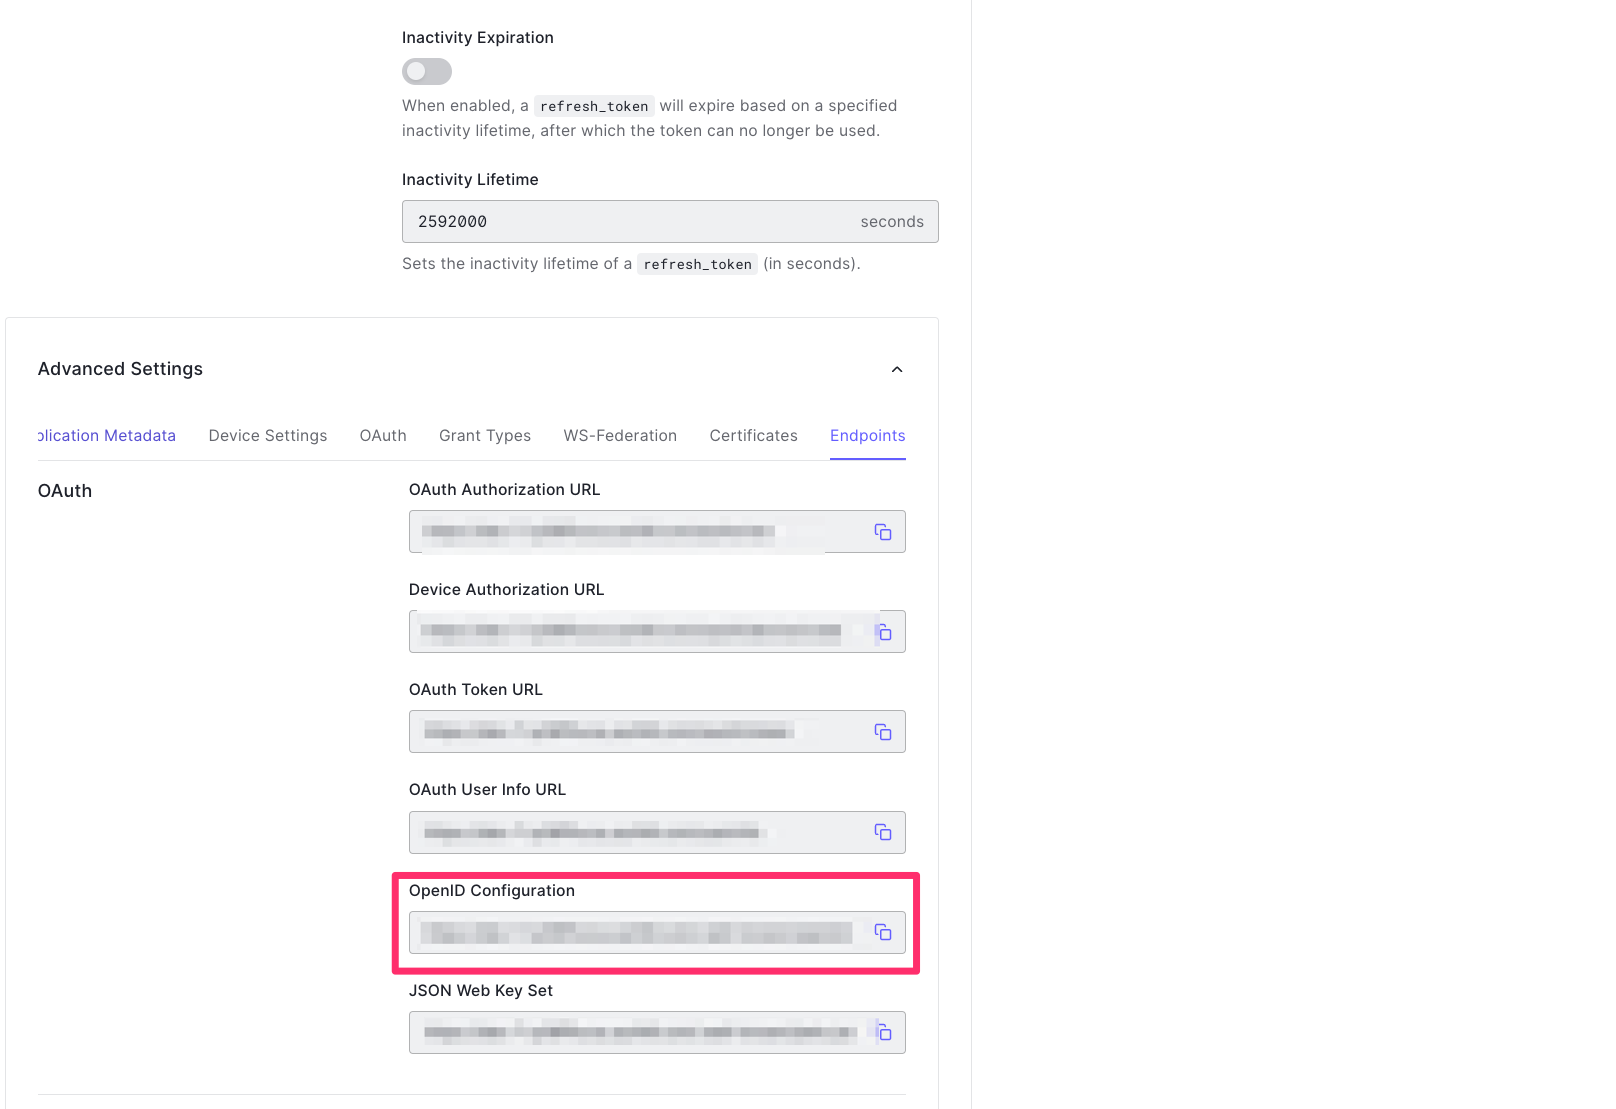
- Instead of writing all the settings of OpenID, you can download the settings file from Auth0 and upload it. Navigate to the OpenID Configuration address and download that JSON file to your computer.
- Go back to Appcircle, upload this JSON file by clicking the button under Import OpenID configuration
- Check all the settings on this page and confirm that Authorization and Token URLs are imported correctly. Enter your Client ID and Client Secret. Modify the settings as below.

- The Group Claim Name and Role Claim Name fields are optional. Please refer to the SSO Mapping Documentation.
Testing SSO
- When you connect your Identity Provider, please open a new incognito window and test the SSO integration.
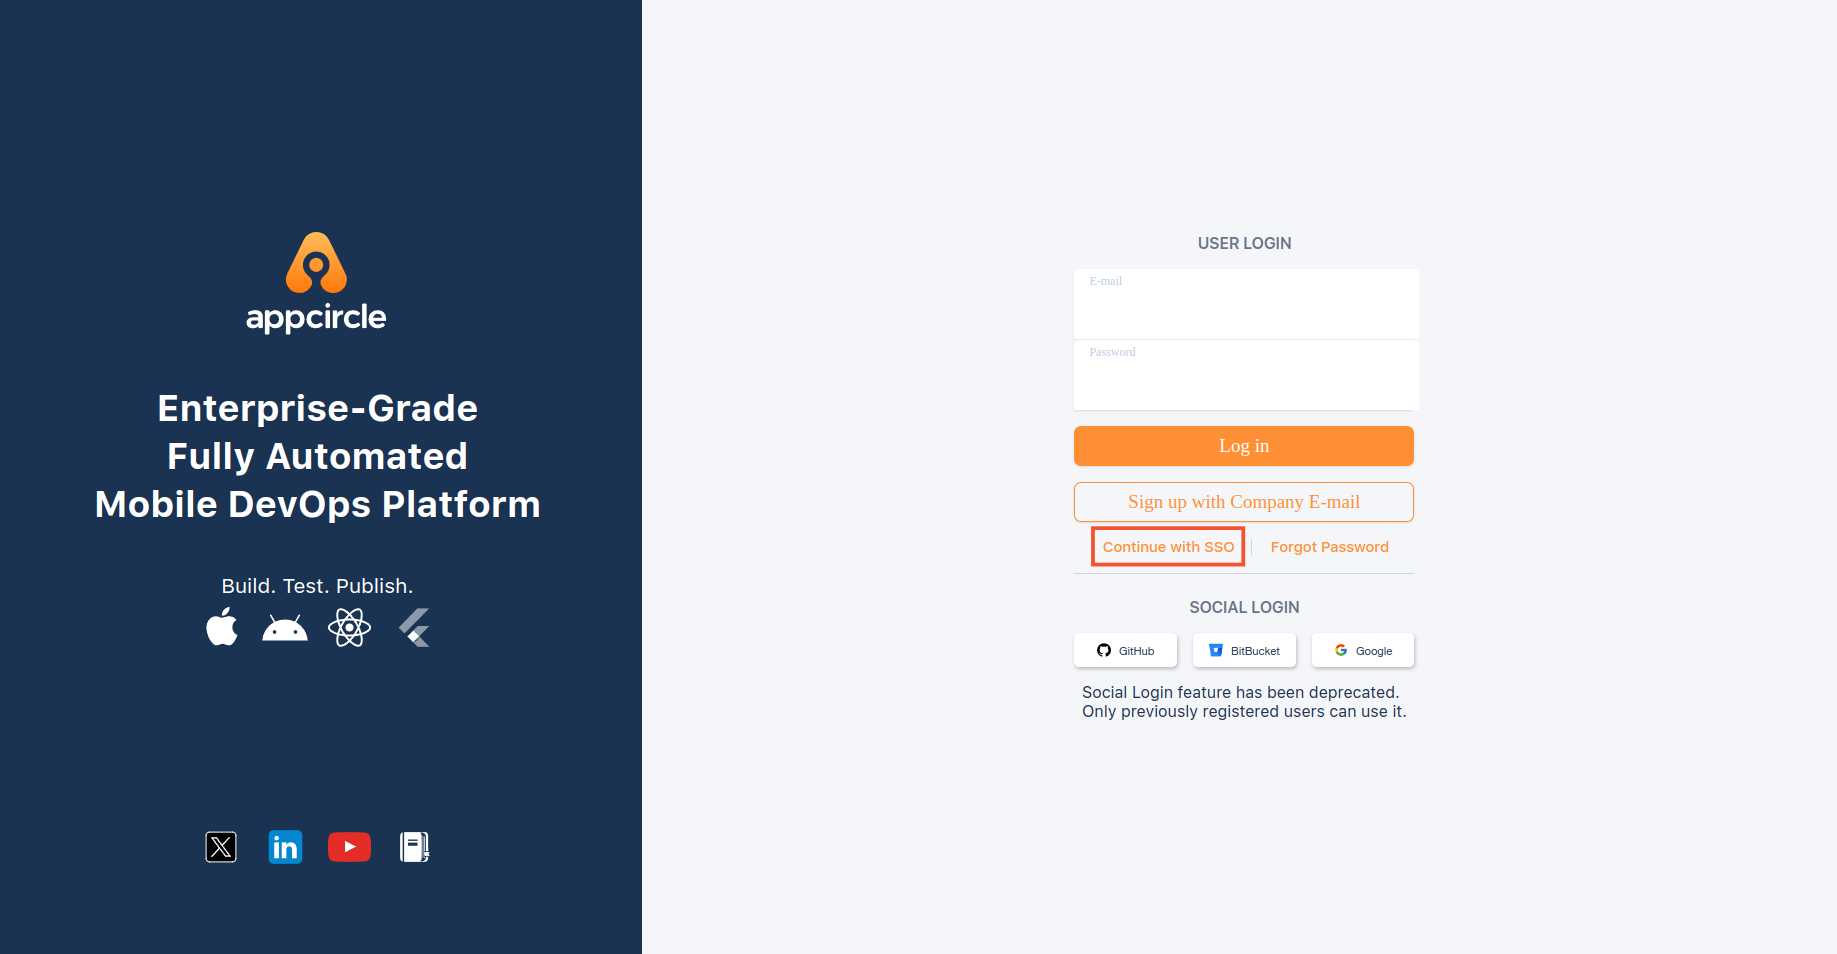
- Click the Continue with SSO button.
- Enter the alias you picked.

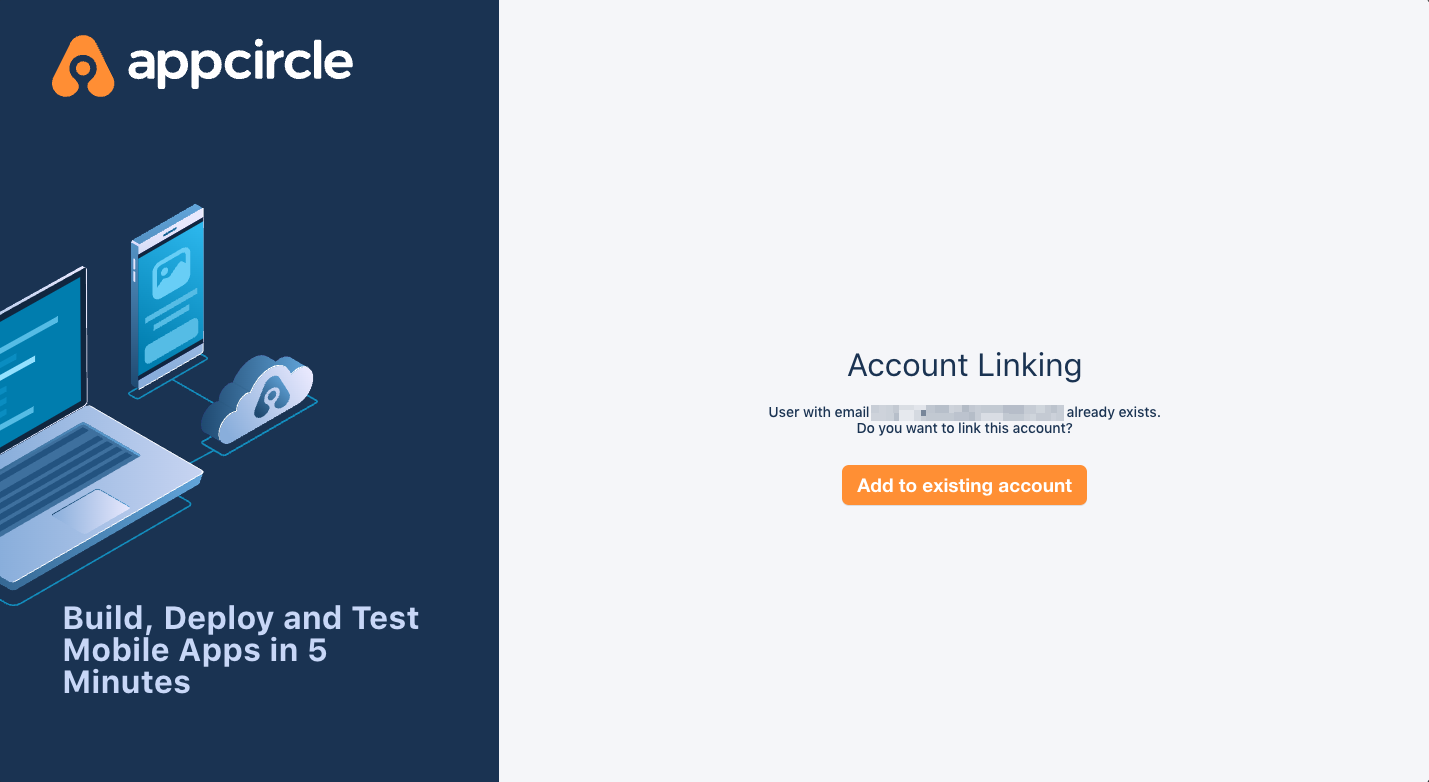
- You should first see the below confirmation screen.
- After you confirmed account linking, you will get an email.
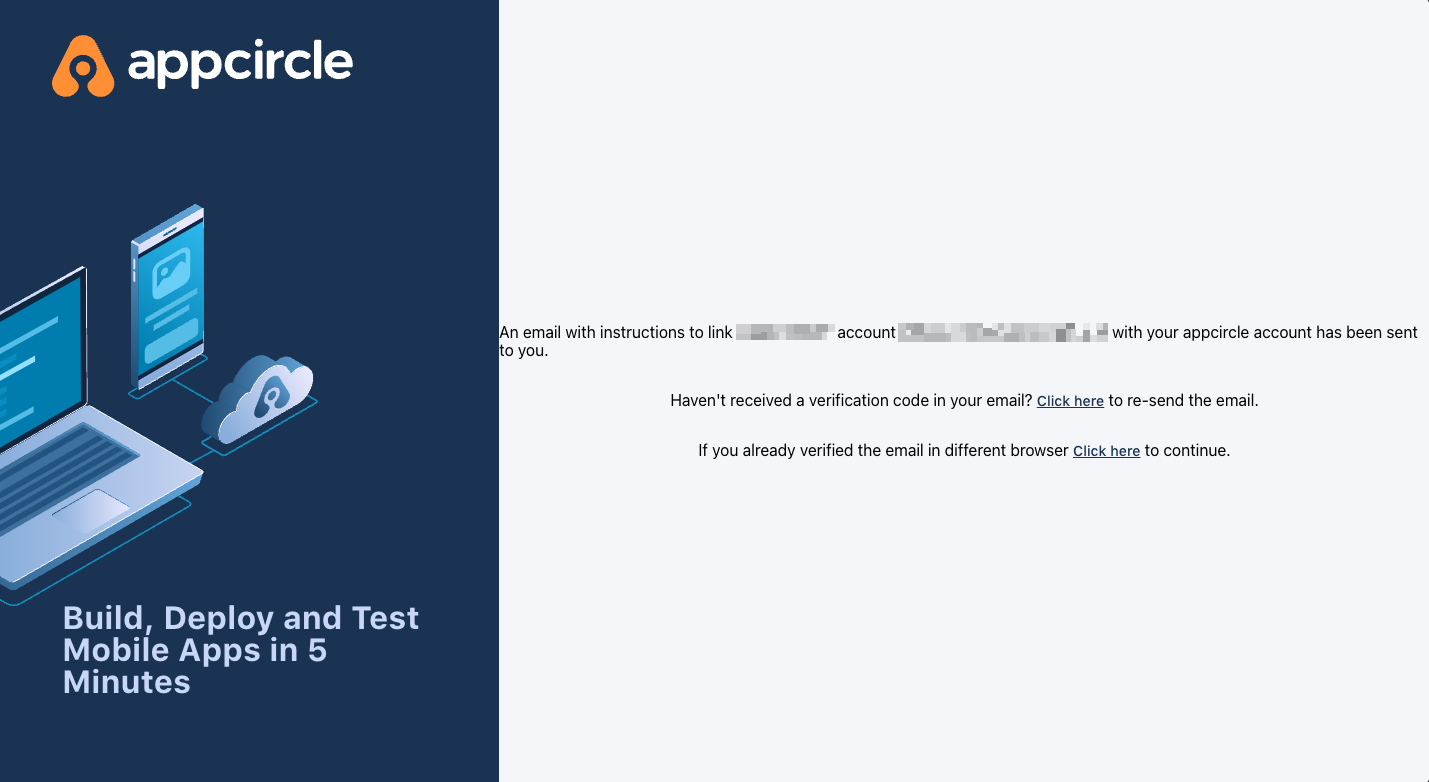
- You can now access your account with SSO integration when you confirm the email.
- After you enable the SSO, you can only log in to your account with the SSO link. Your old credentials won't work anymore.
When you connect your Identity Provider, please open a new incognito window and test the SSO integration. Please only log off when you can log in with SSO credentials. If the connection doesn't work, you need to review your settings.
SSO Mapping
This step is optional and can be skipped if you do not plan to use SSO Mapping.
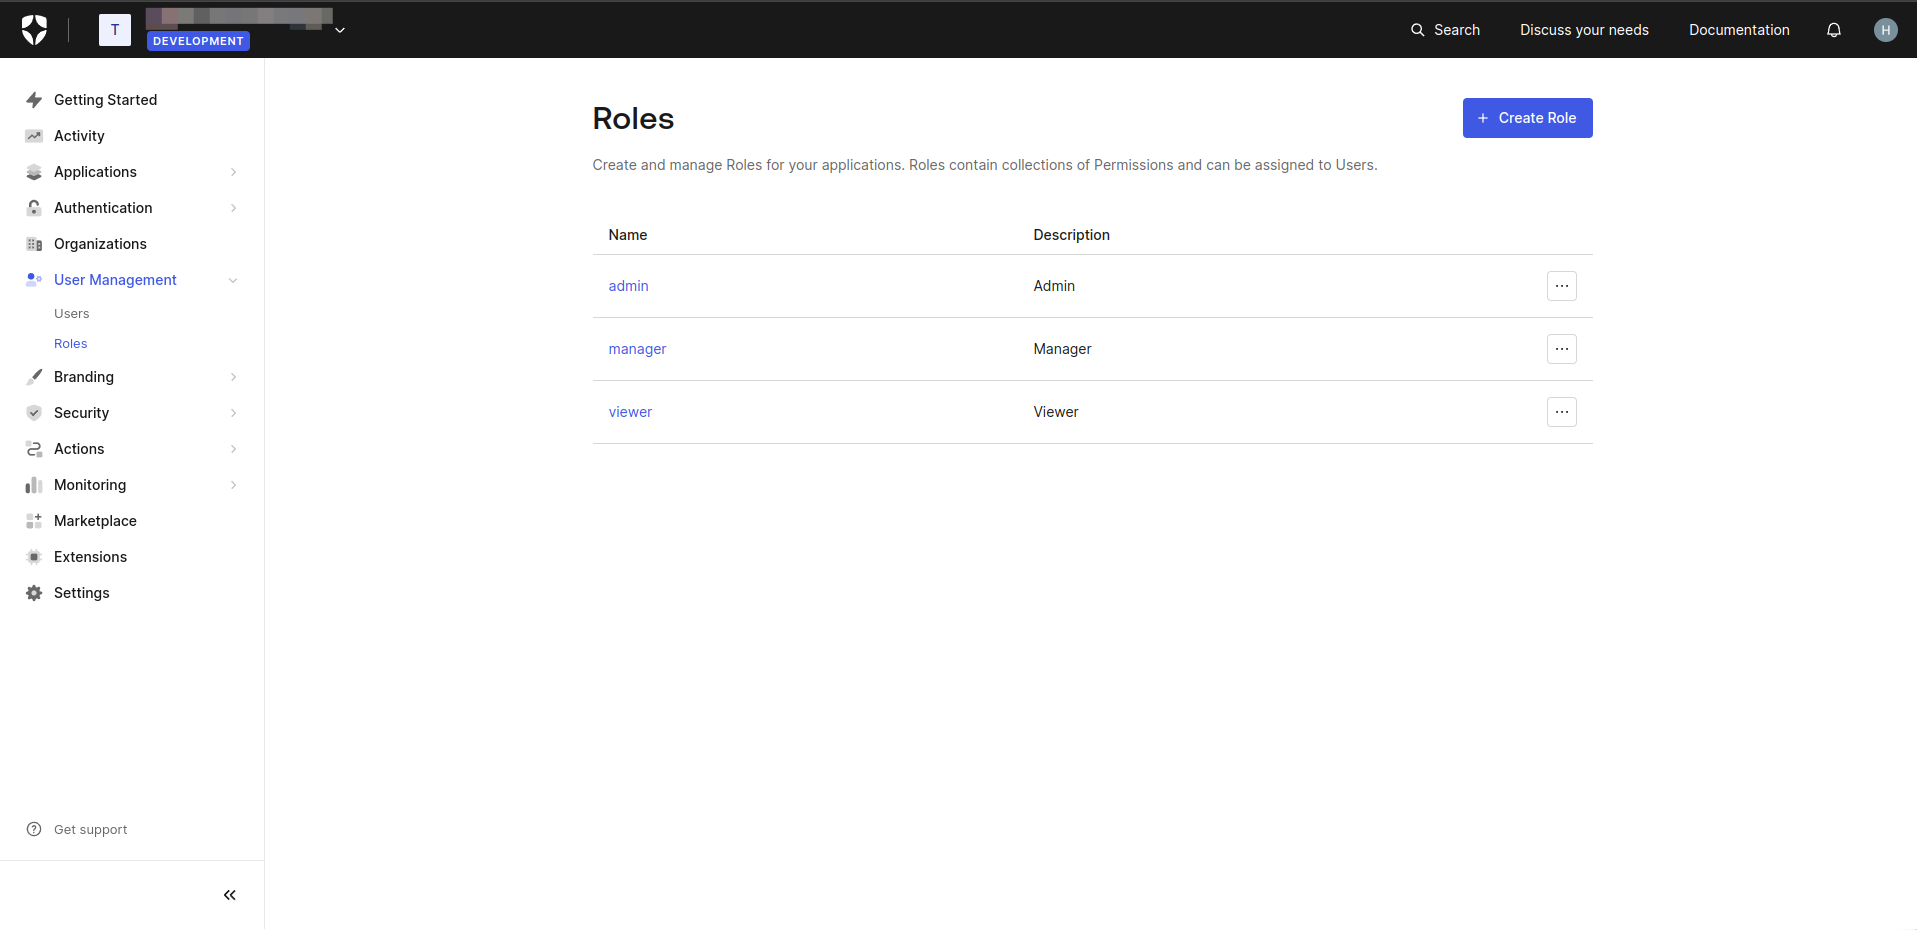
- To create roles, navigate to the User Management section in the Auth0 Dashboard, click on "Roles", and create the necessary roles.
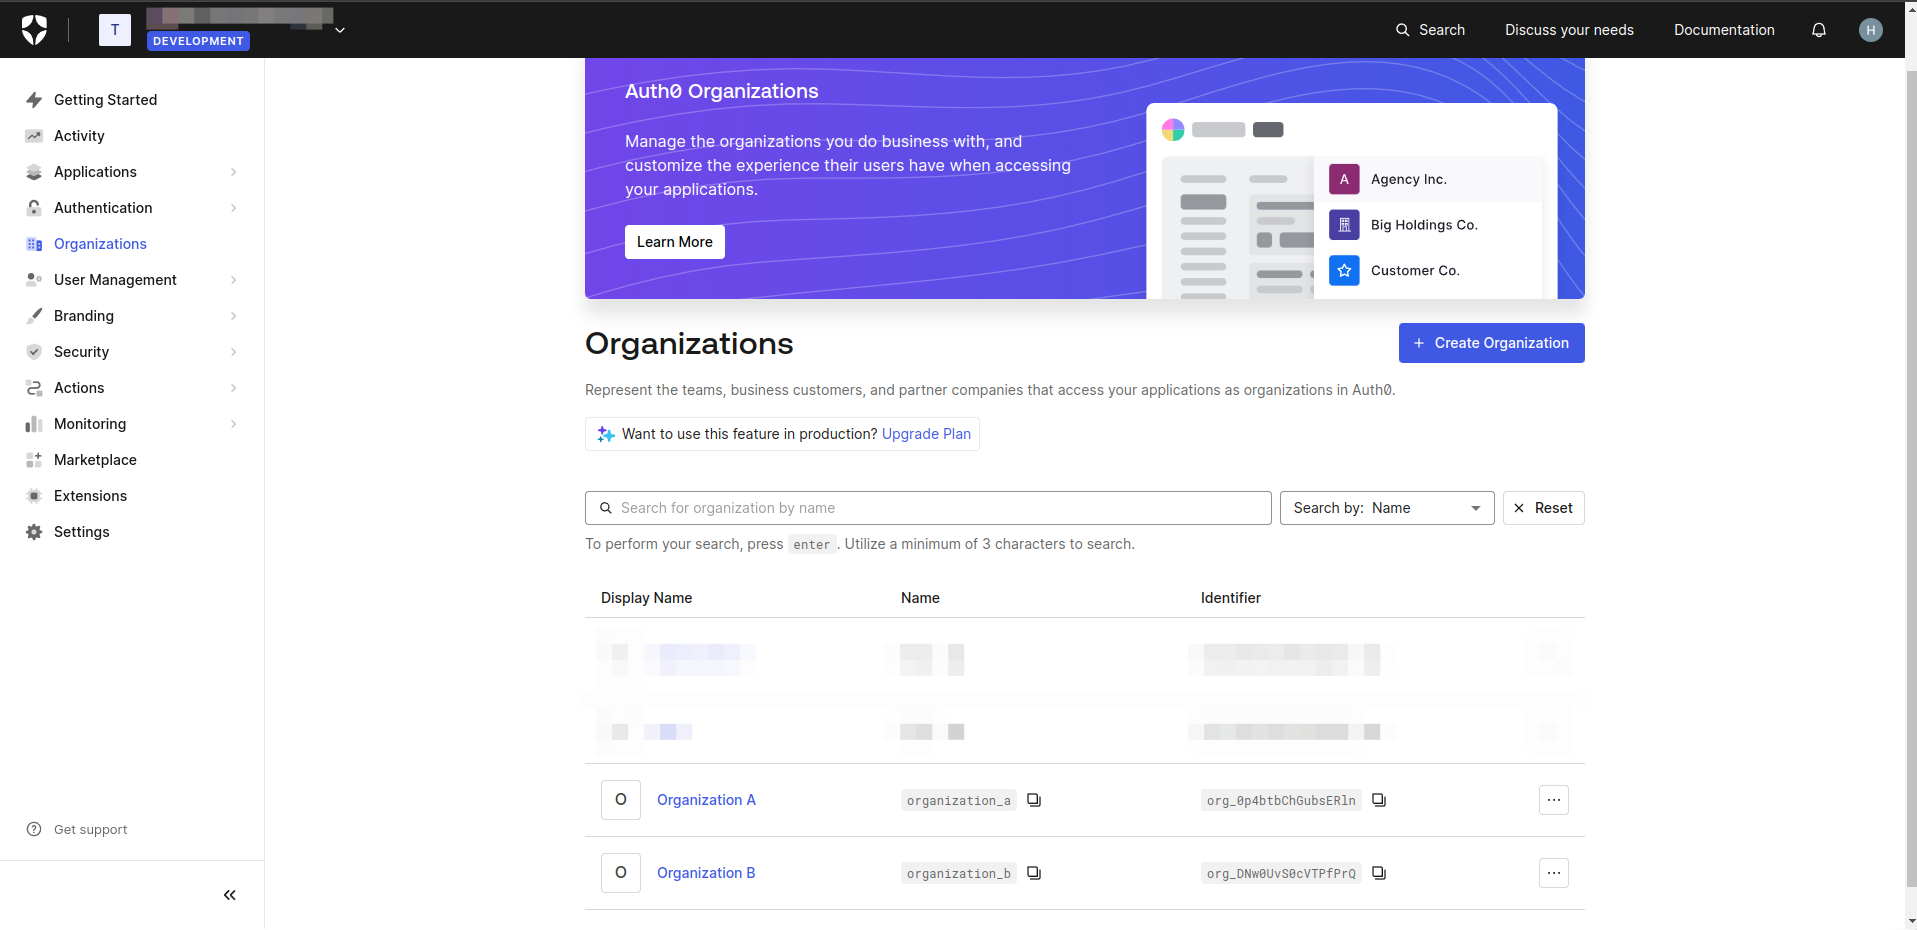
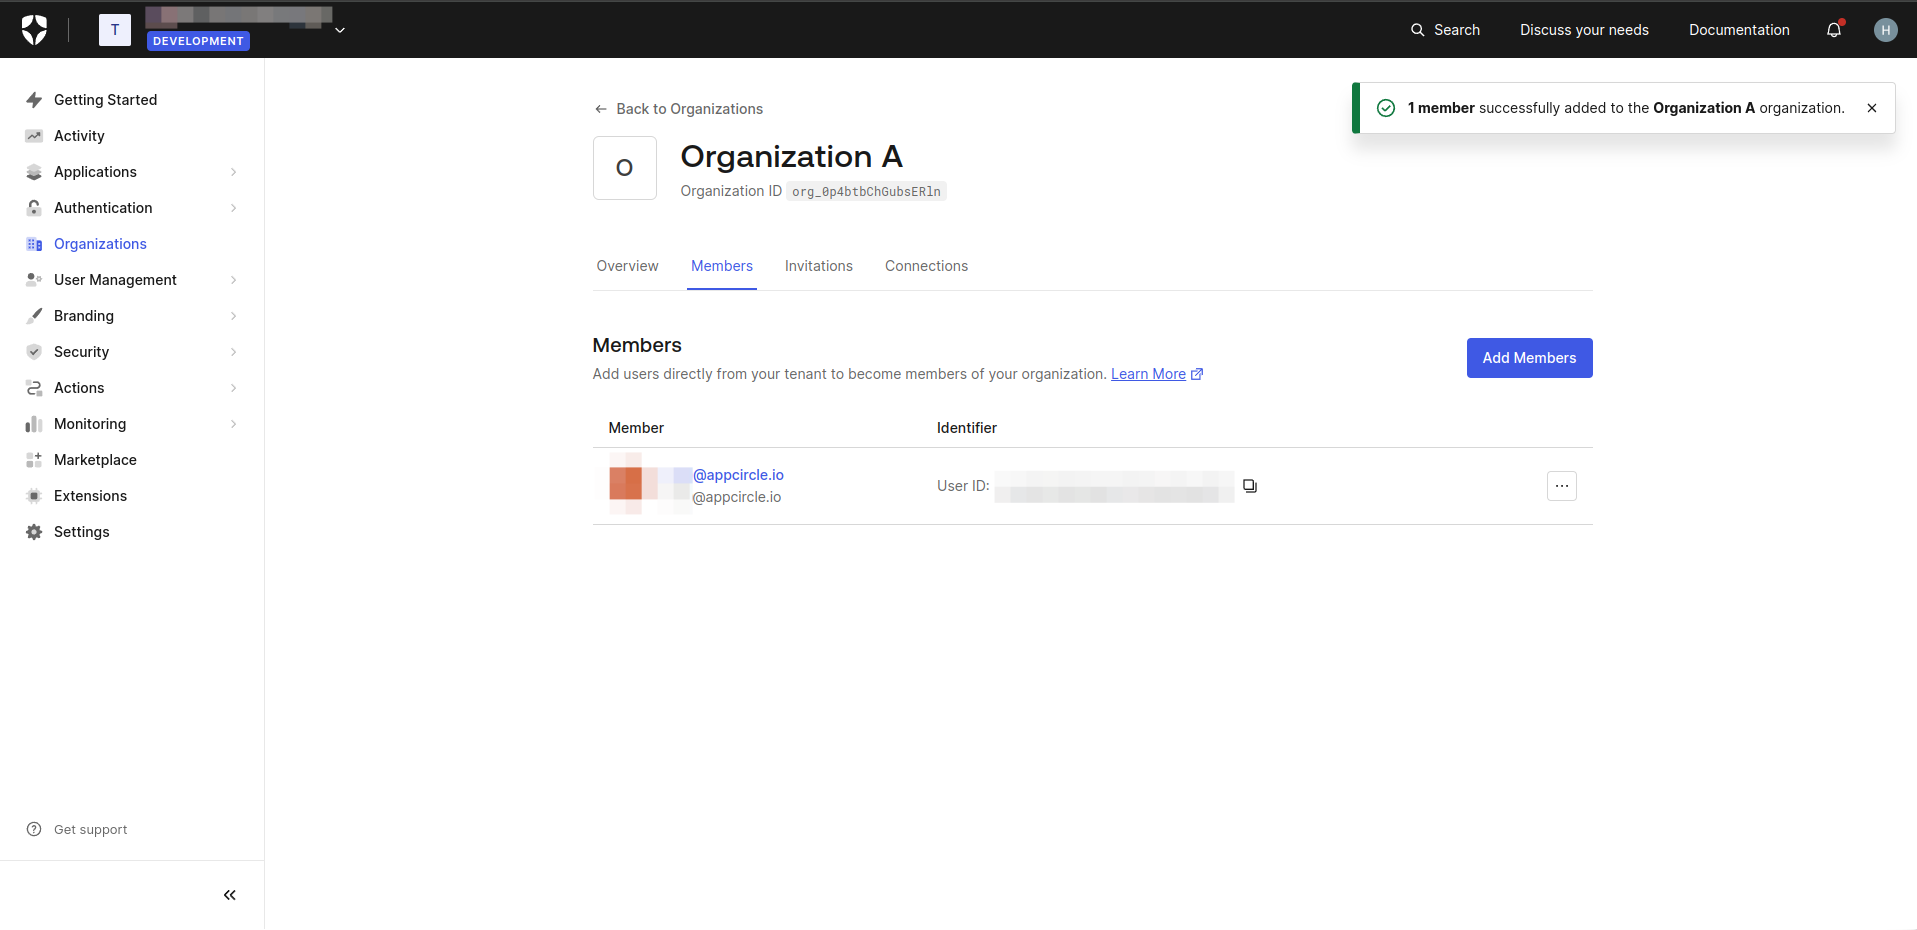
- Navigate to the organization section and create organizations.
- Add users who will become members of your organization.
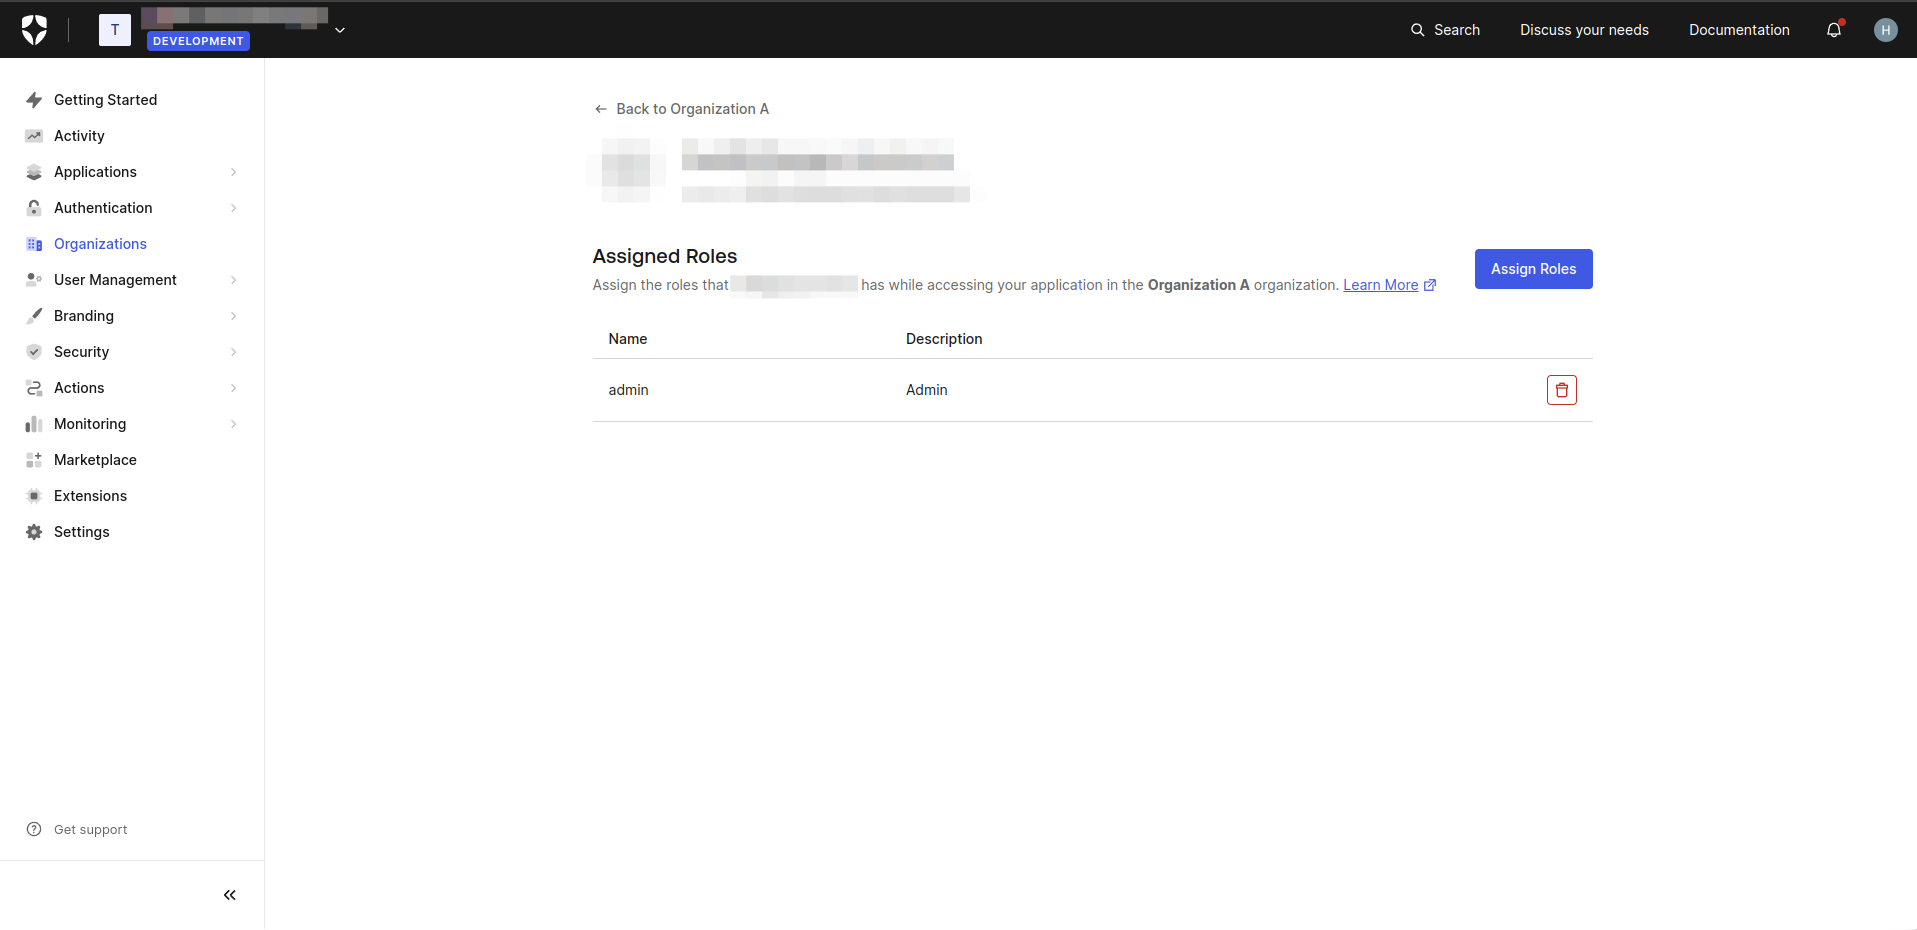
- Click on the three dots and select Assign Roles. Assign the desired roles to users.
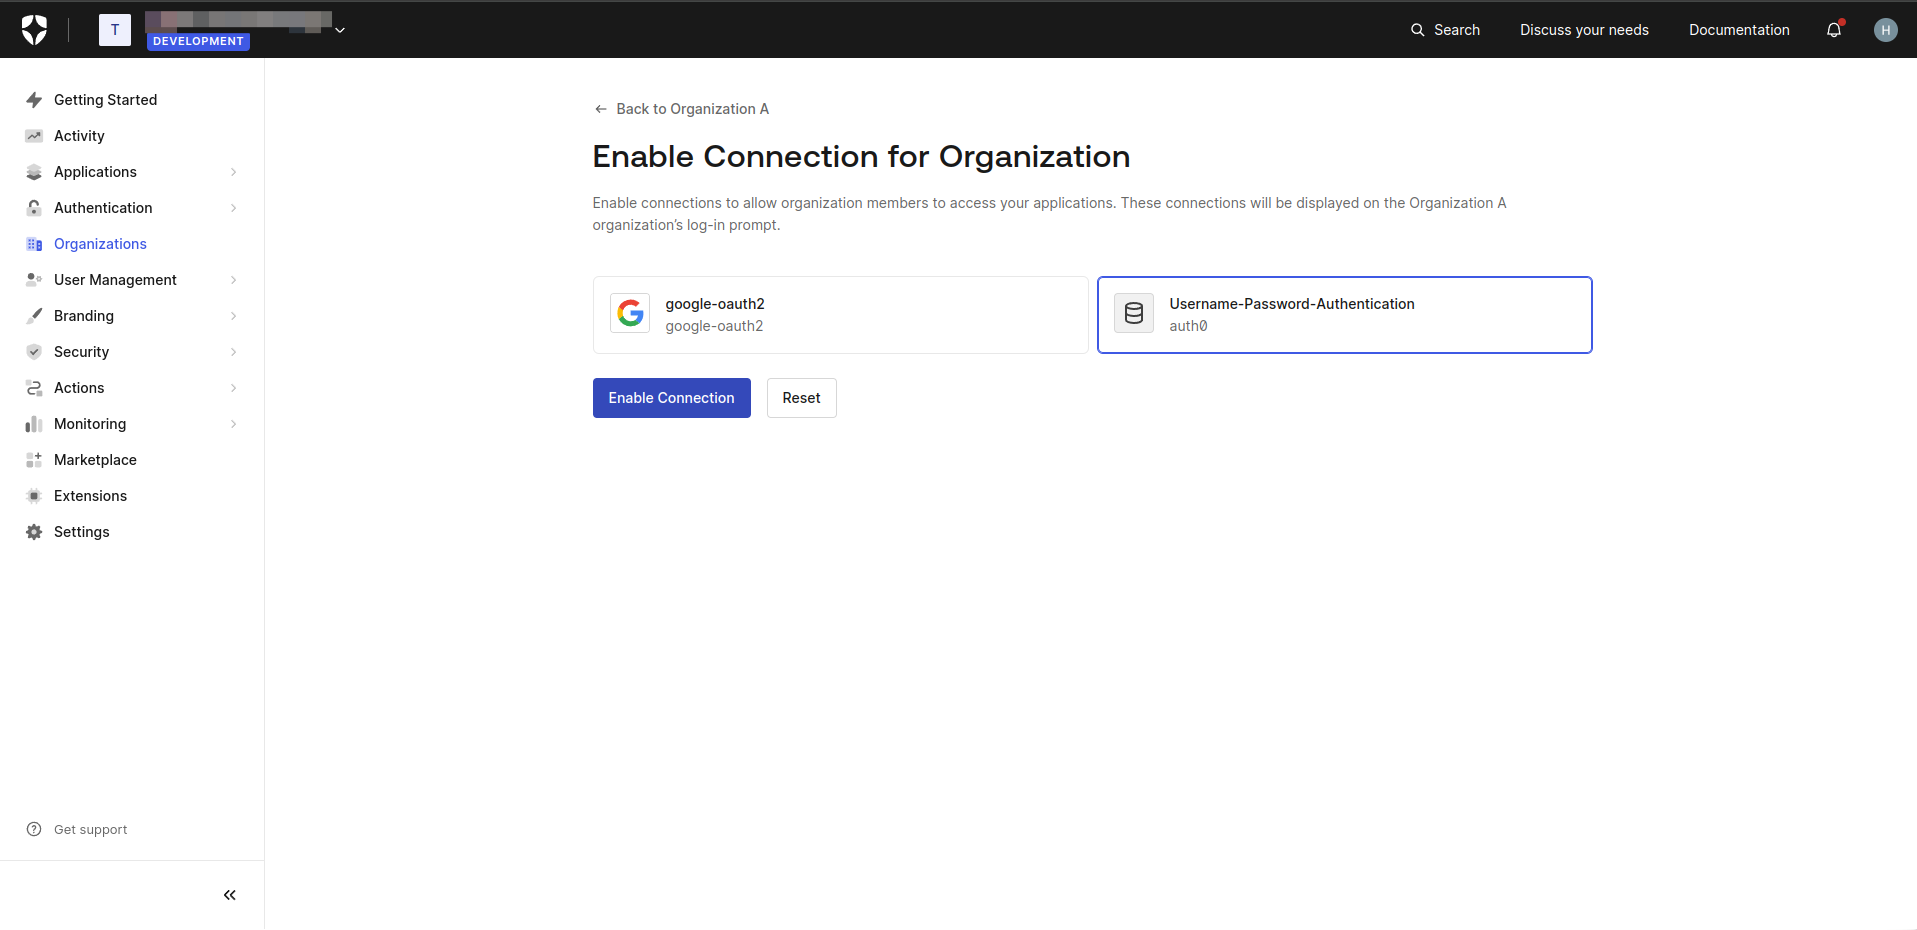
- Navigate to the "Connections" tab and enable Username-Password-Authentication connection for your organization.
- Navigate to the "Applications" section. Select the relevant application, then go to the "Organizations" tab. Click on "Disable Grants Now".

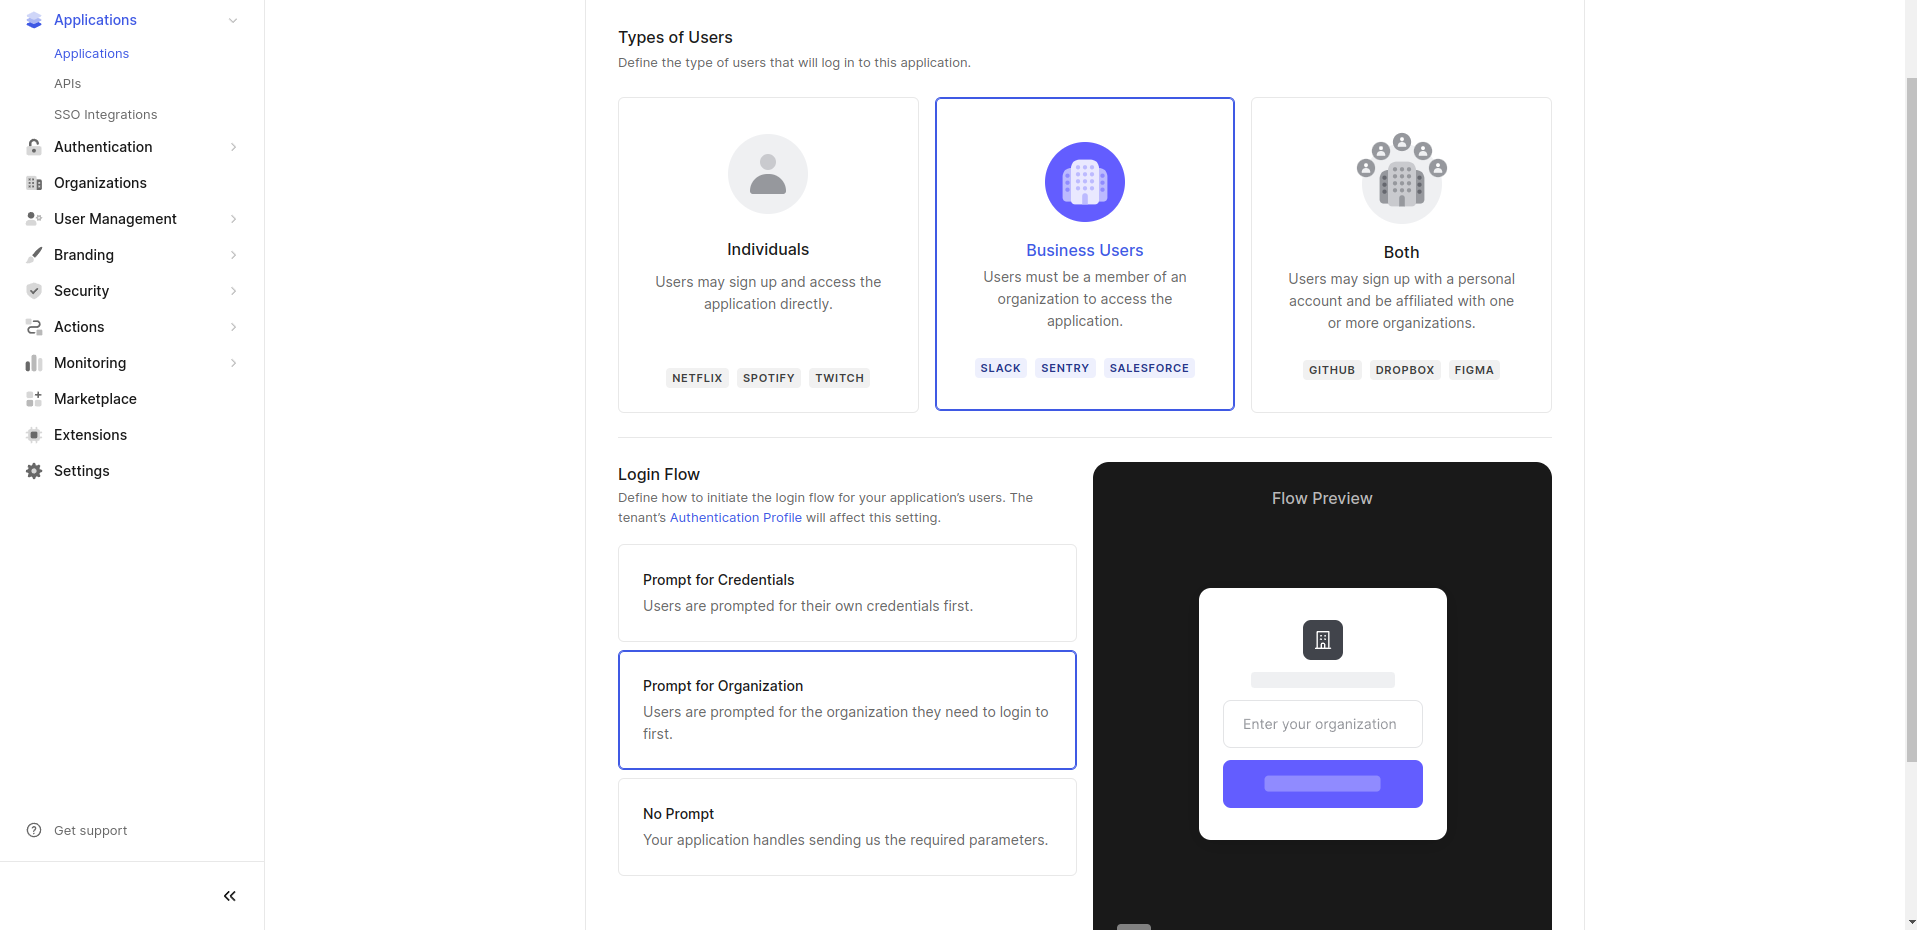
- Choose "Business Users" for the type of users and select "Prompt for Organization" for the login flow. Click on "Save Changes".
- To retrieve the groups and roles of a user via tokens, follow these steps:
- Navigate to Actions.
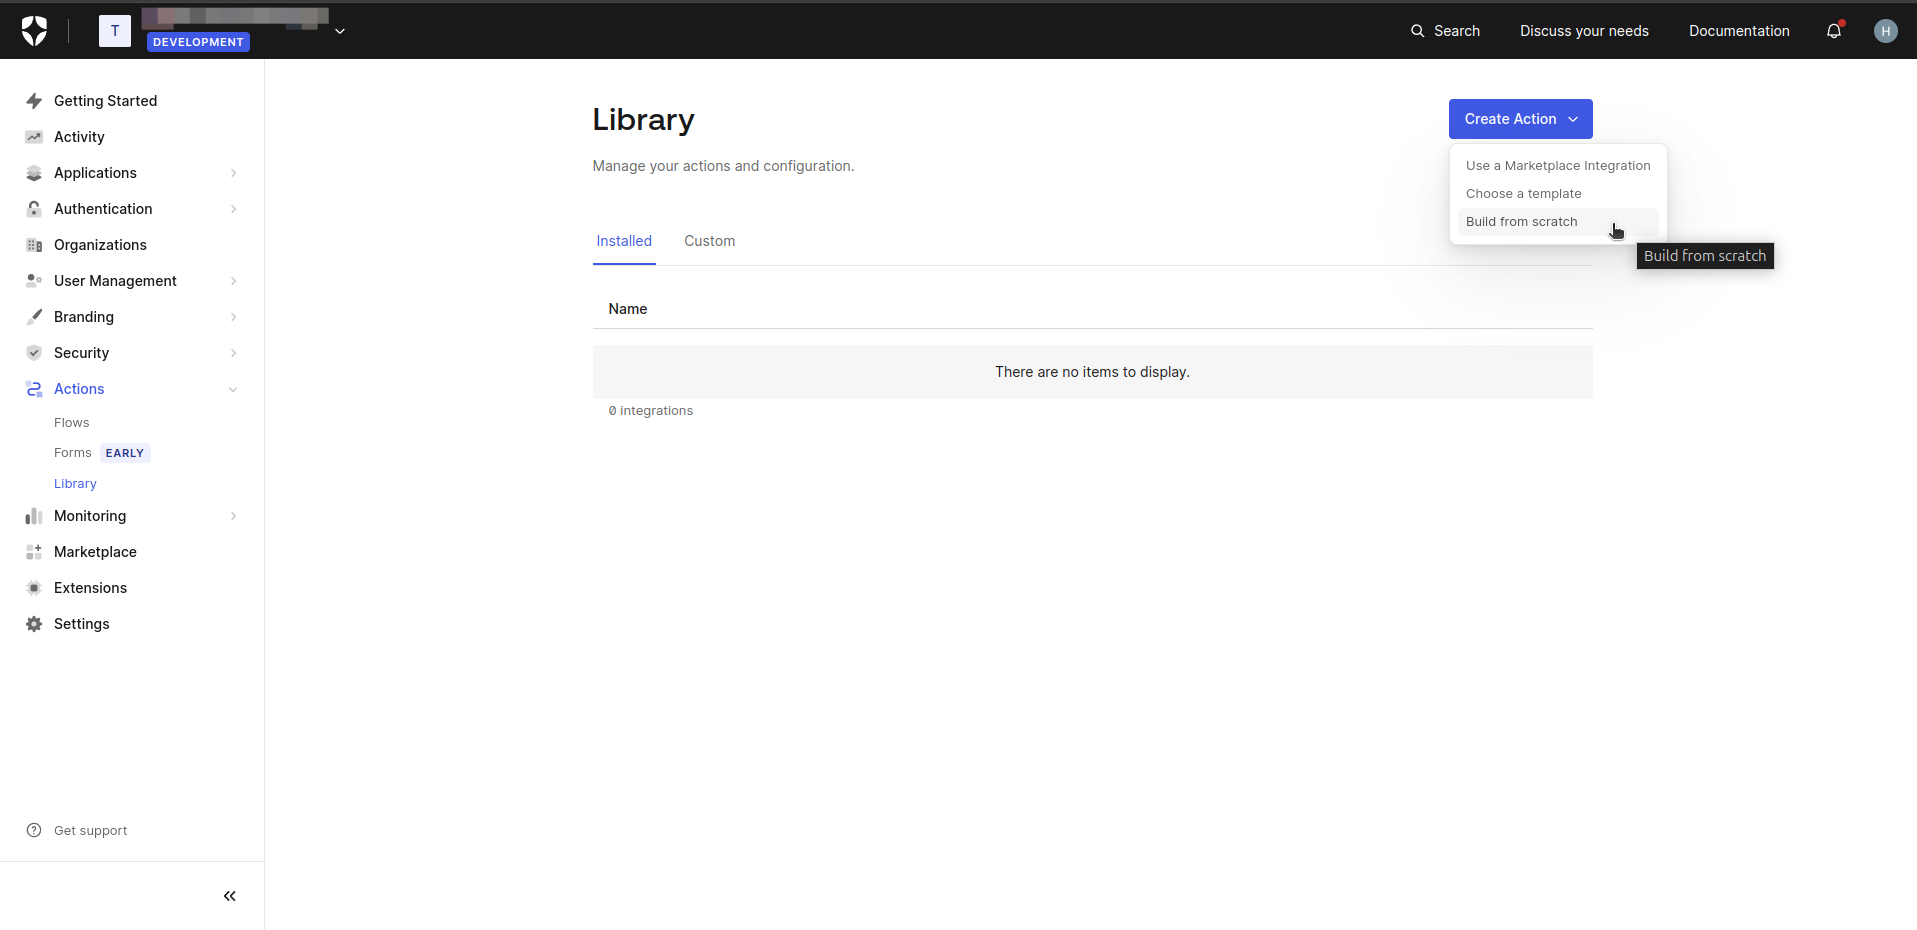
- Click on the Library tab.
- Select Create Action.
- Choose Build from Scratch.
The groups claim is already present on the token, but these steps will help you add the roles claim as well.
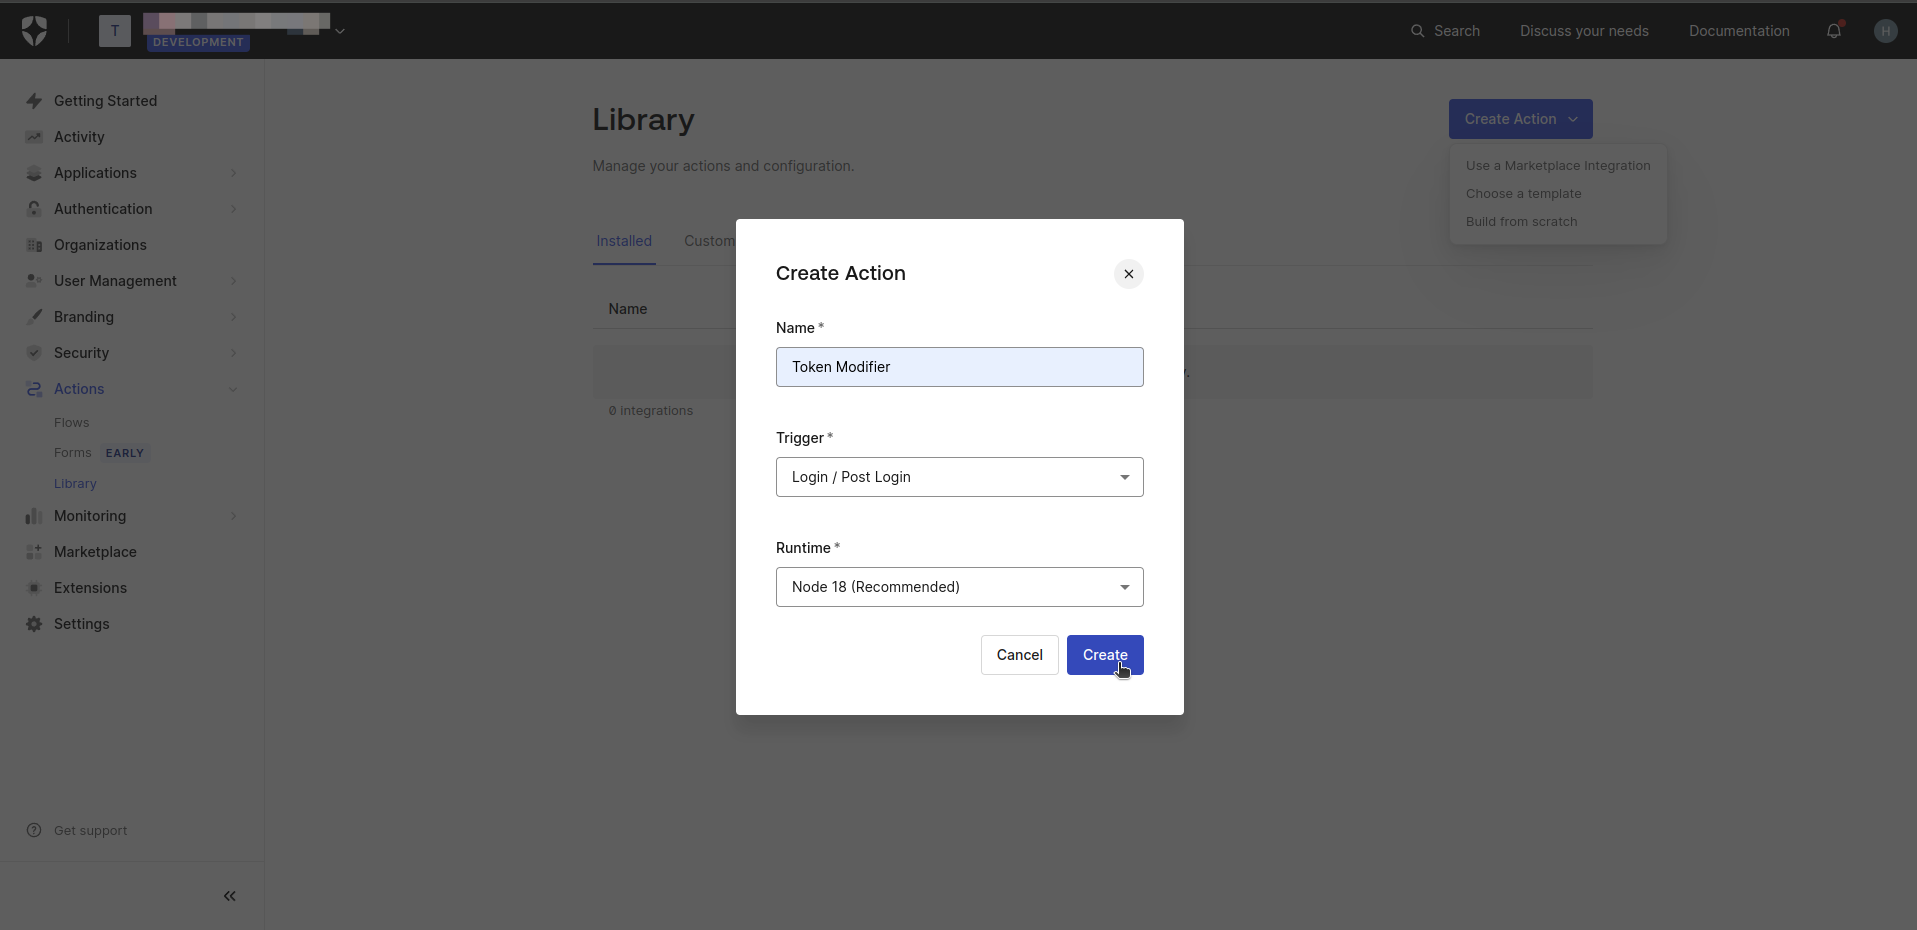
- Give an appropriate name to the custom action.
- Paste following Javascript code and click on the deploy.
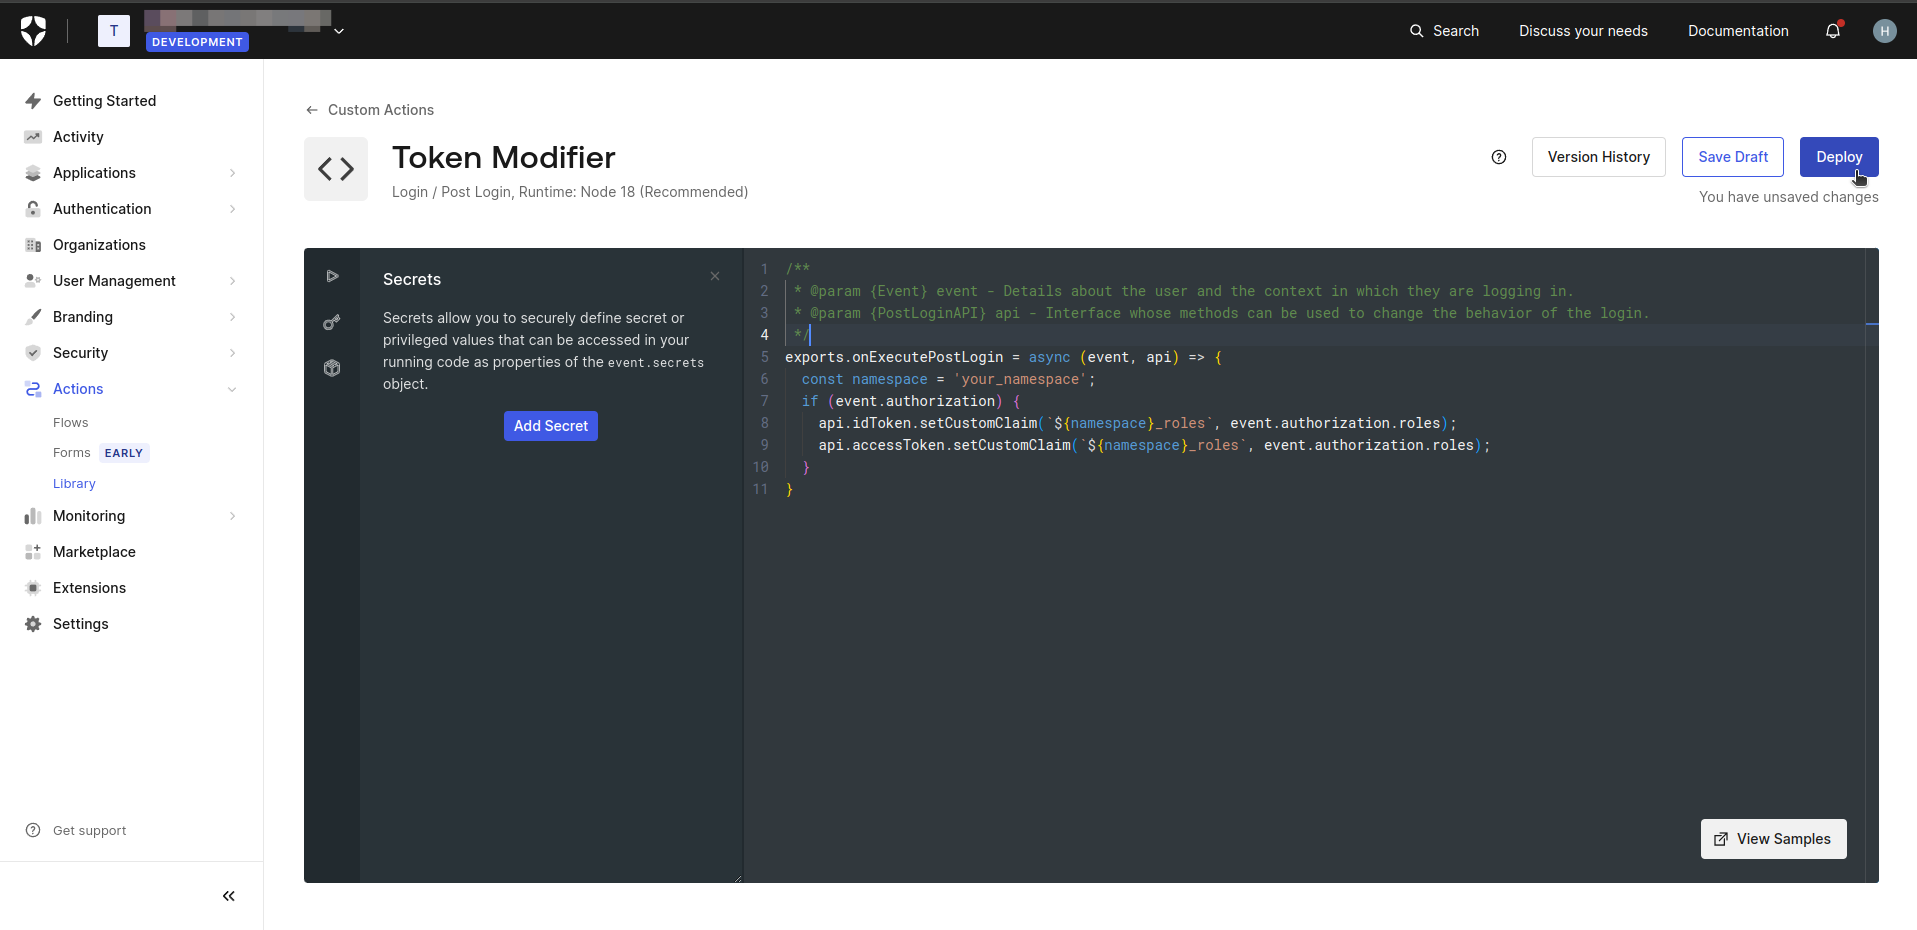
exports.onExecutePostLogin = async (event, api) => {
  const namespace = 'your_namespace';
  if (event.authorization) {
    api.idToken.setCustomClaim(`${namespace}roles`, event.authorization.roles);
    api.accessToken.setCustomClaim(`${namespace}roles`, event.authorization.roles);
  }
}
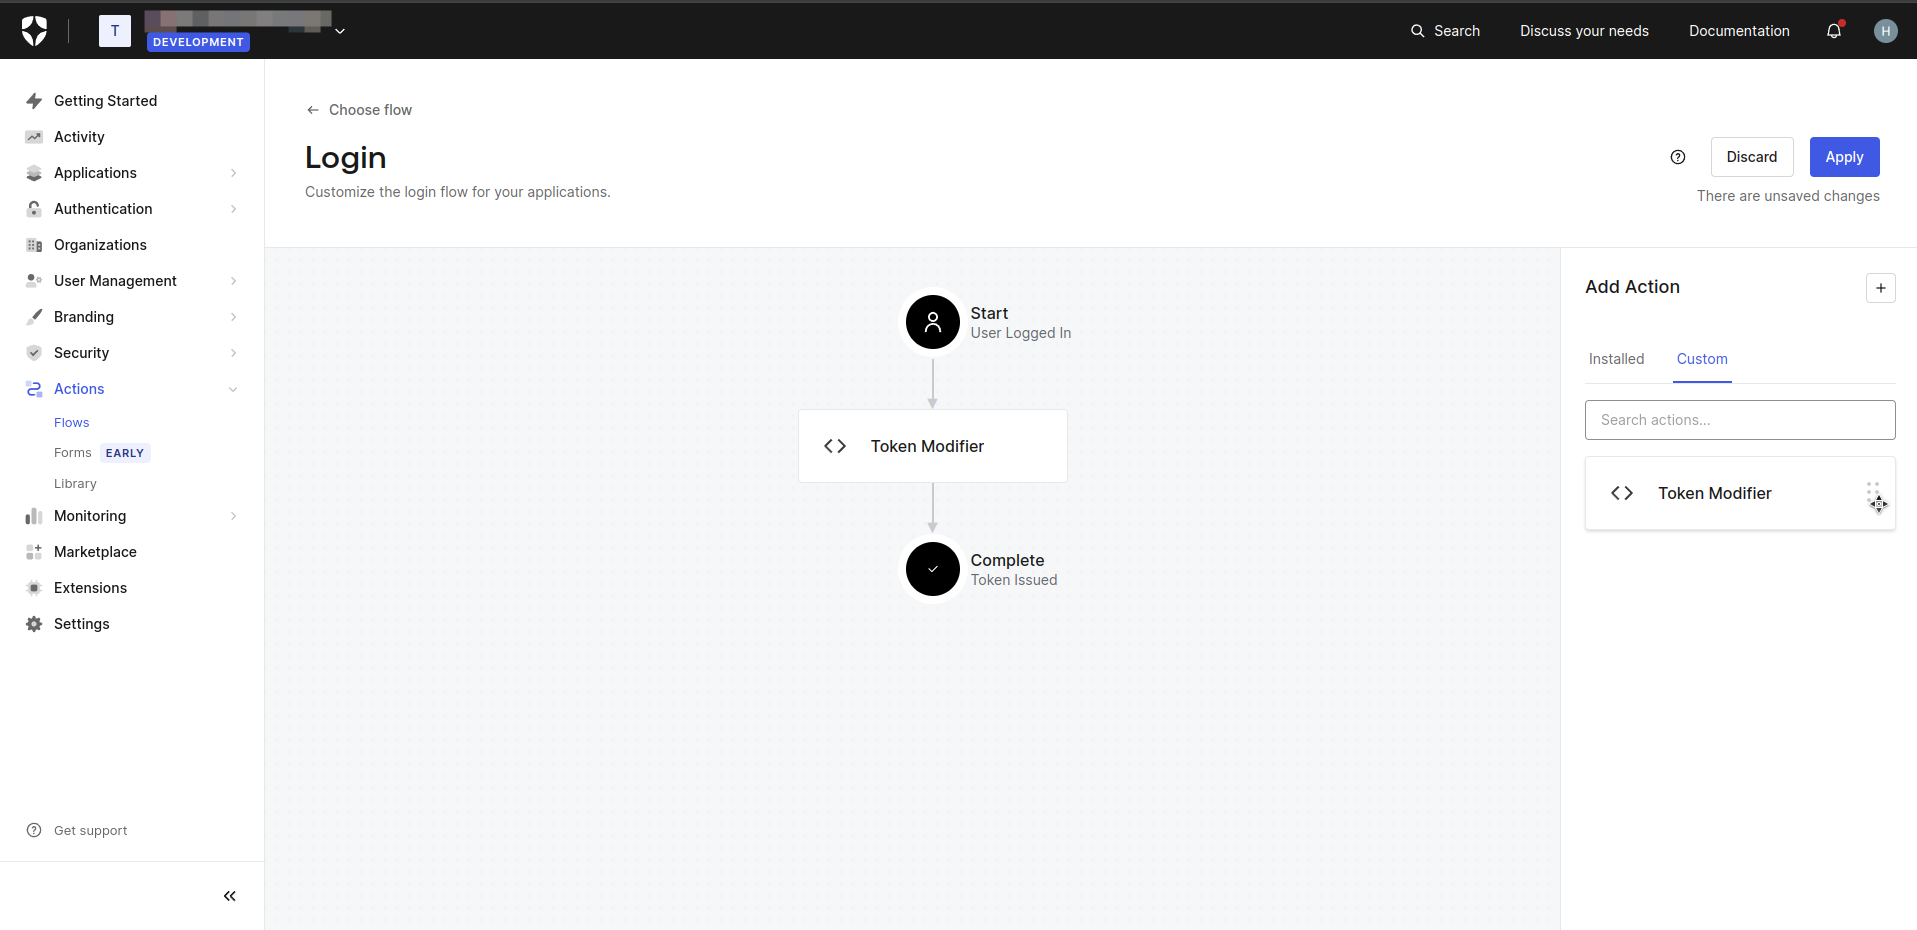
- Navigate to Actions and click on the Flows tab.
- Click on the Login.
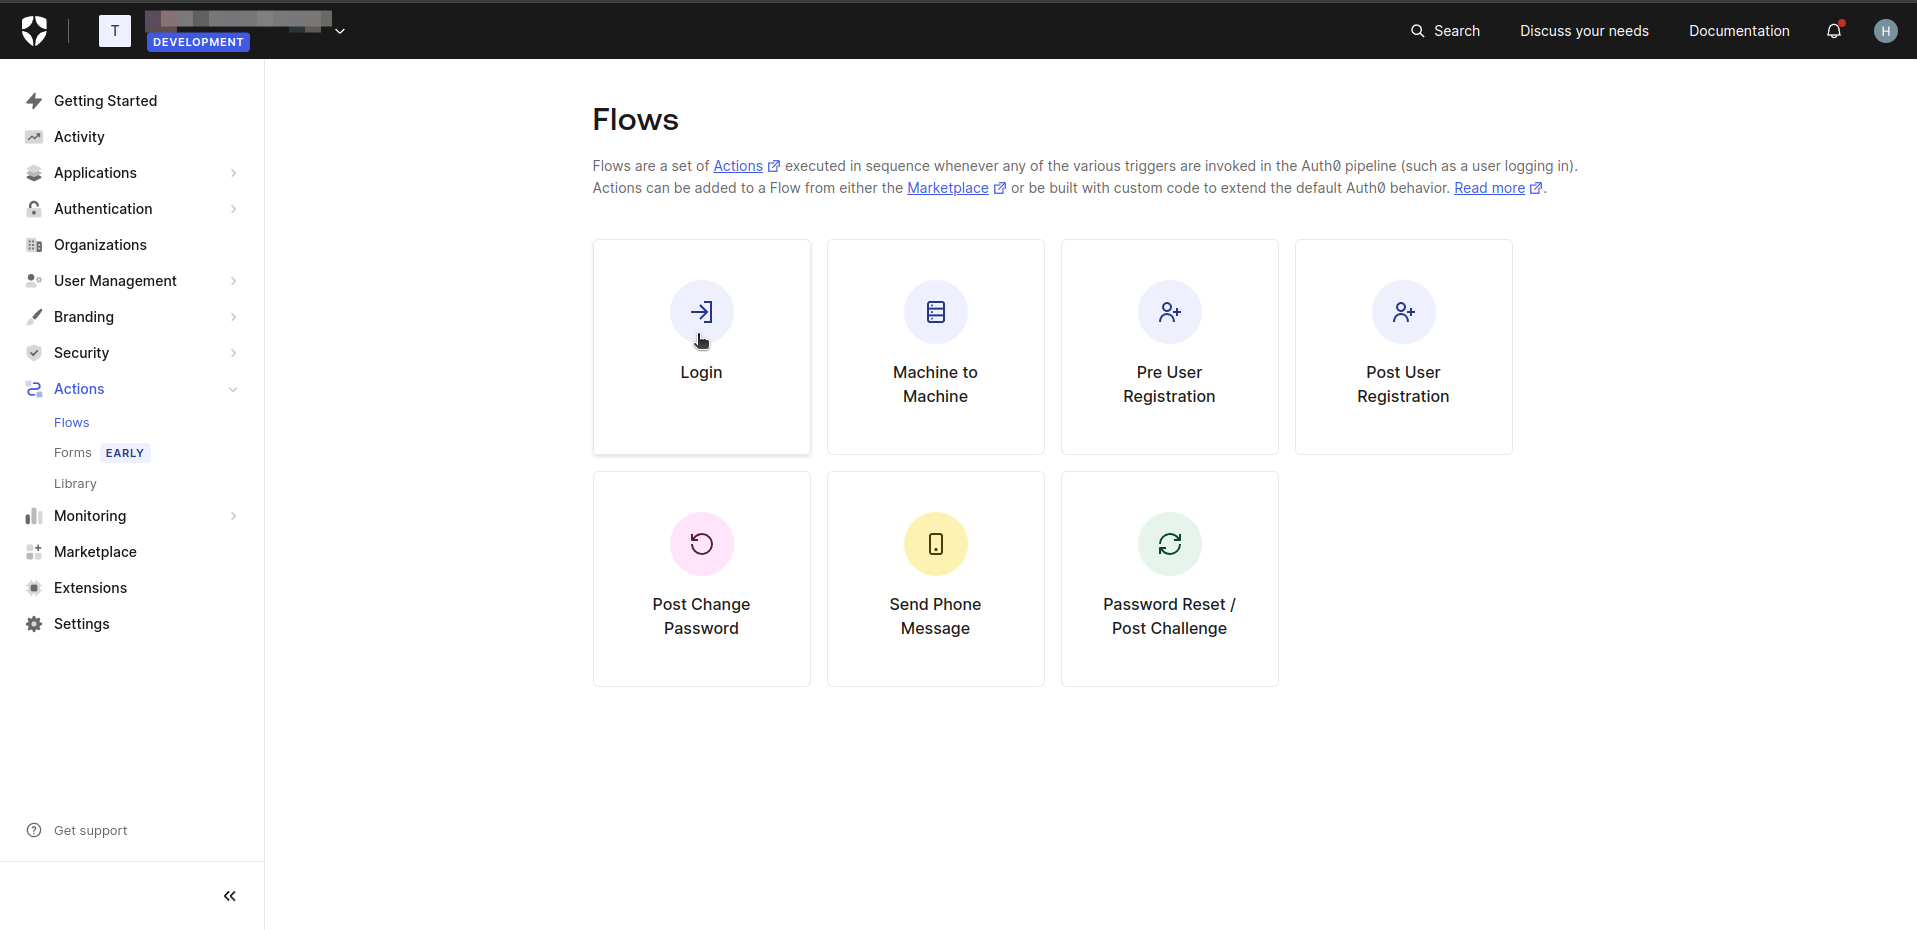
- Drag and drop the custom action created previously.
- Return to Appcircle and enter the Group Claim Name as
org_idand the Role Claim Name asyour_namespace_roles. Note that the role claim is created as a custom claim in Auth0, so you must enter the name you determined previously.
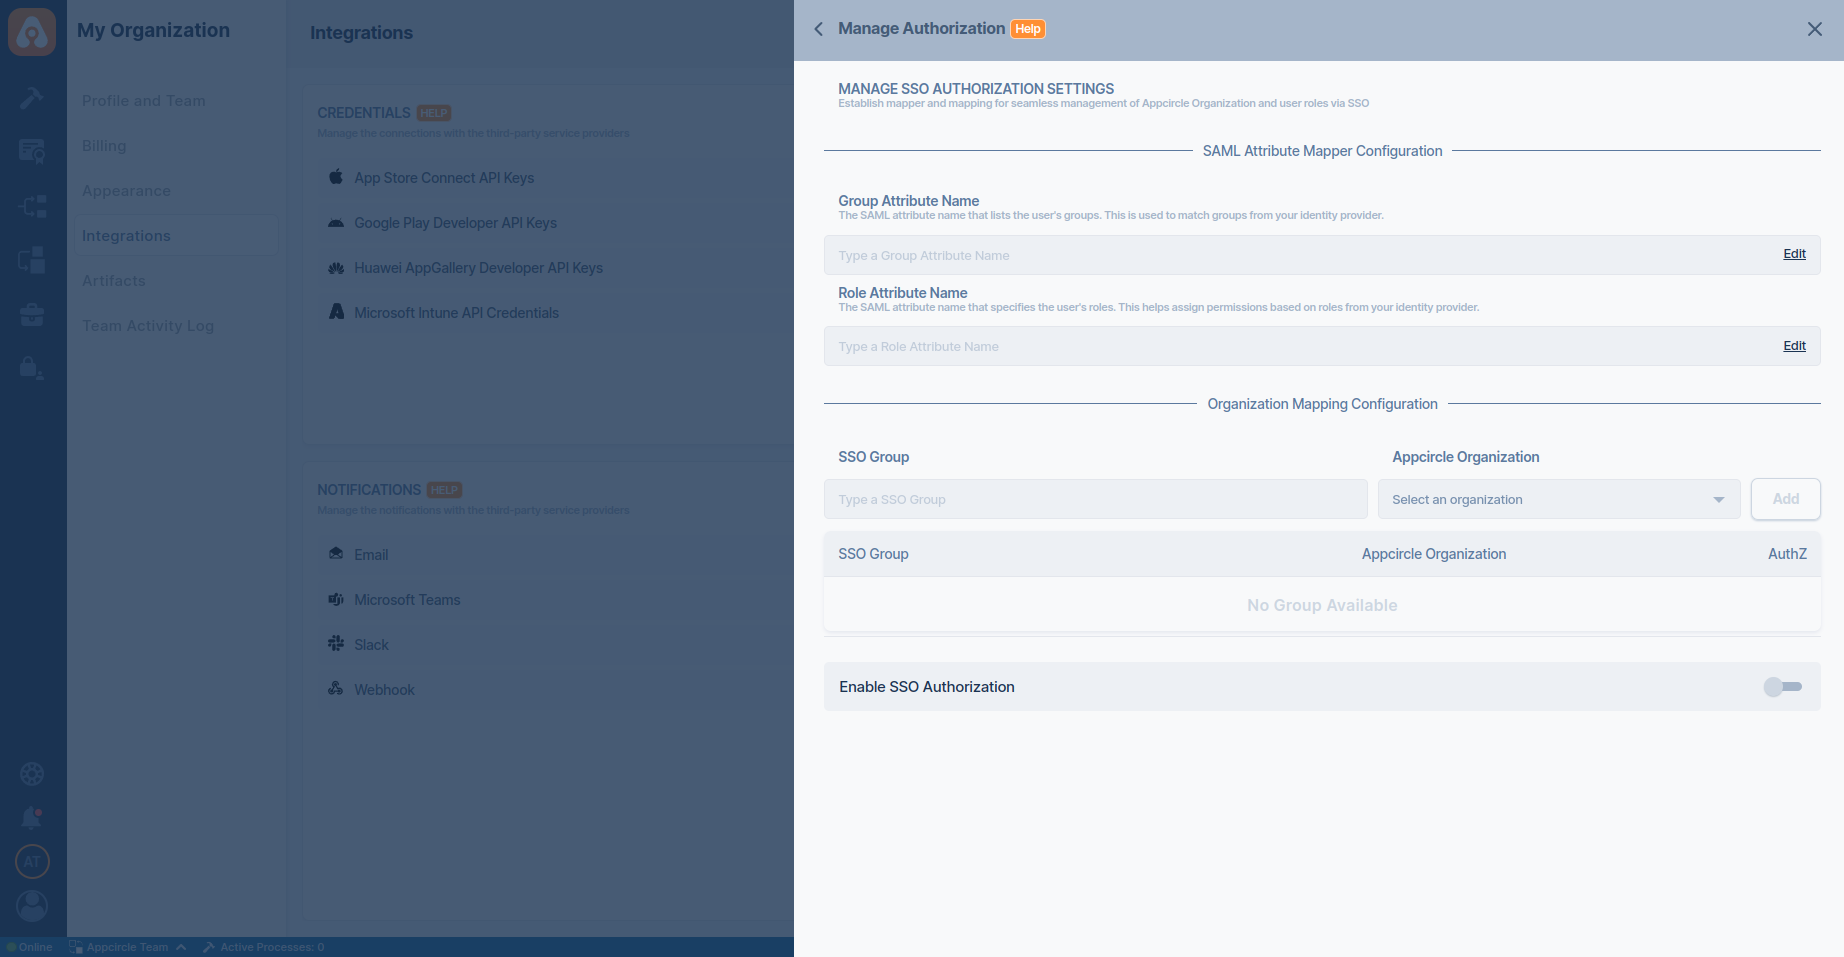
- Now you can define group and role mappings. Please refer to Group and Role Mapping Configuration.
The org_id claim value is equal to the organization ID, not the organization name.