Enterprise App Store SSO Authorization
Introduction
Managing user groups within Auth0 provides users and organizations with several benefits. By organizing users into groups, administrators can efficiently manage access permissions for various applications and resources, saving time and effort. Administrators can synchronize Auth0 user groups with Appcircle, allowing for granular access control and group-based permissions. This integration enhances security, simplifies access management, and promotes collaboration within organizations utilizing the Appcircle platform.
Summary of Configuration Steps
This section provides a brief summary of the configuration steps.
- Perform identity provider-specific configurations, including creating groups, and defining group claims/attributes.
- In Appcircle, specify the Claim Name (OpenID)/Attribute Name (SAML) according to your Identity Provider configuration.
- In Appcircle, enable SSO Authentication for Enteprise App Store and Testing Distribution.
Specific Provider Configuration
Auth0
Auth0 (OpenID Connect)
Step 1. Create Organizations
- In the Auth0 dashboard, navigate to the Organization section.
- Click Create Organization button to create organizations.
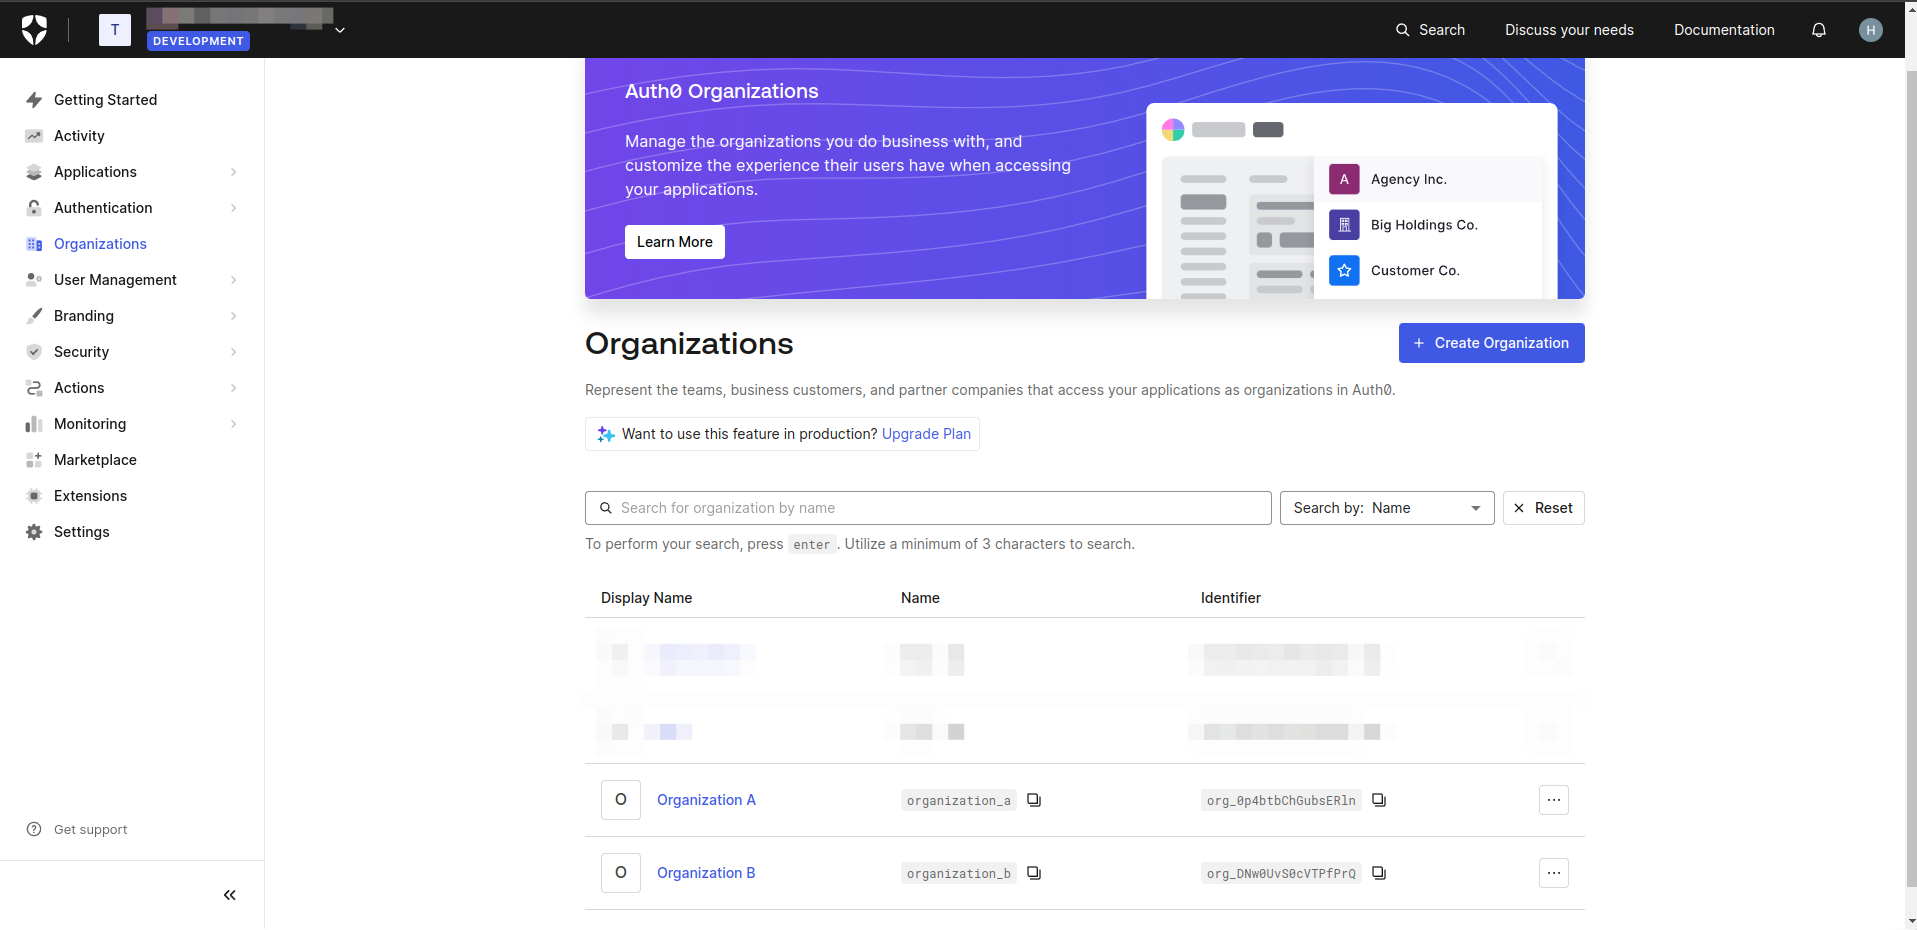
- Click created organization to navigated Organization Details.
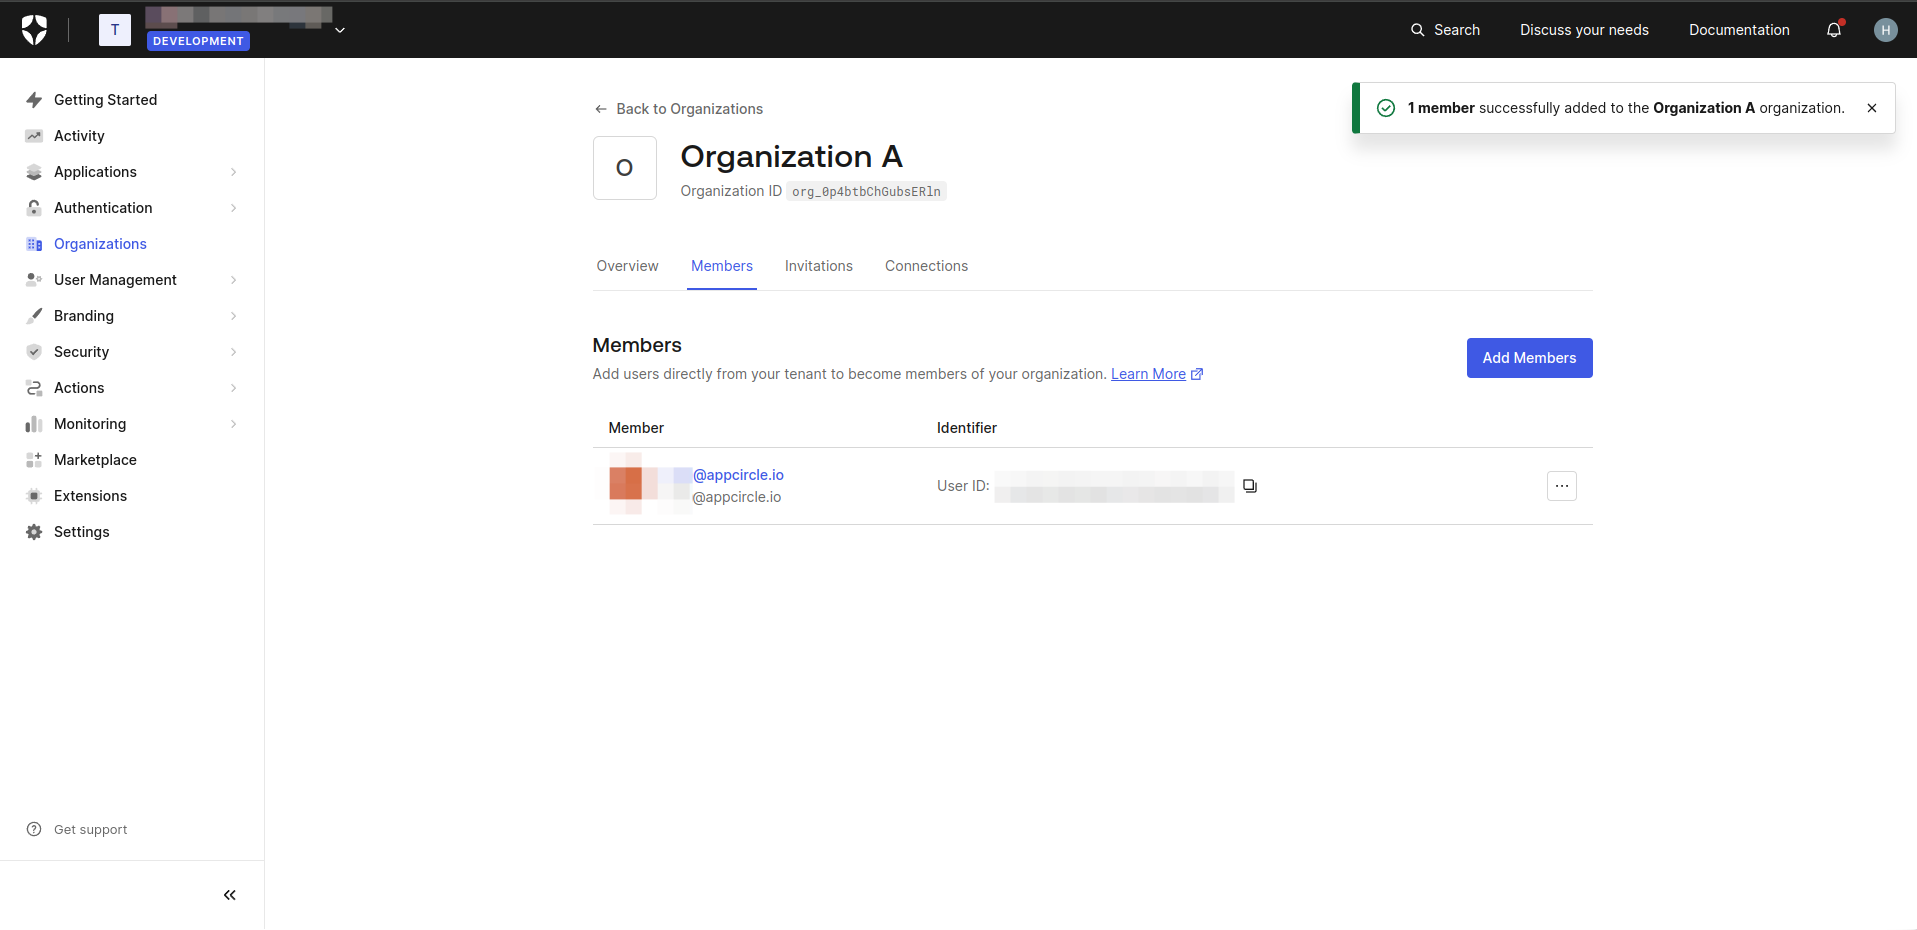
- On the Organization Details screen, click on the Members tab to manage members of organization.
- Click the Add Members button. Add users who will become members of your organization.
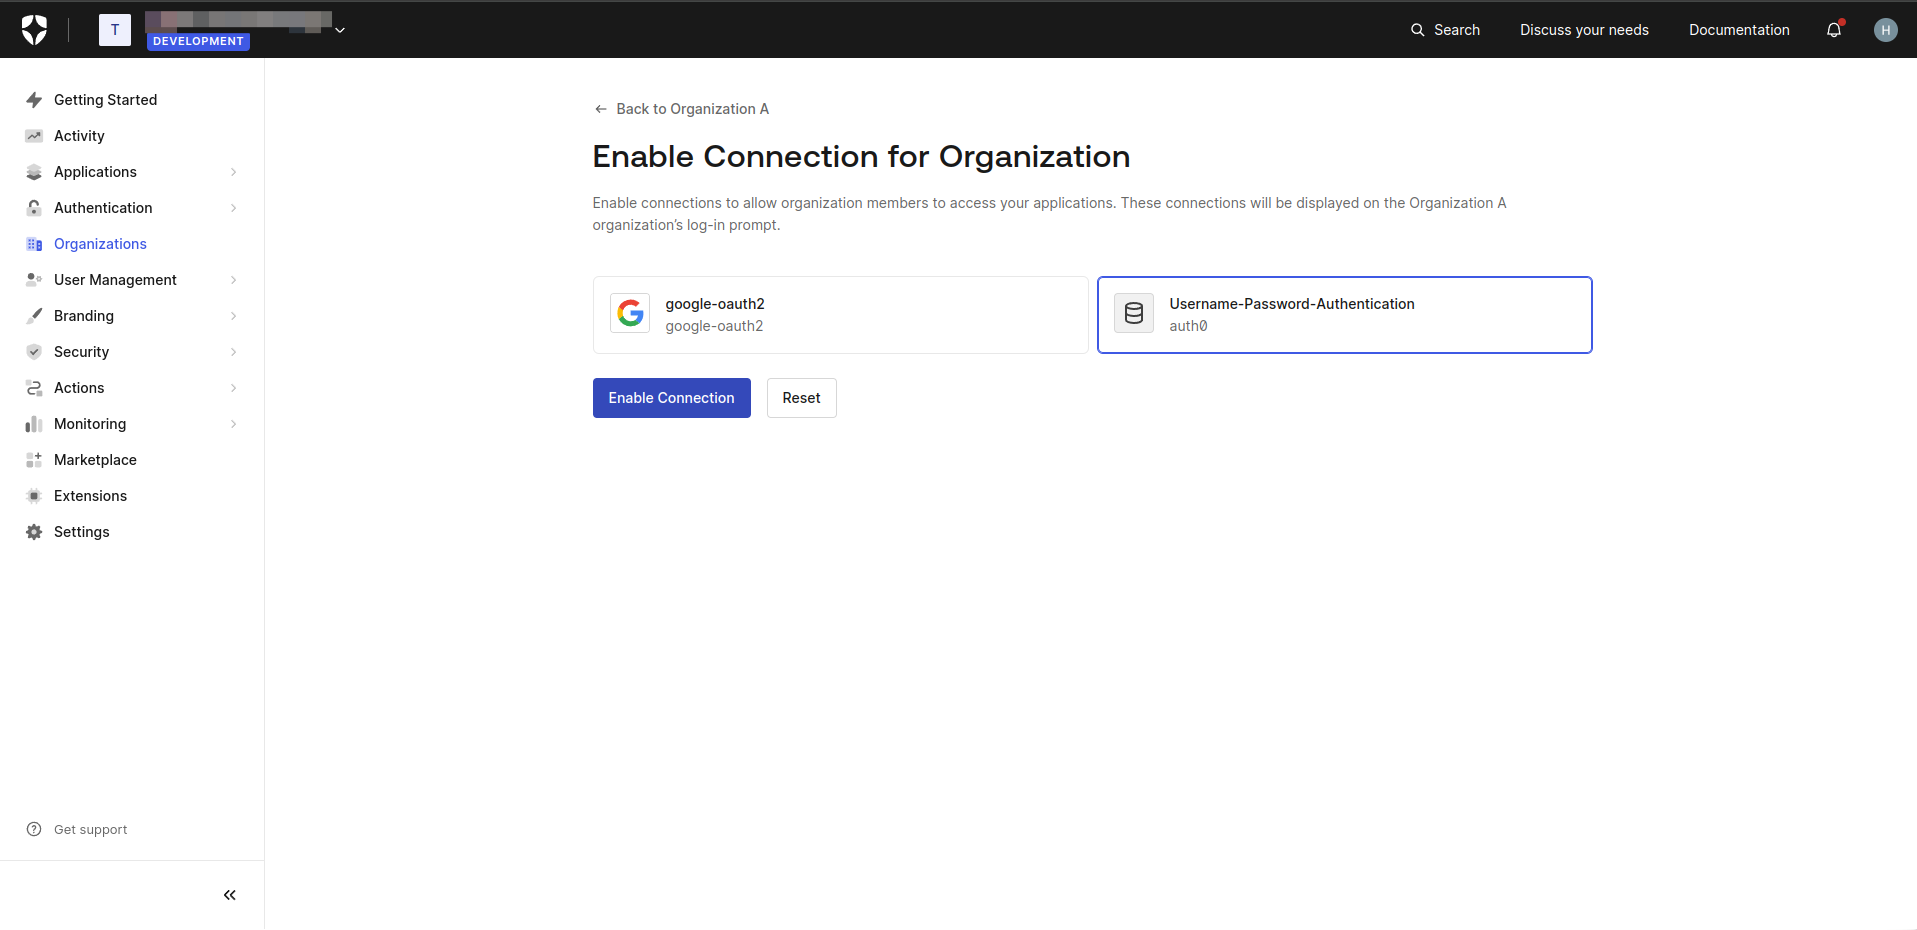
- On the Organization Details screen, navigate to the Connections tab.
- Click the Enable Connections button
- Select Username-Password-Authentication and click on Enable Connection
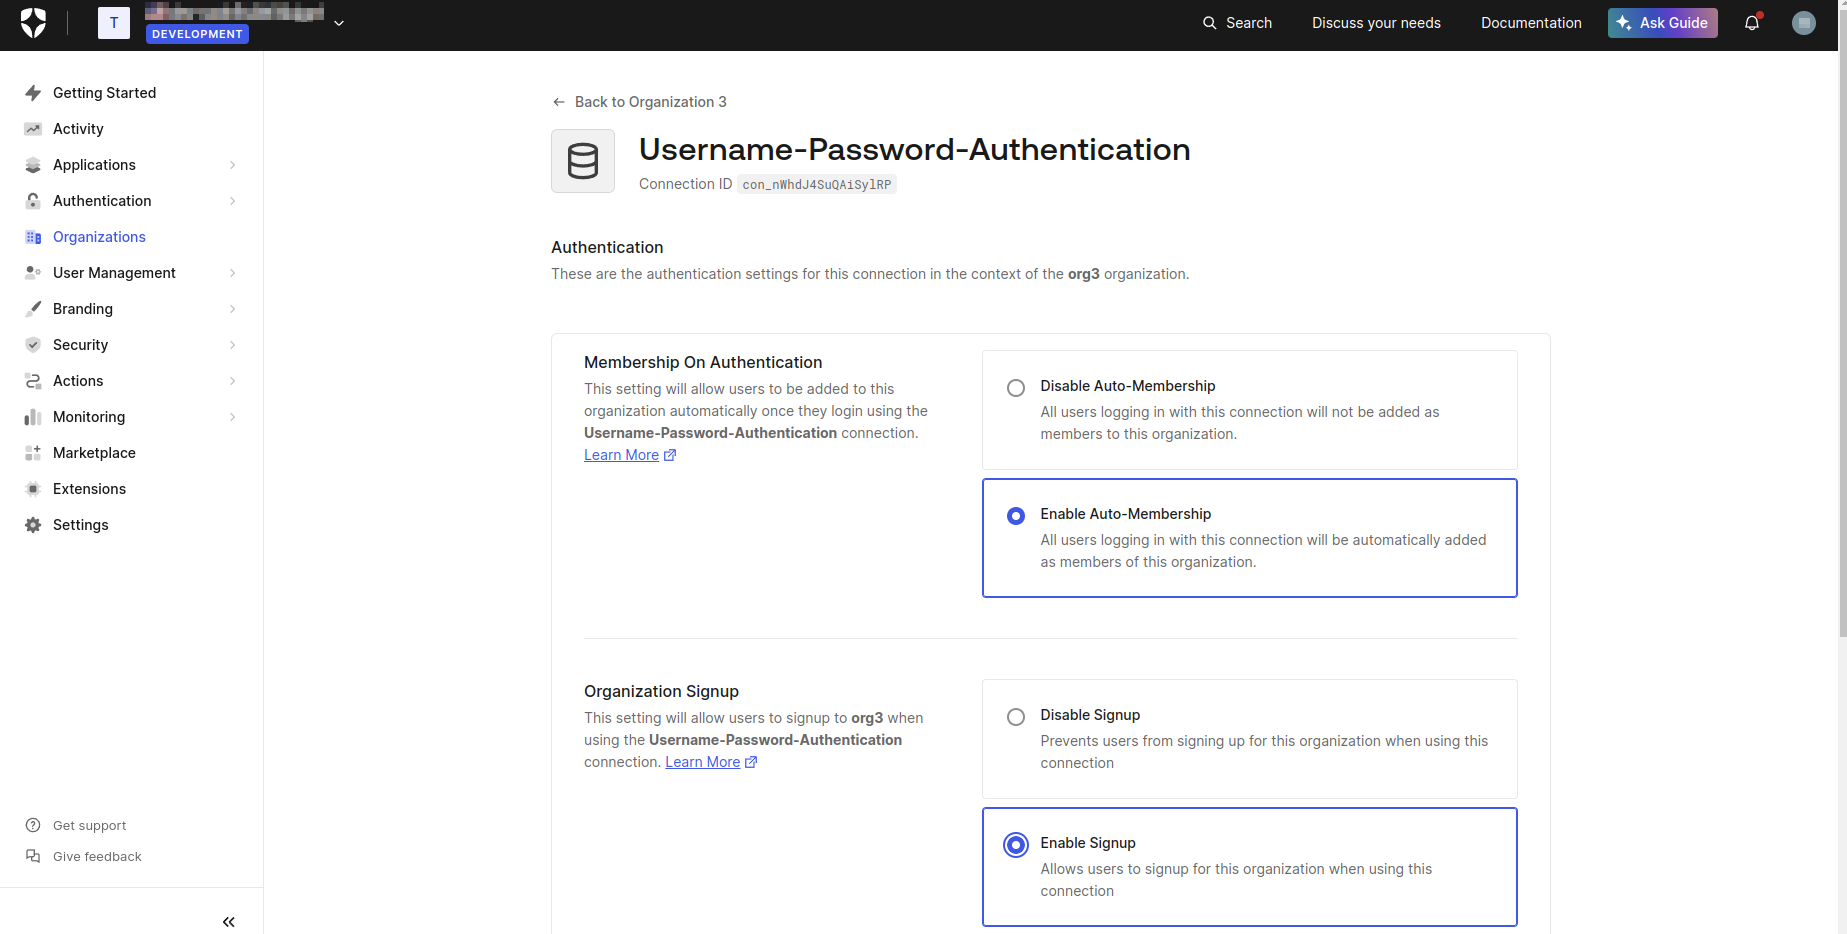
- Select Enable Auto-Membership and Enable Signup on the displayed screen, then click Save.
Step 2. Enable organization for your application
- In the Auth0 dashboard, navigate to the Applications section.
- Select the relevant application.
- On the Application Details screen, navigate to the Organizations tab.

- Click Disable Grants Now.
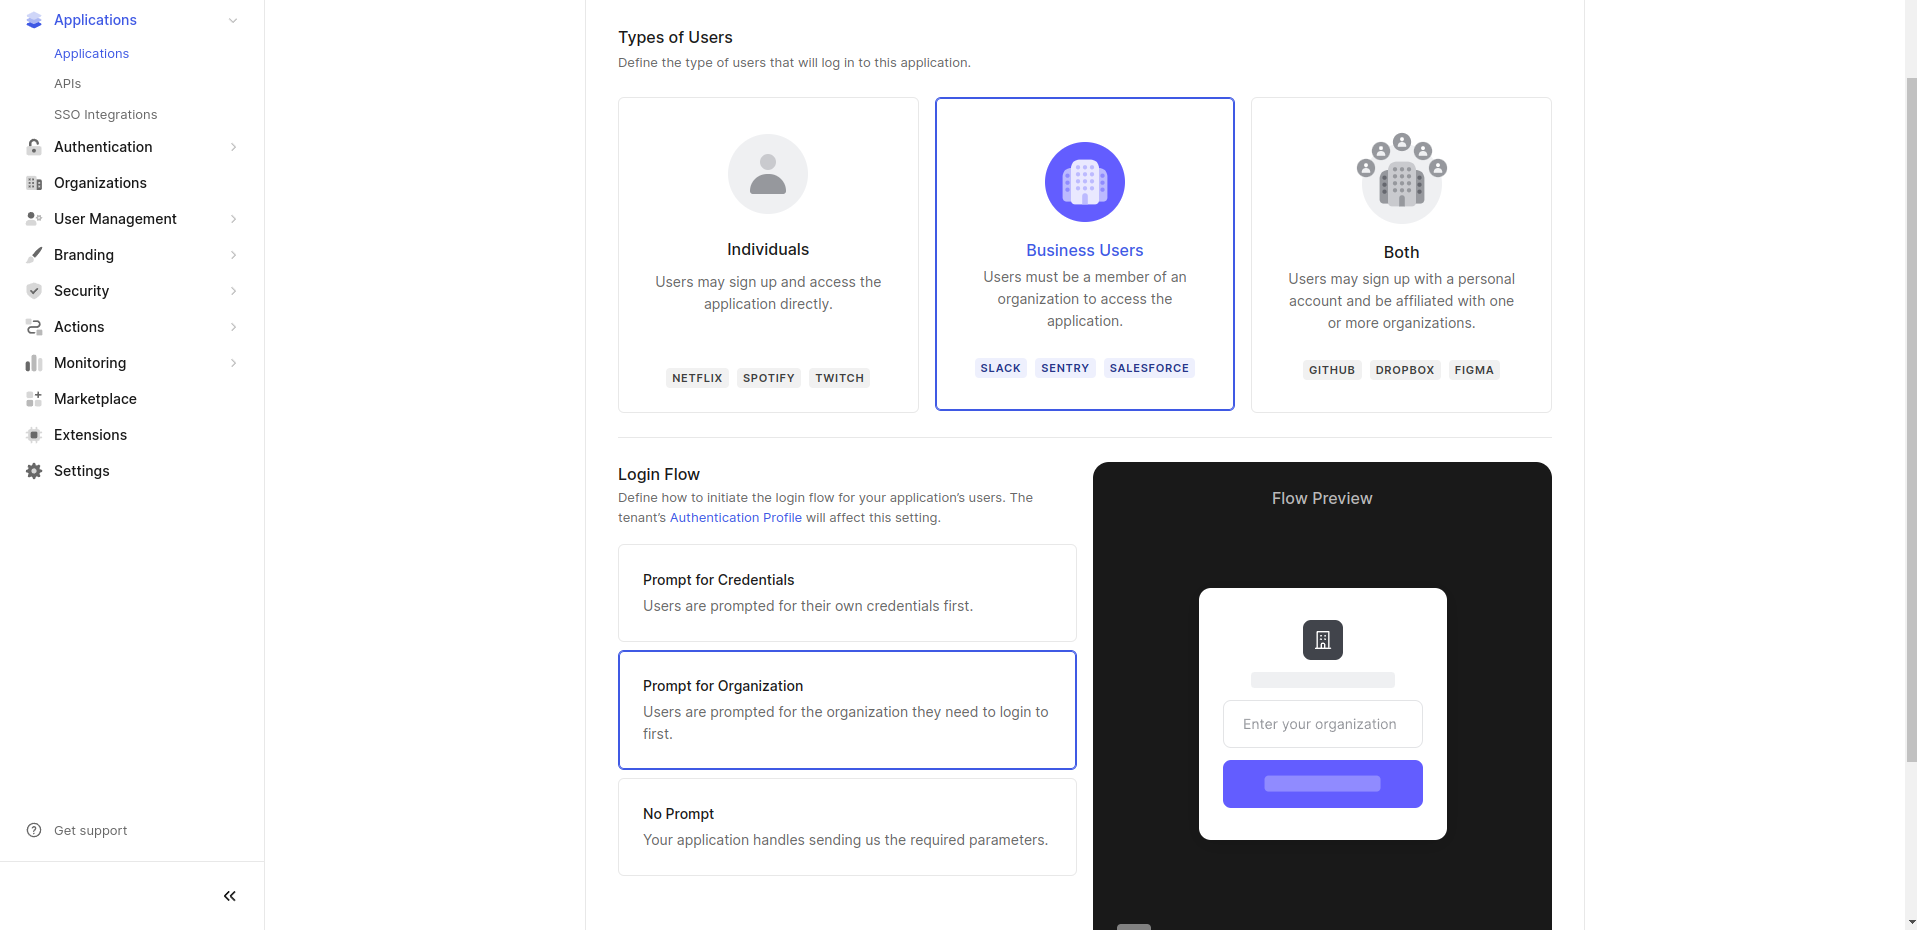
- Choose Business Users for the type of users and select Prompt for Organization for the login flow.
- Click Save Changes.
Step 3. Define Group Claim Name in Appcircle
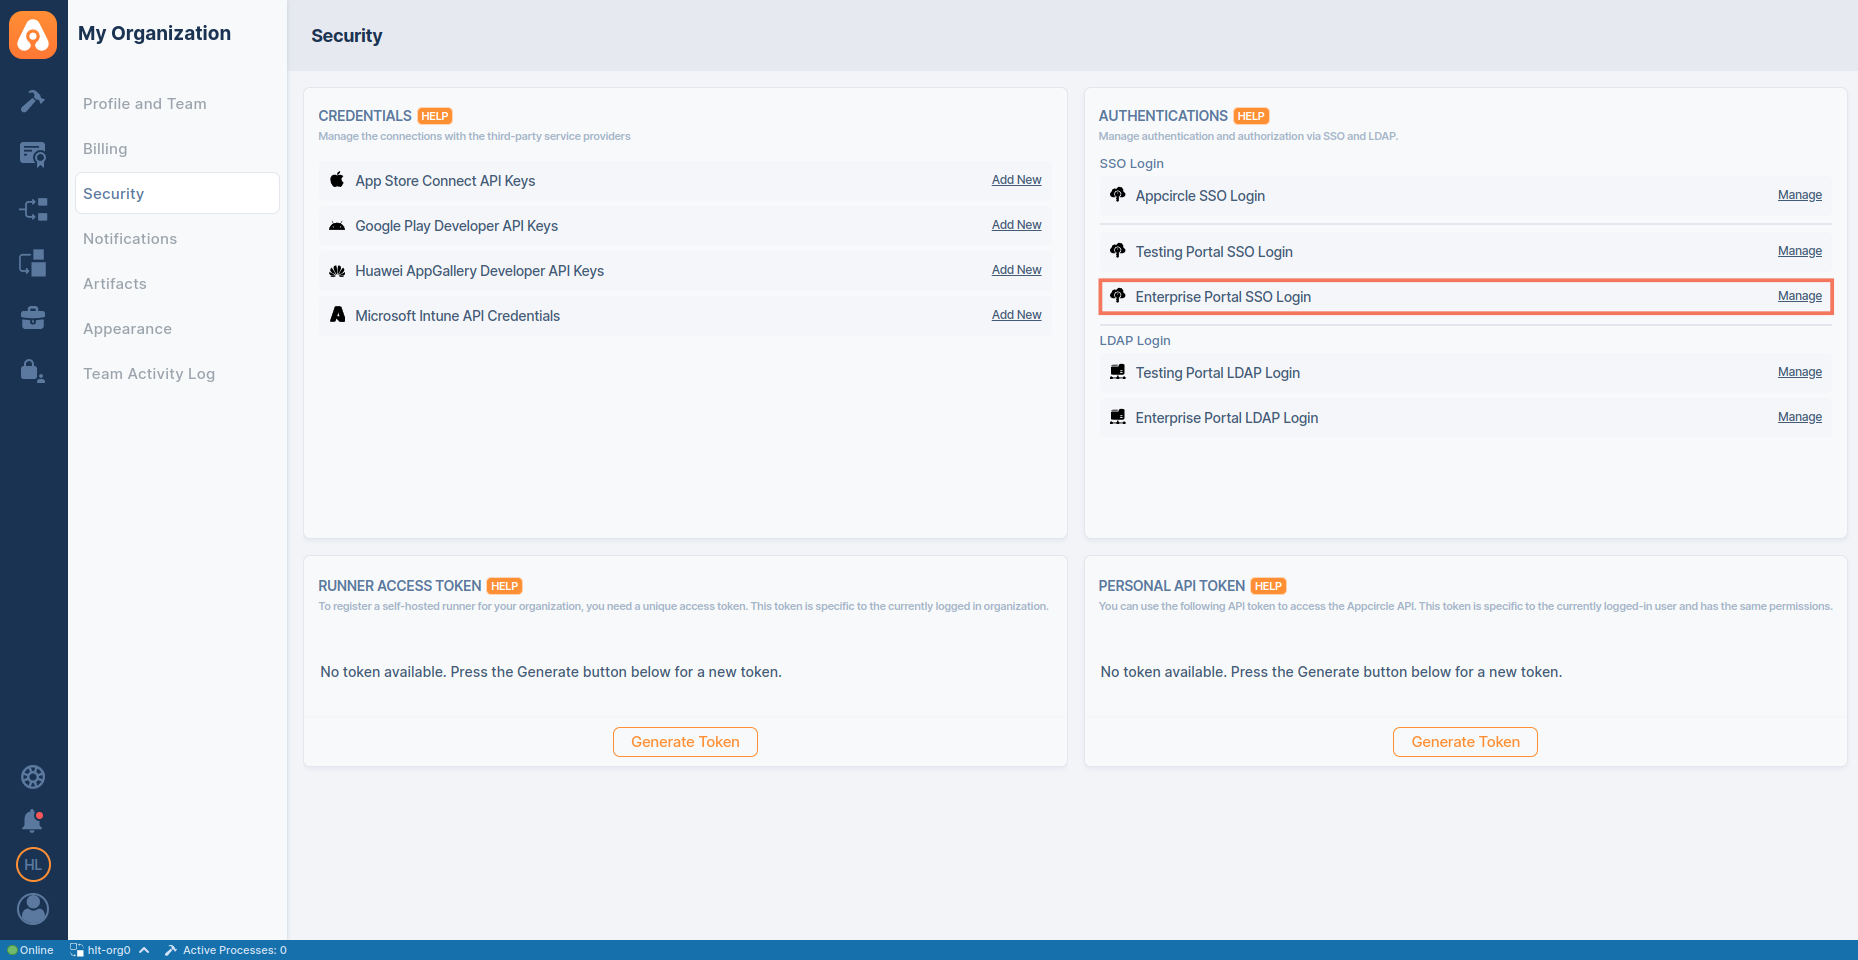
- Navigate to the Organization > Security > Authentications section on your dashboard.
- Select the Manage on the Enterprise Portal SSO Login.
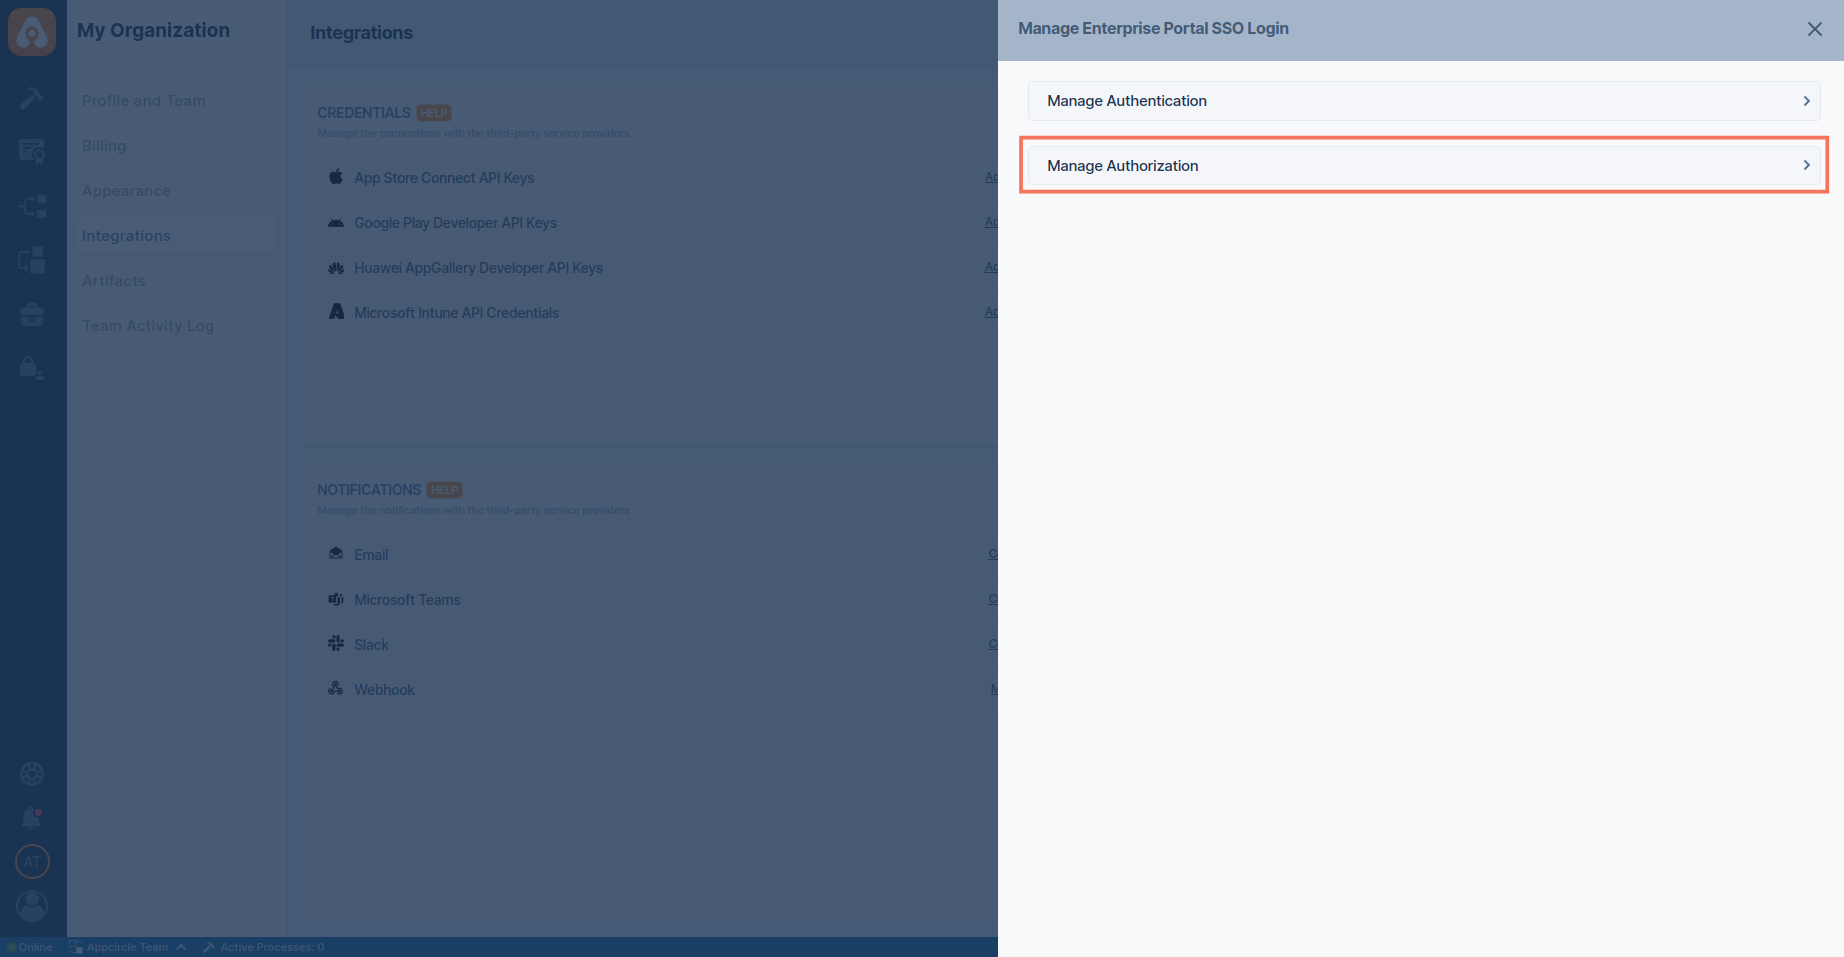
- Select the Manage Authorization.
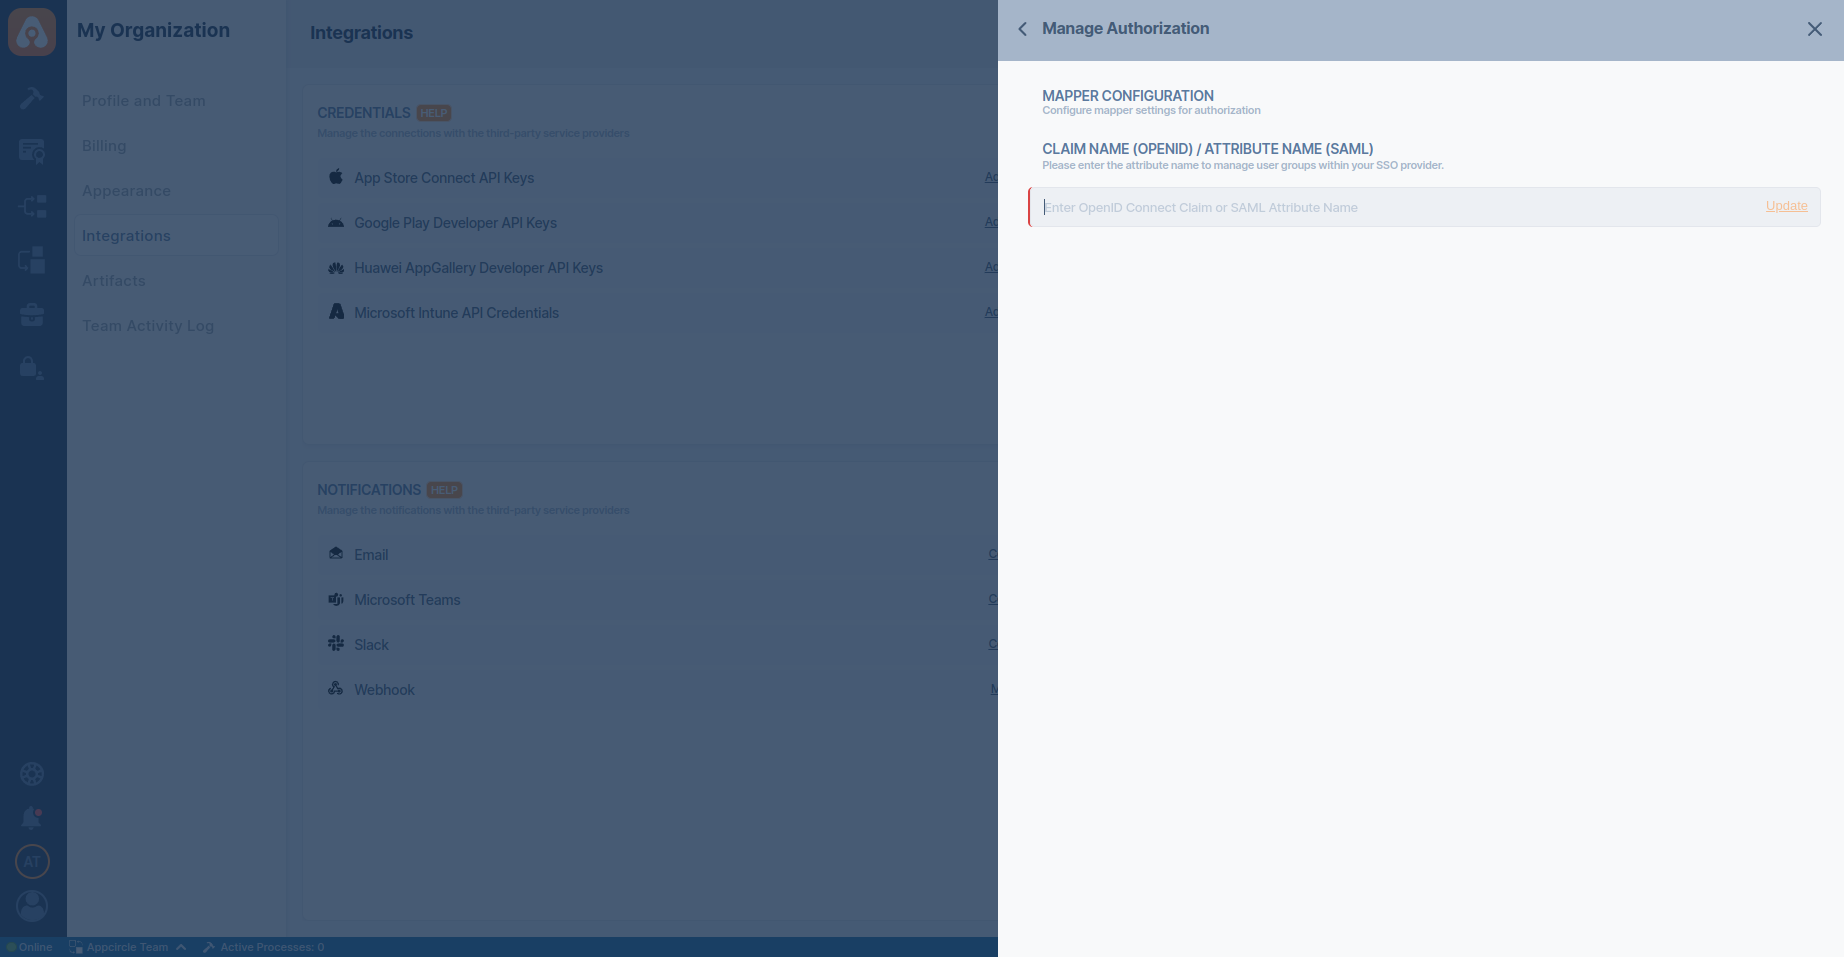
- Enter the Claim Name (OpenID)/Attribute Name (SAML) as
org_id.
Auth0 (SAML)
Step 1. Create Organizations
- In the Auth0 dashboard, navigate to the Organization section.
- Click Create Organization button to create organizations.
- Click created organization to navigated Organization Details.
- On the Organization Details screen, click on the Members tab to manage members of organization.
- Click the Add Members button. Add users who will become members of your organization.
- On the Organization Details screen, navigate to the Connections tab.
- Click the Enable Connections button
- Select Username-Password-Authentication and click on Enable Connection
- Select Enable Auto-Membership and Enable Signup on the displayed screen, then click Save.
Step 2. Enable organization for your application
- In the Auth0 dashboard, navigate to the Applications section.
- Select the relevant application.
- On the Application Details screen, navigate to the Organizations tab.
- Click Disable Grants Now.
- Choose Business Users for the type of users and select Prompt for Organization for the login flow.
- Click Save Changes.
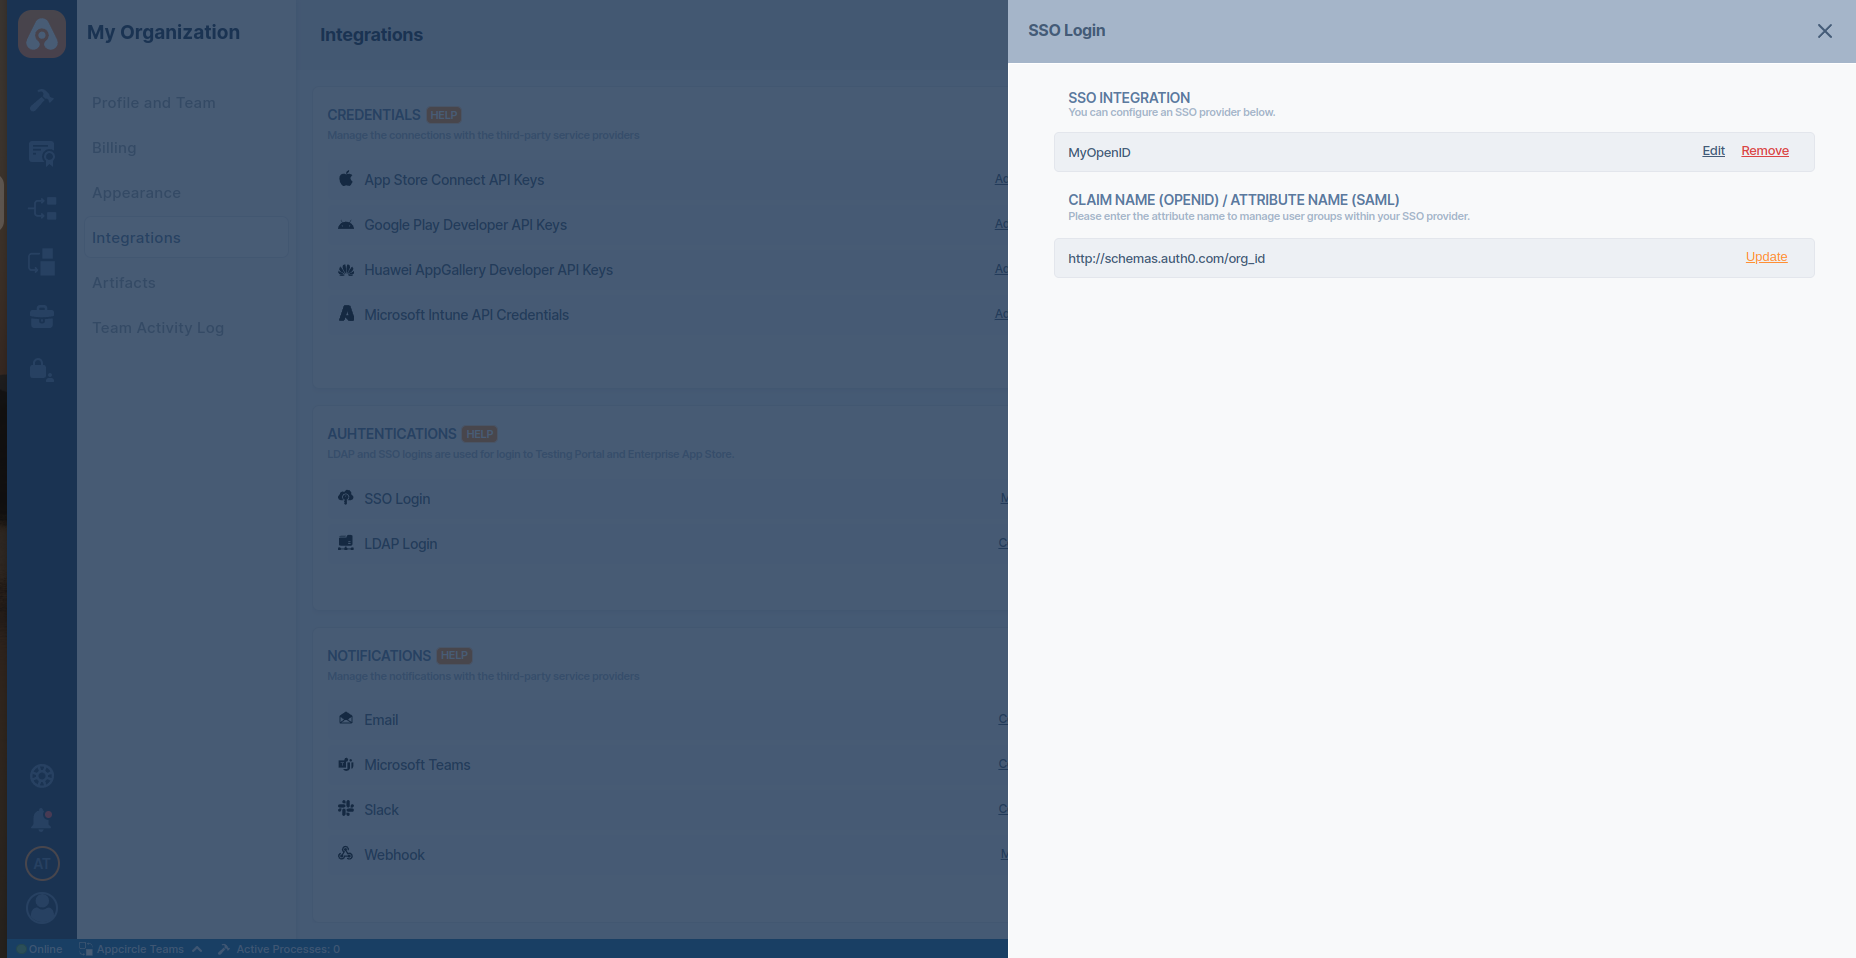
Step 3. Define Group Attribute Name
- Navigate to the SSO Login screen in Appcircle.
- Enter the Claim Name (OpenID)/Attribute Name (SAML) as
http://schemas.auth0.com/org_id.
Microsoft Entra ID (formerly Azure Active Directory)
Microsoft Entra ID (SAML)
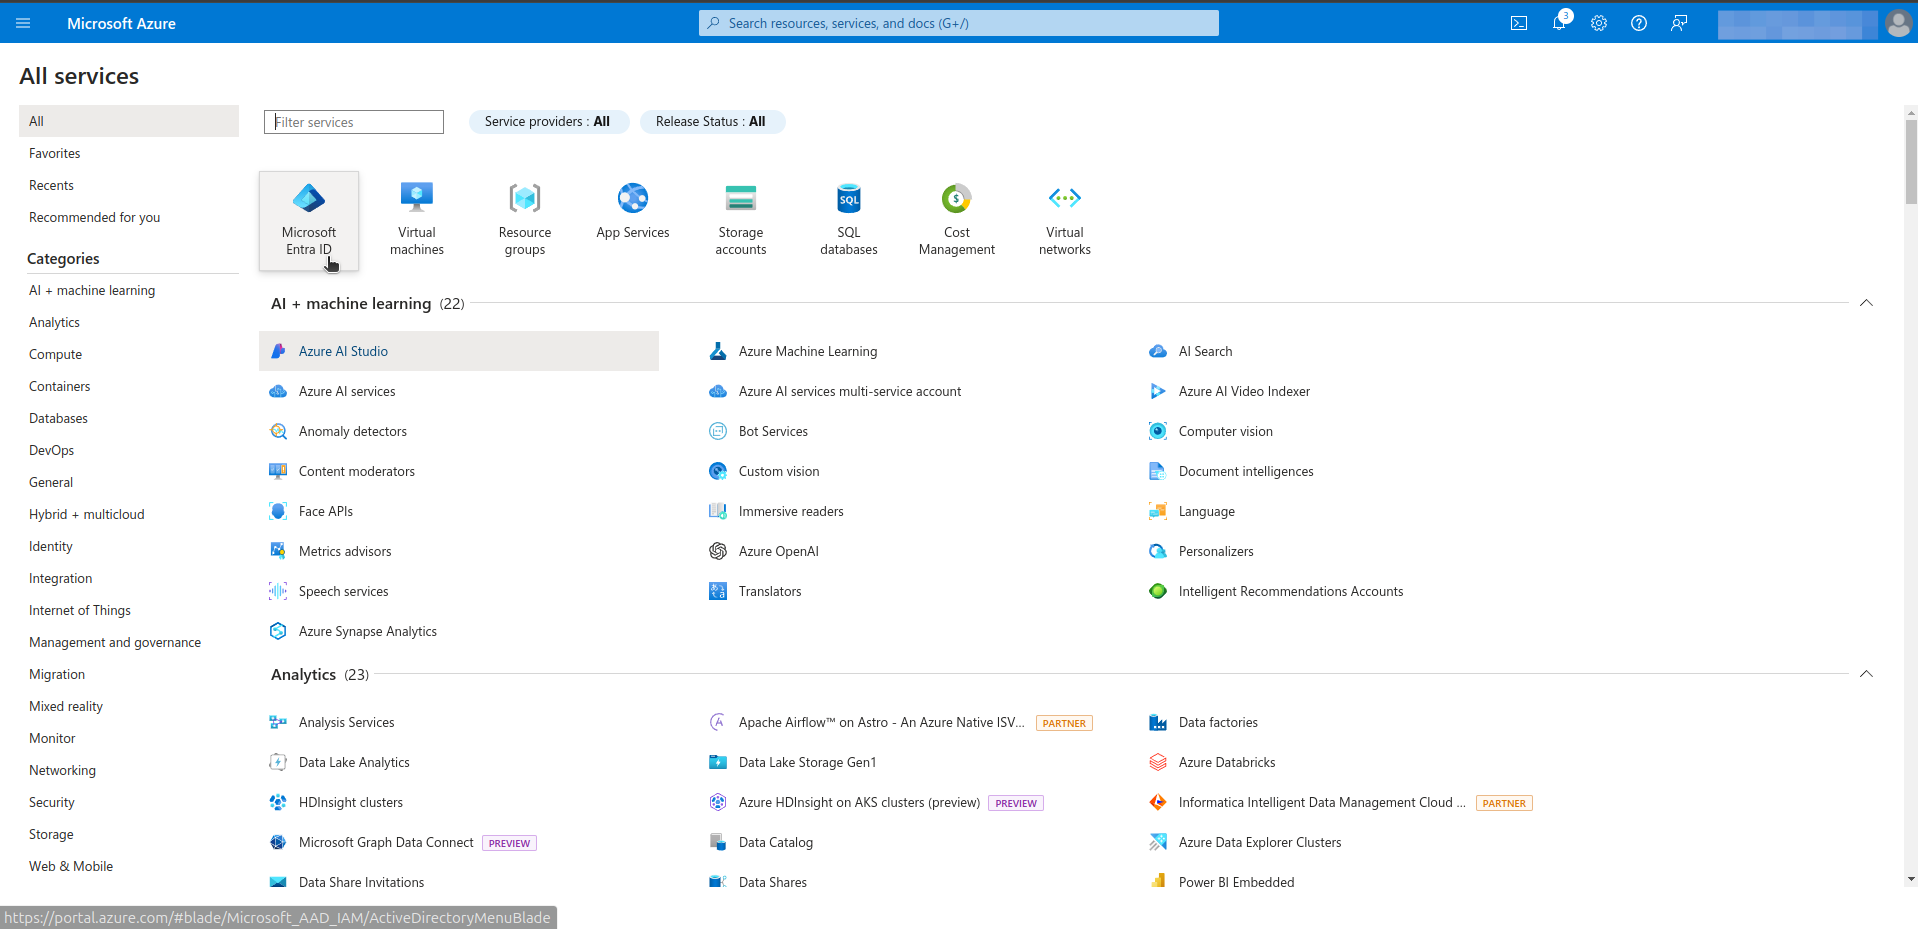
Step 1. Create Groups in Microsoft Entra ID
- Log in to Azure as an admin and navigate to Azure Services > Microsoft Entra ID
- Navigate to the Manage > Groups section from left menu.
- Click the New Group.
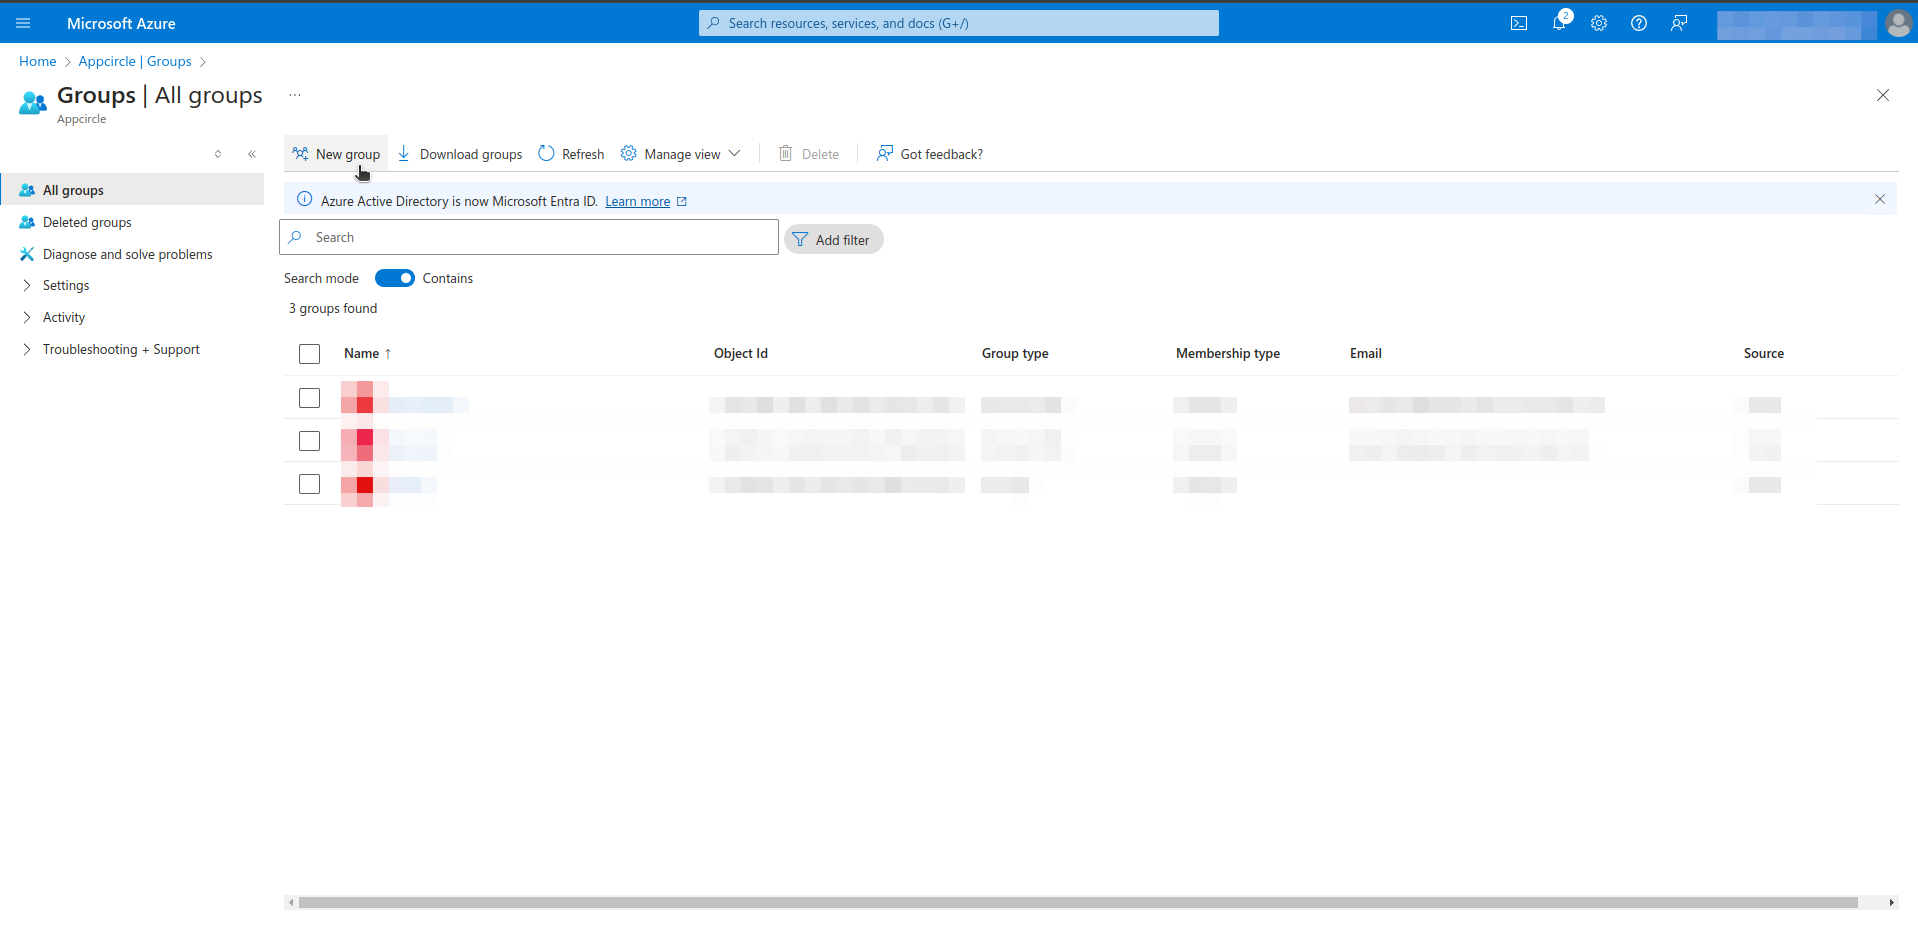
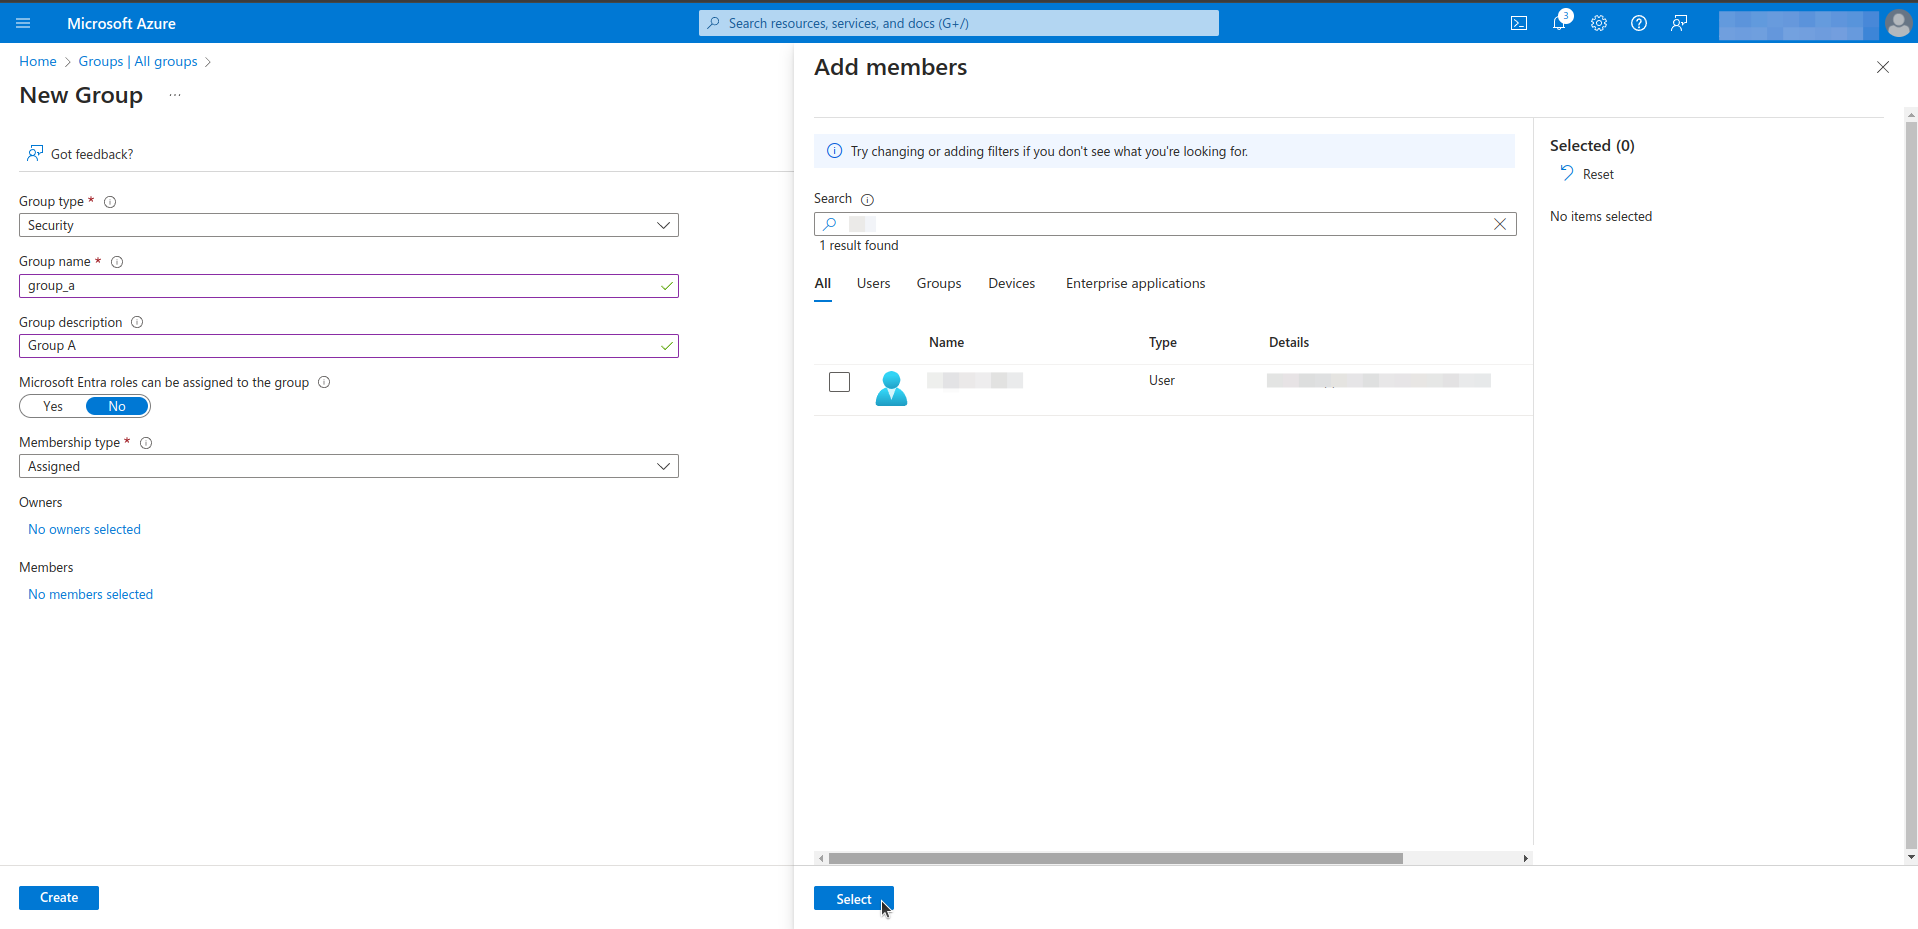
- Assign a proper name and description to the new group. Designate an owner and members to the group.
Step 3. Assign user and group to application in Microsoft Entra ID
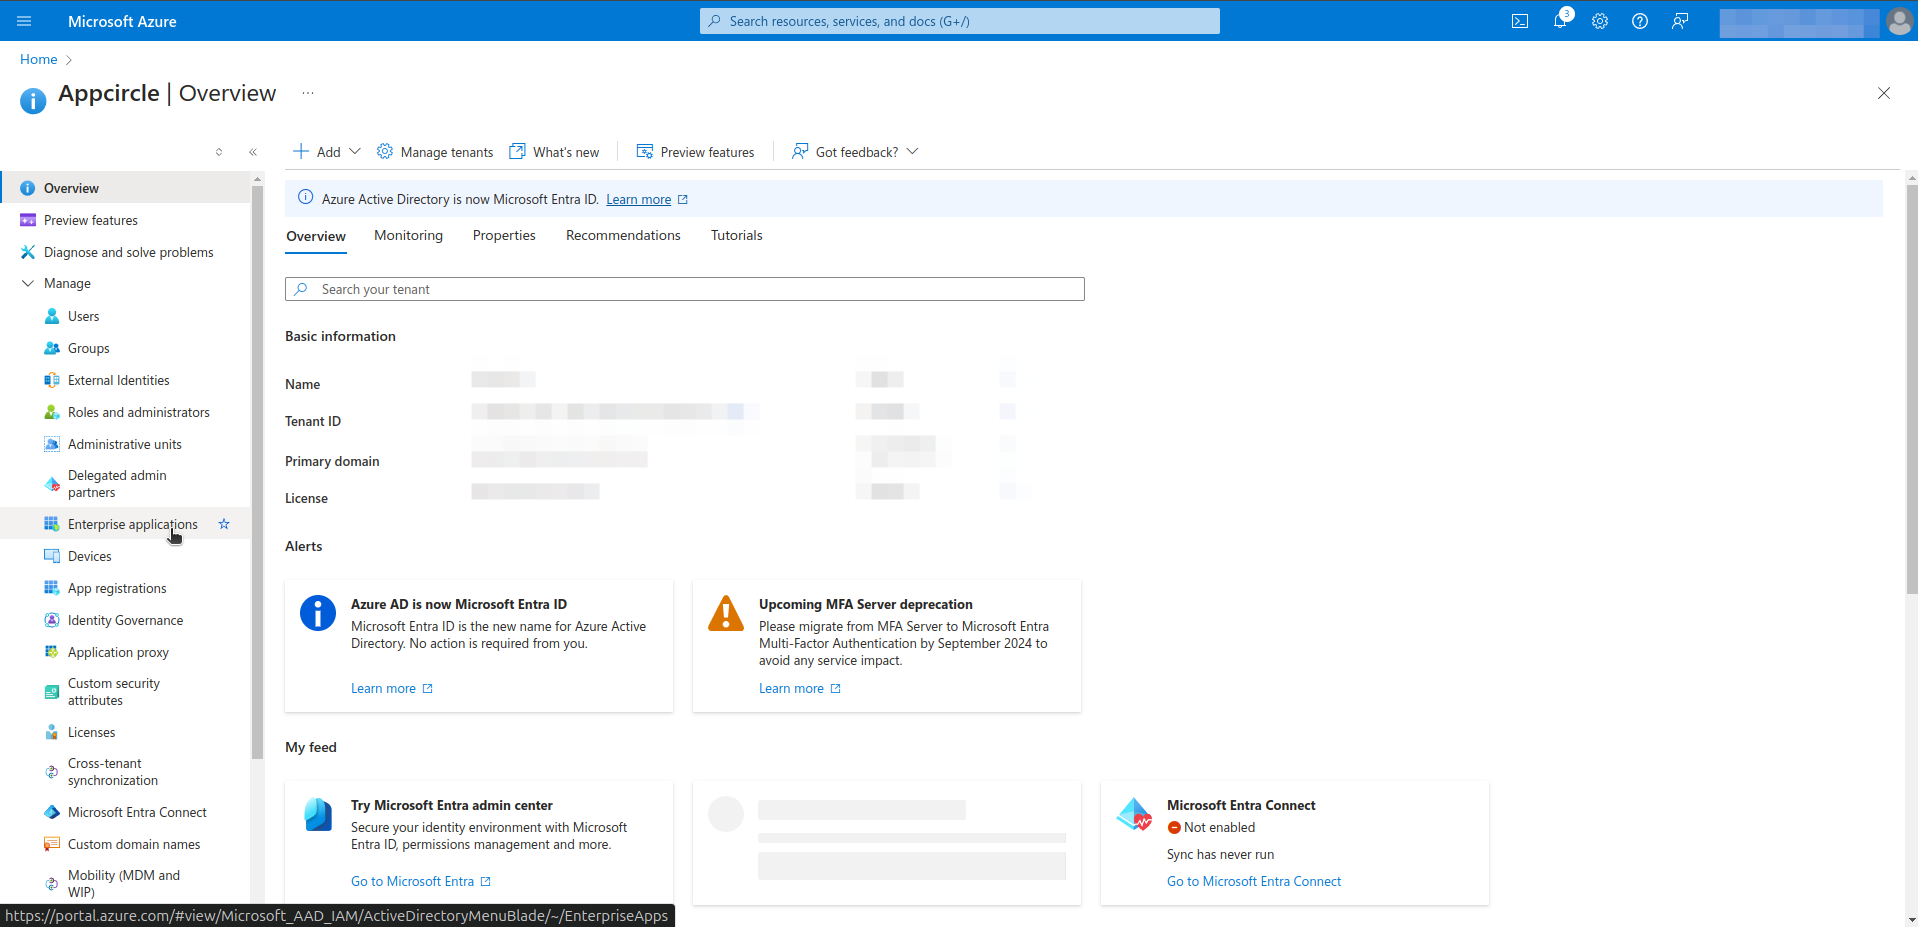
- Navigate to the Azure Services > Microsoft Entra ID.
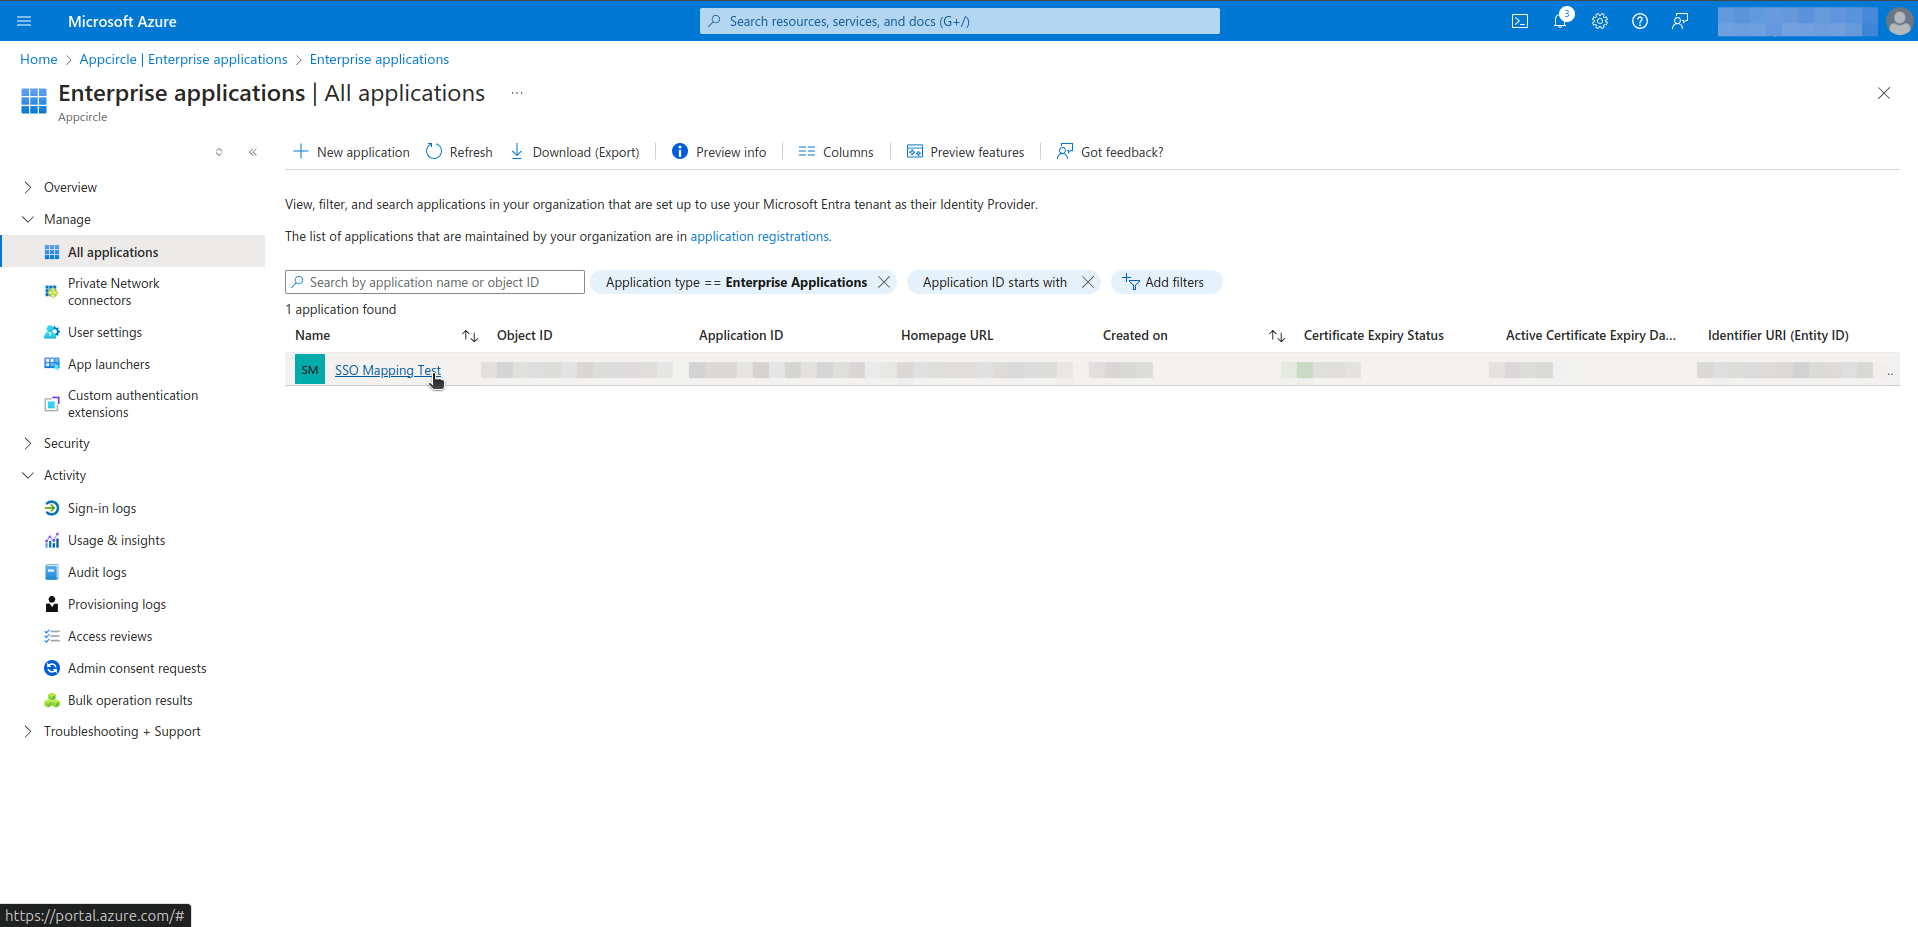
- Navigate to the Manage > Enterprise applications section from left menu.
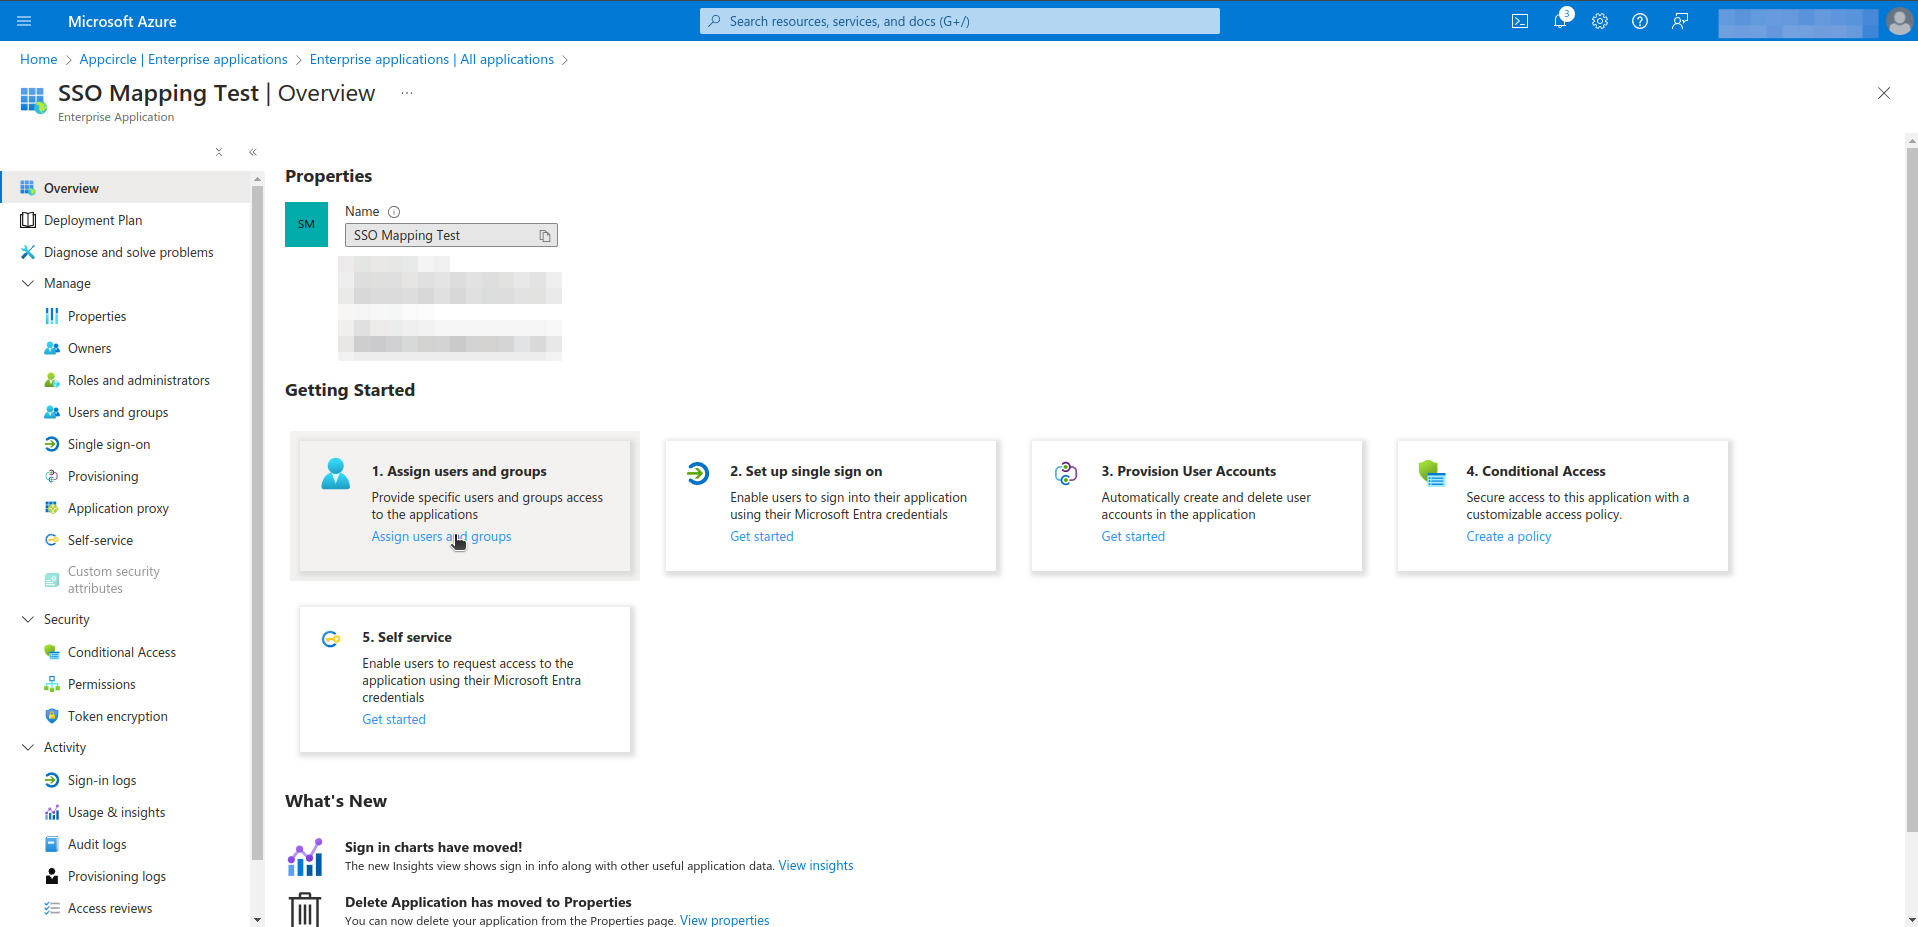
- Click your application.
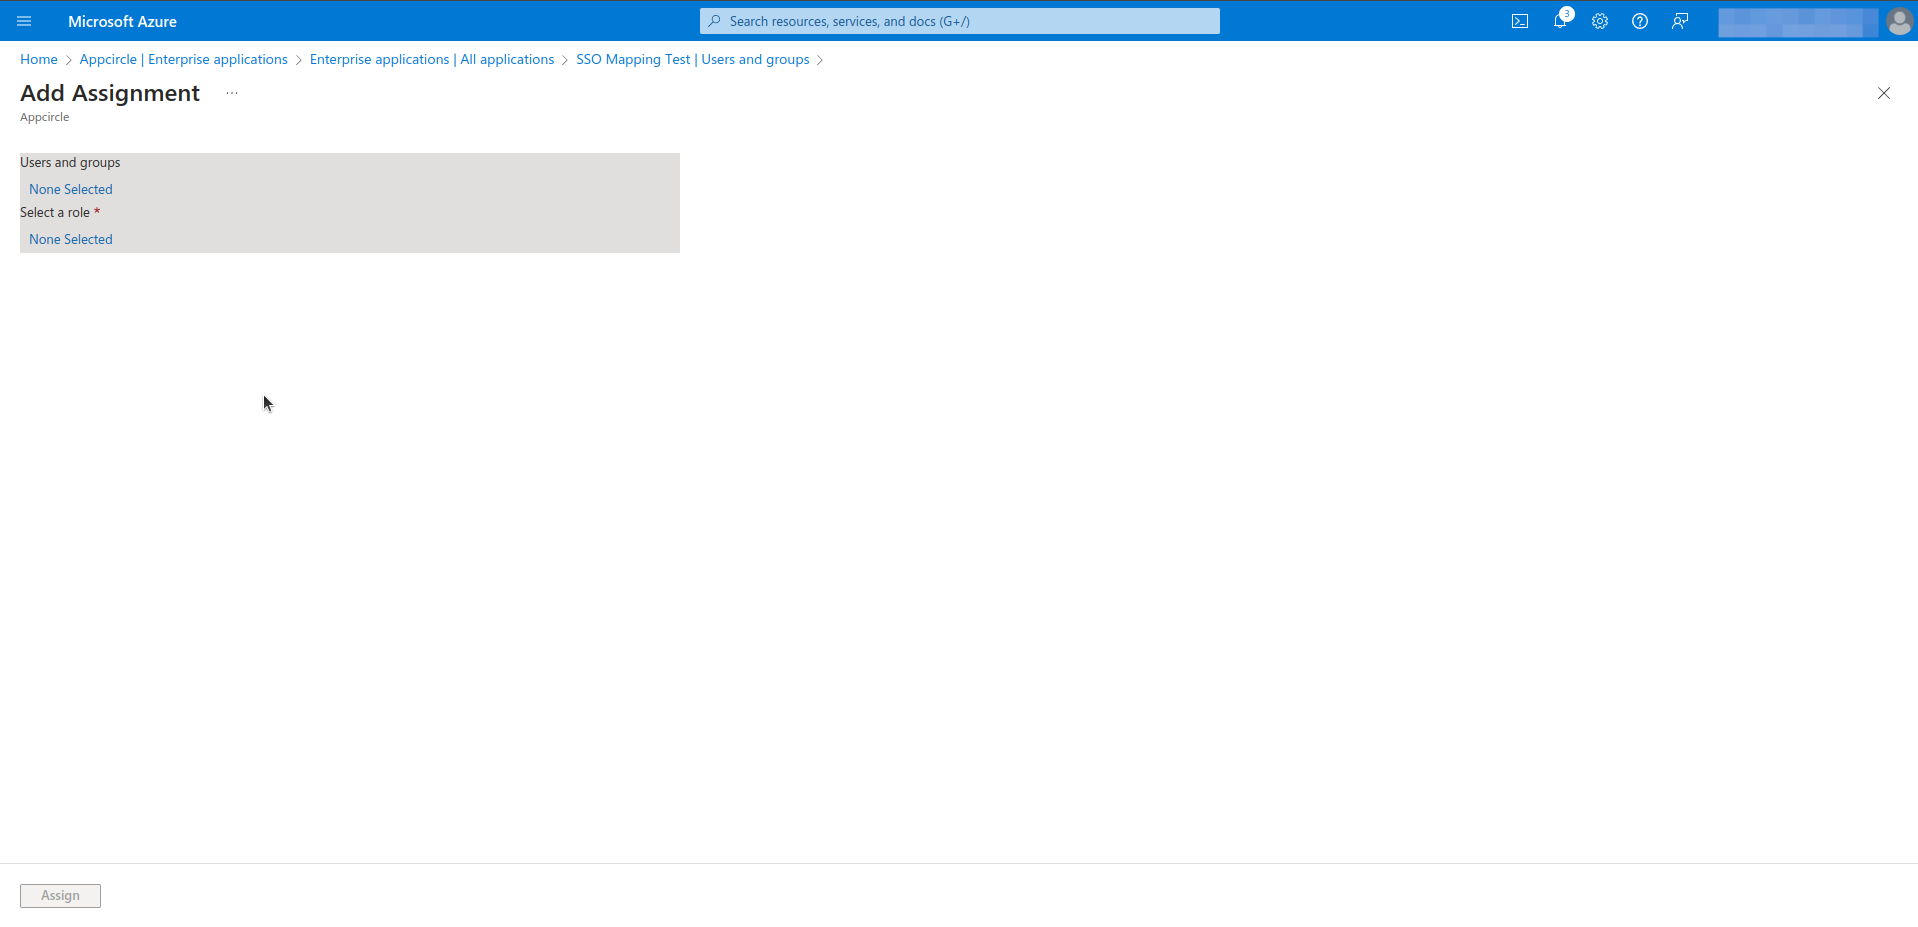
- Click Assign users and groups.
- Click Add user/group.
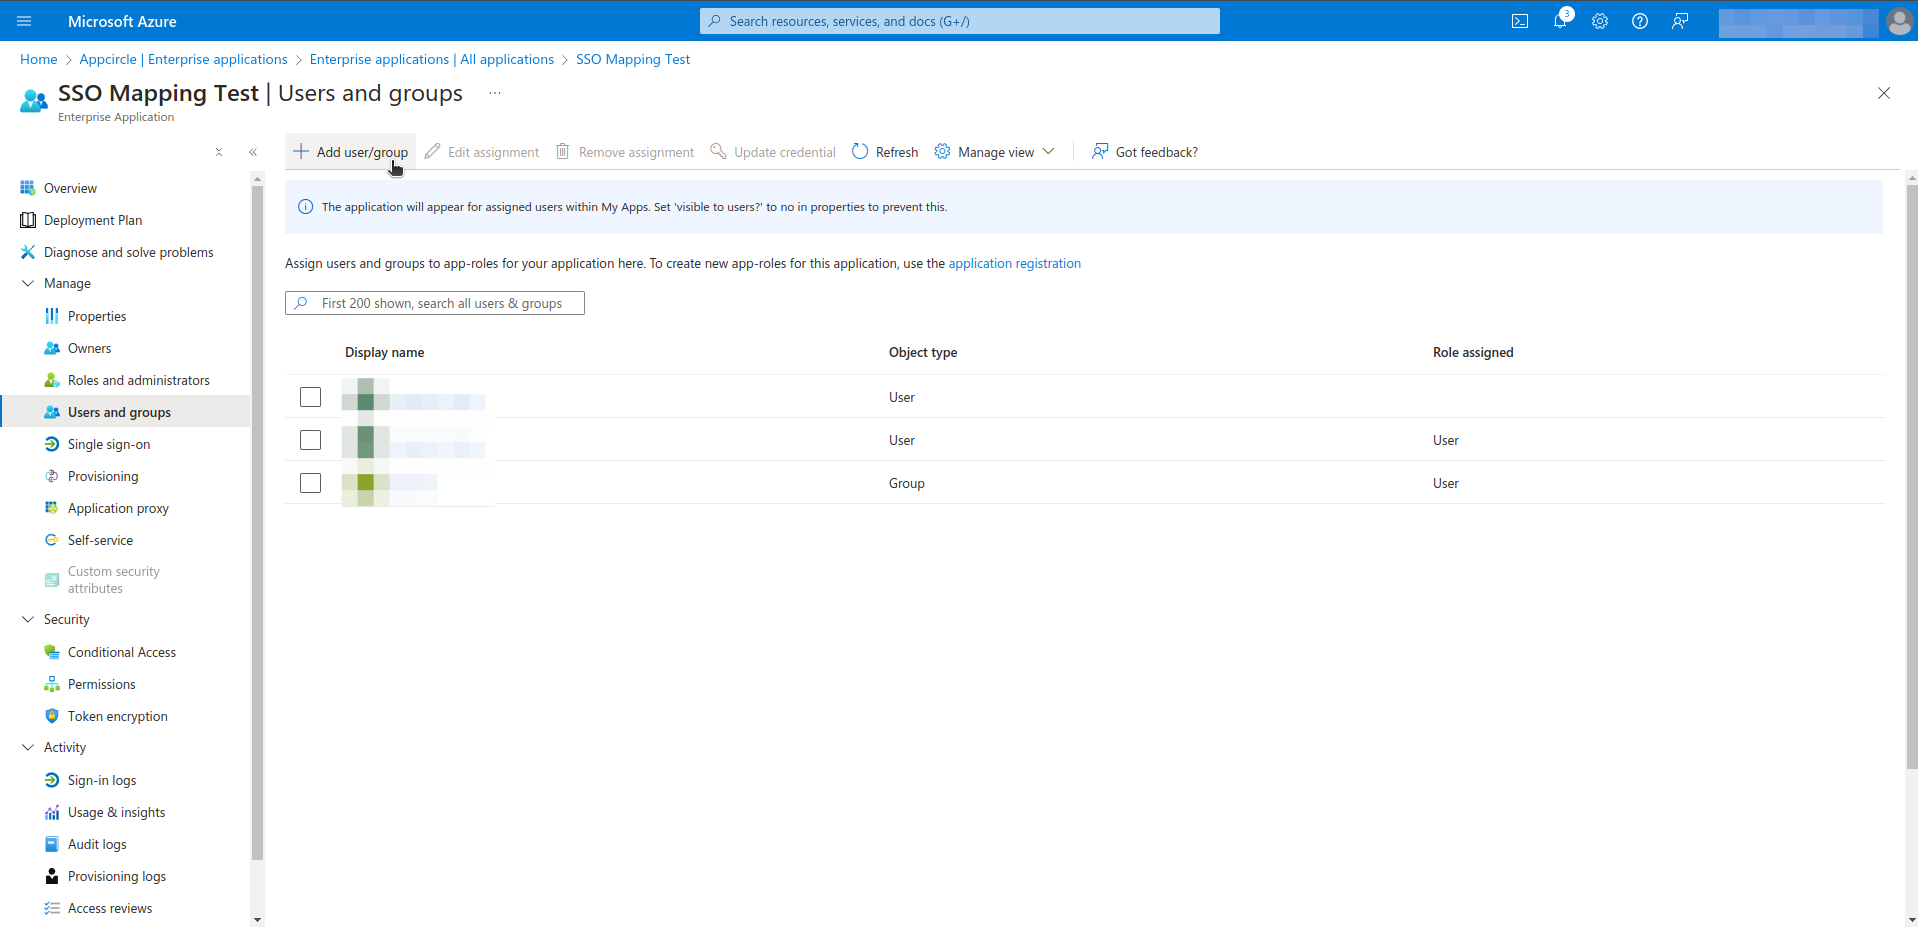
- Select users, groups and role. This process can be repeated as needed.
Step 4. Define Group Attributes & Claims in Microsoft Entra ID
- Navigate to the Manage > Single sign-on section from left menu.
- Click Edit in Attributes & Claims section.
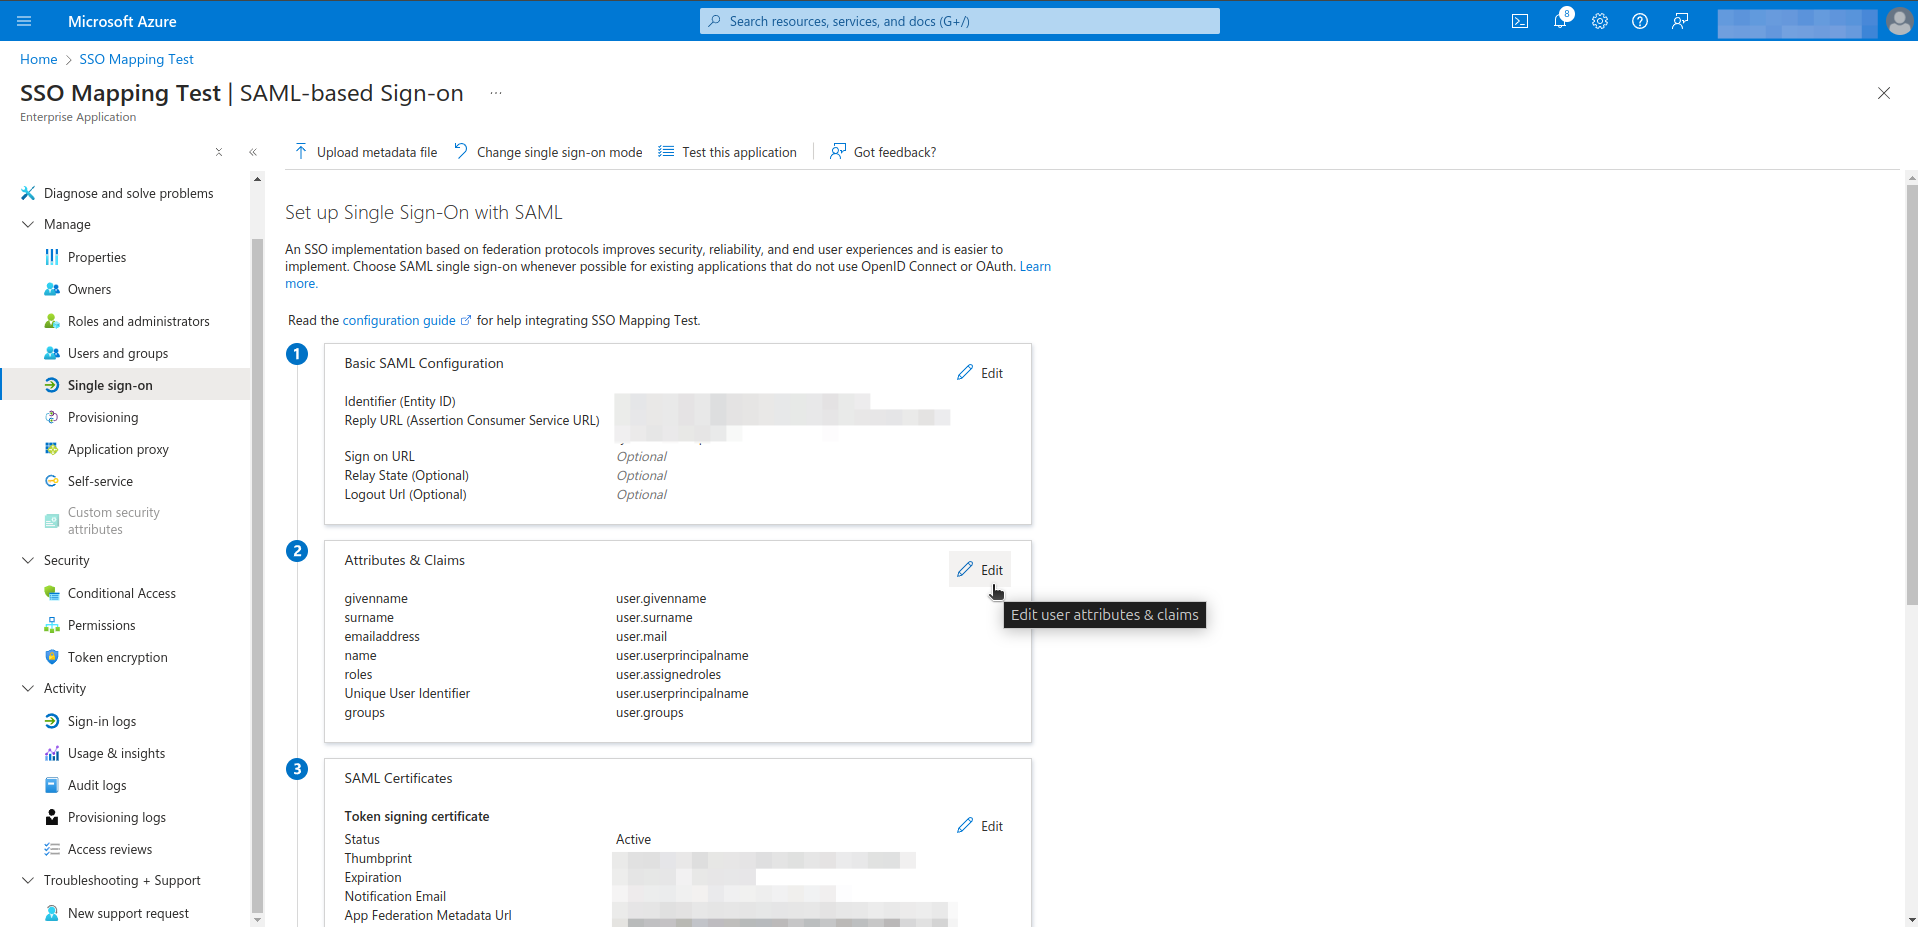
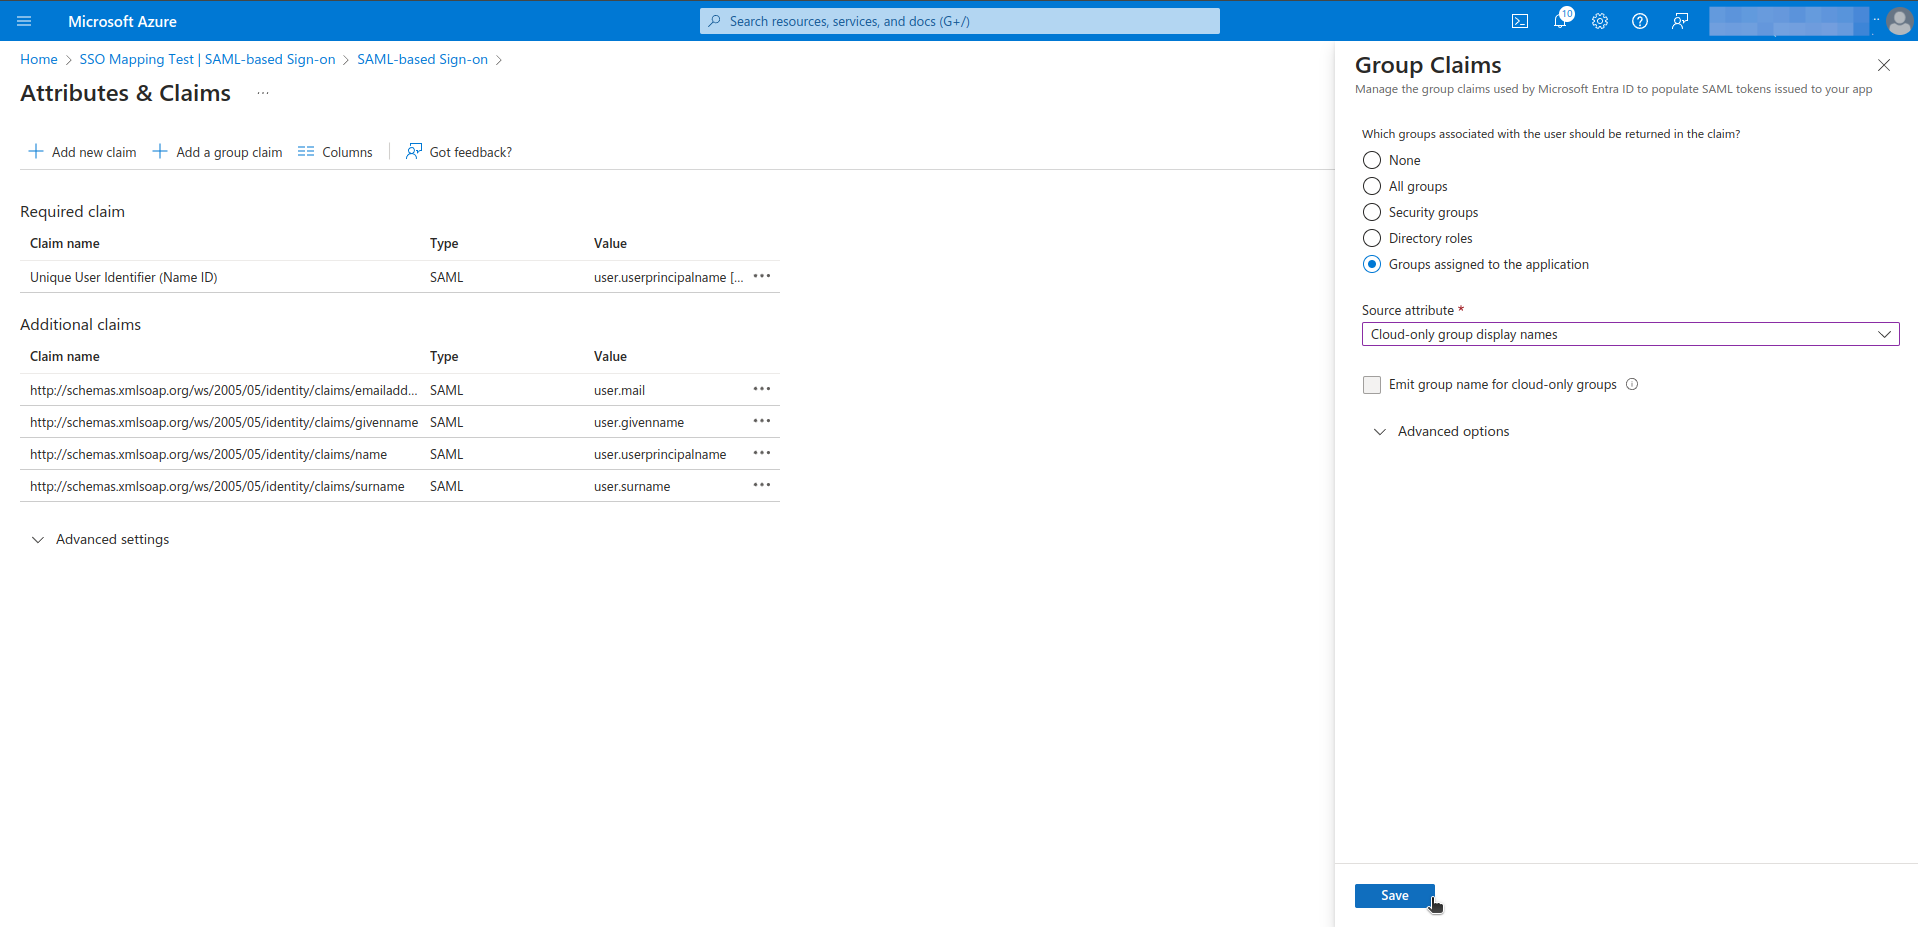
- Click the Add a Group Claim.
- Select the Groups assigned to the application
- Select the Cloud only group display names as source attribute.
- Then click on the Save button
Step 5. Define Group Attributes names in Appcircle
- Navigate to the Organization > Security > Authentications section on your dashboard.
- Select the Manage on the Enterprise Portal SSO Login.
- Select the Manage Authorization.
- Enter the Claim Name (OpenID)/Attribute Name (SAML) as
http://schemas.microsoft.com/ws/2008/06/identity/claims/groups.
Okta
Okta (OpenID Connect)
Step 1. Create Groups and Define Group Claim
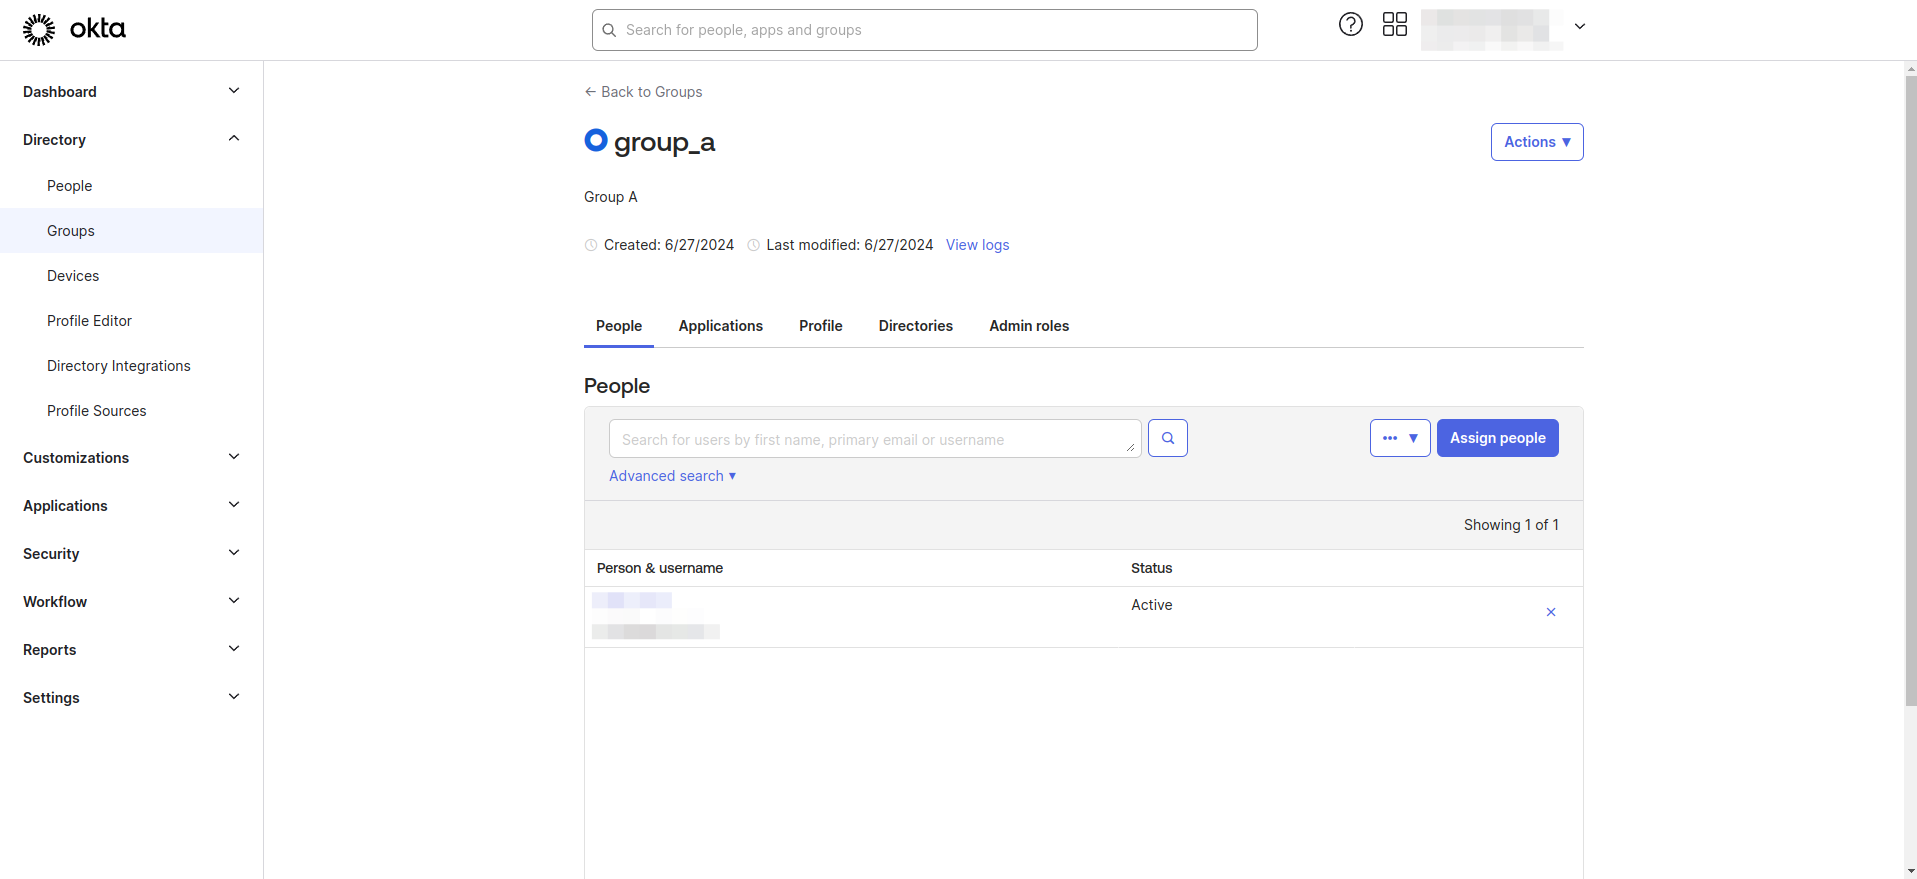
- Navigate to the Directory > Groups section in the Okta Dashboard
- Create the groups as needed.

- Assign users to groups.
- Navigate to the Applications > Applications section from left navigation menu.
- Select your application from the list
- Navigate to the Sign on tab.
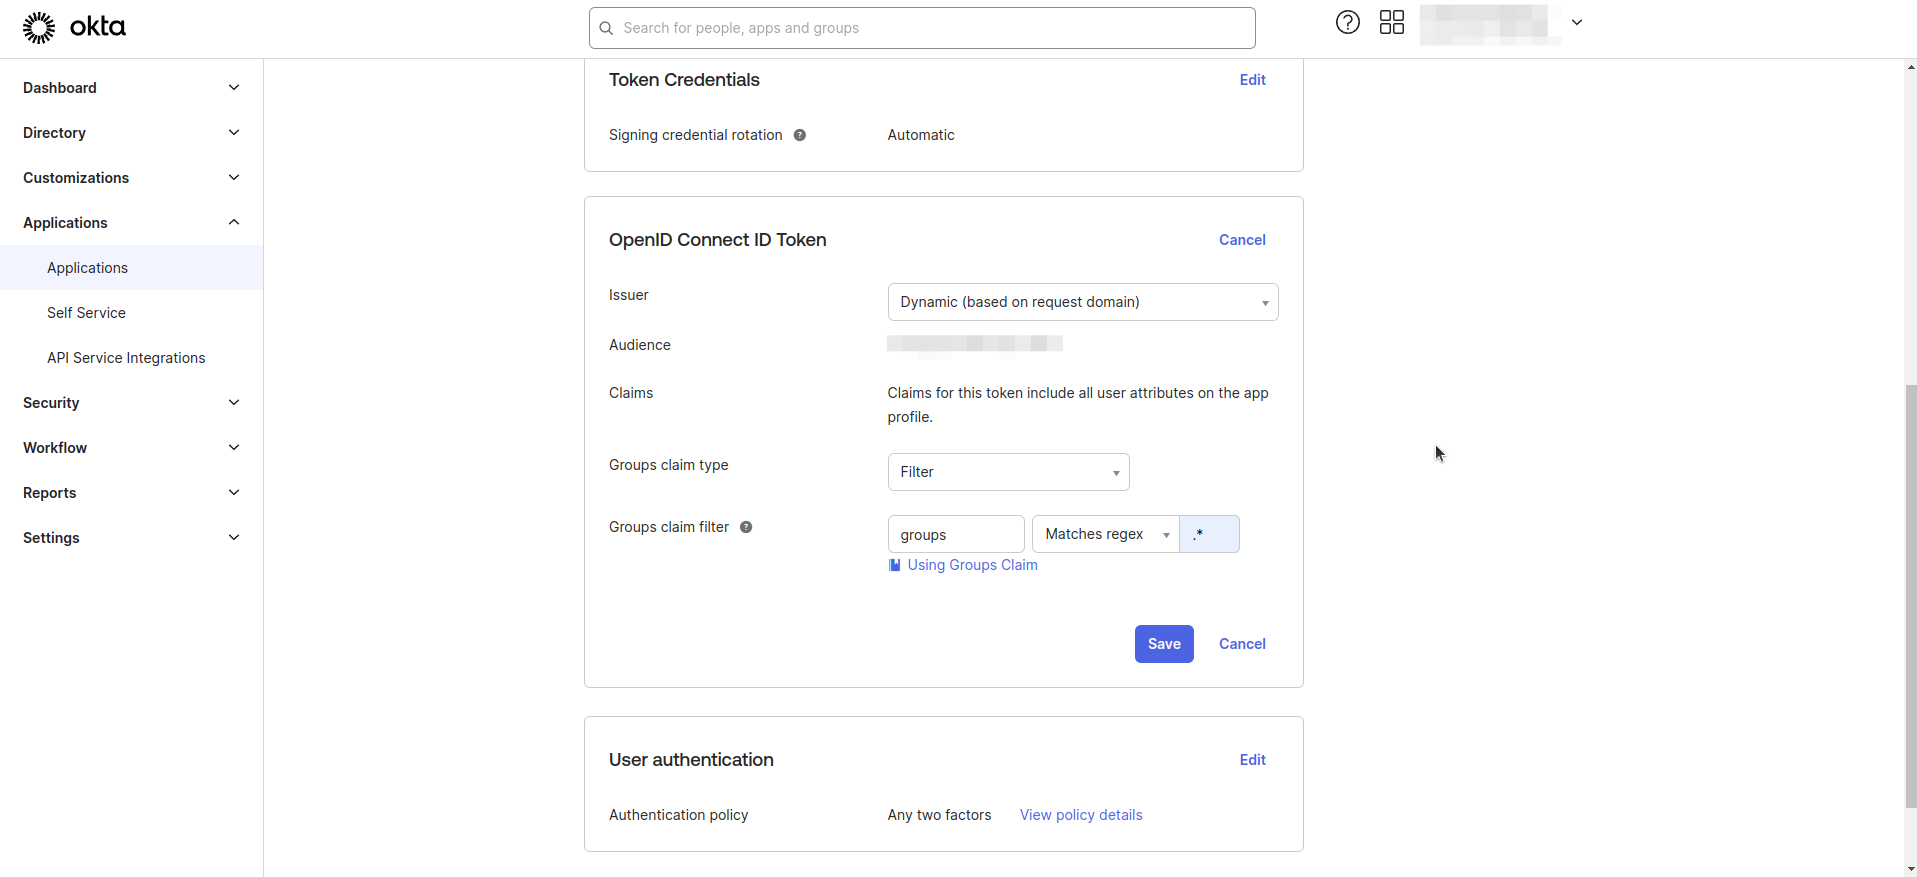
- Click Edit for OpenID Connect ID Token.
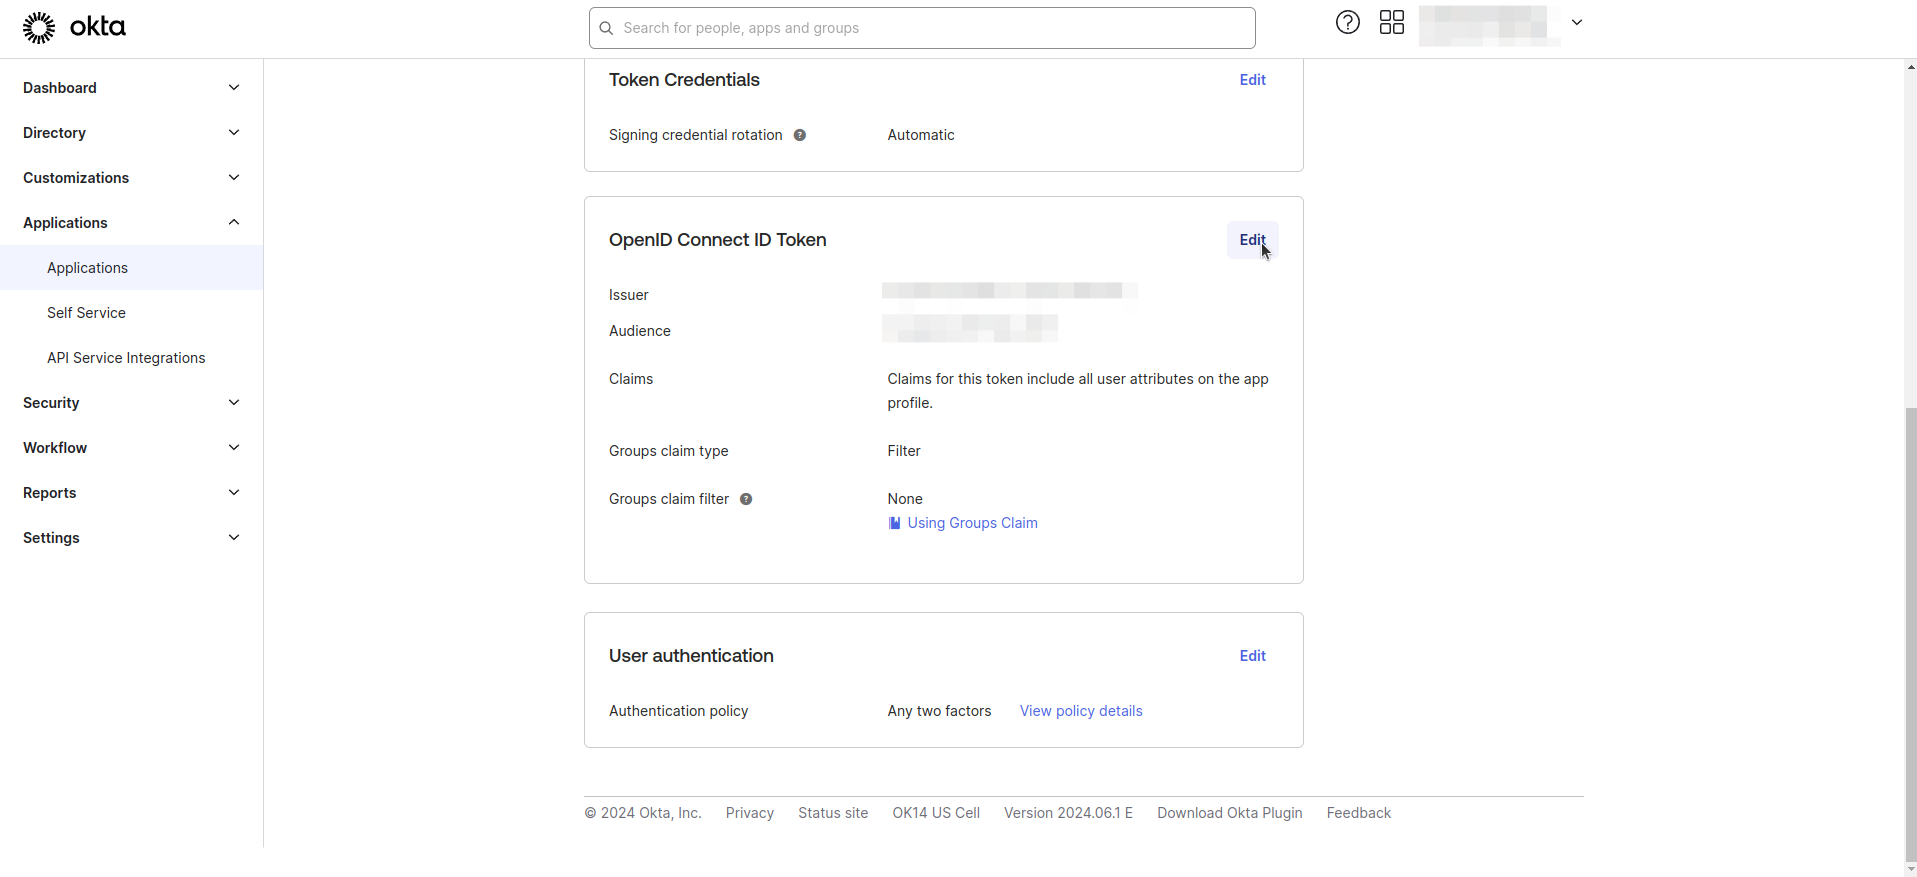
- Enter Groups claim filter as shown in the image below.
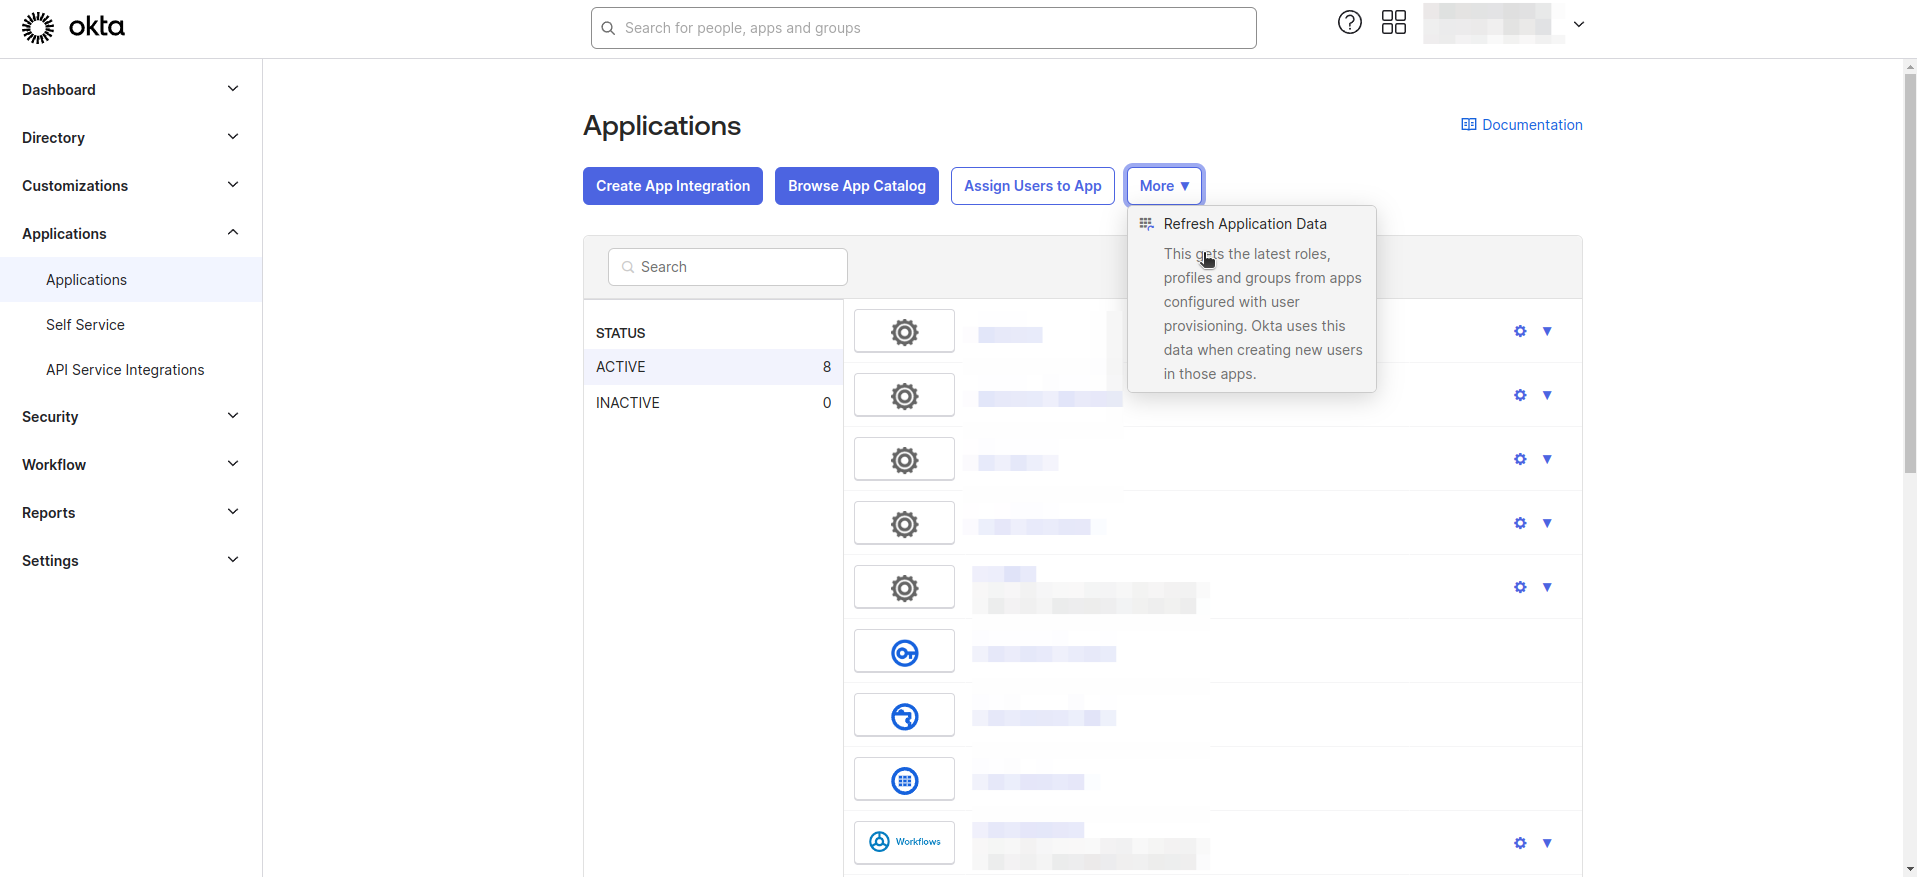
- Navigate to the Applications > Applications section from left navigation menu.
- Click Refresh Application Data.
Step 2. Define Group Claim in Appcircle
- Navigate to the Organization > Security > Authentications section on your dashboard.
- Select the Manage on the Enterprise Portal SSO Login.
- Select the Manage Authorization.
- Enter the Claim Name (OpenID)/Attribute Name (SAML) as
groups.
Step 3: Update SSO Scope Configuration
- Navigate to the Organization > Security > Authentications section on your dashboard.
- Select the Manage option under the Enterprise Portal SSO Login.
- Select Manage Authentication and click the Edit button.
- Add the groups to the Default Scope field.
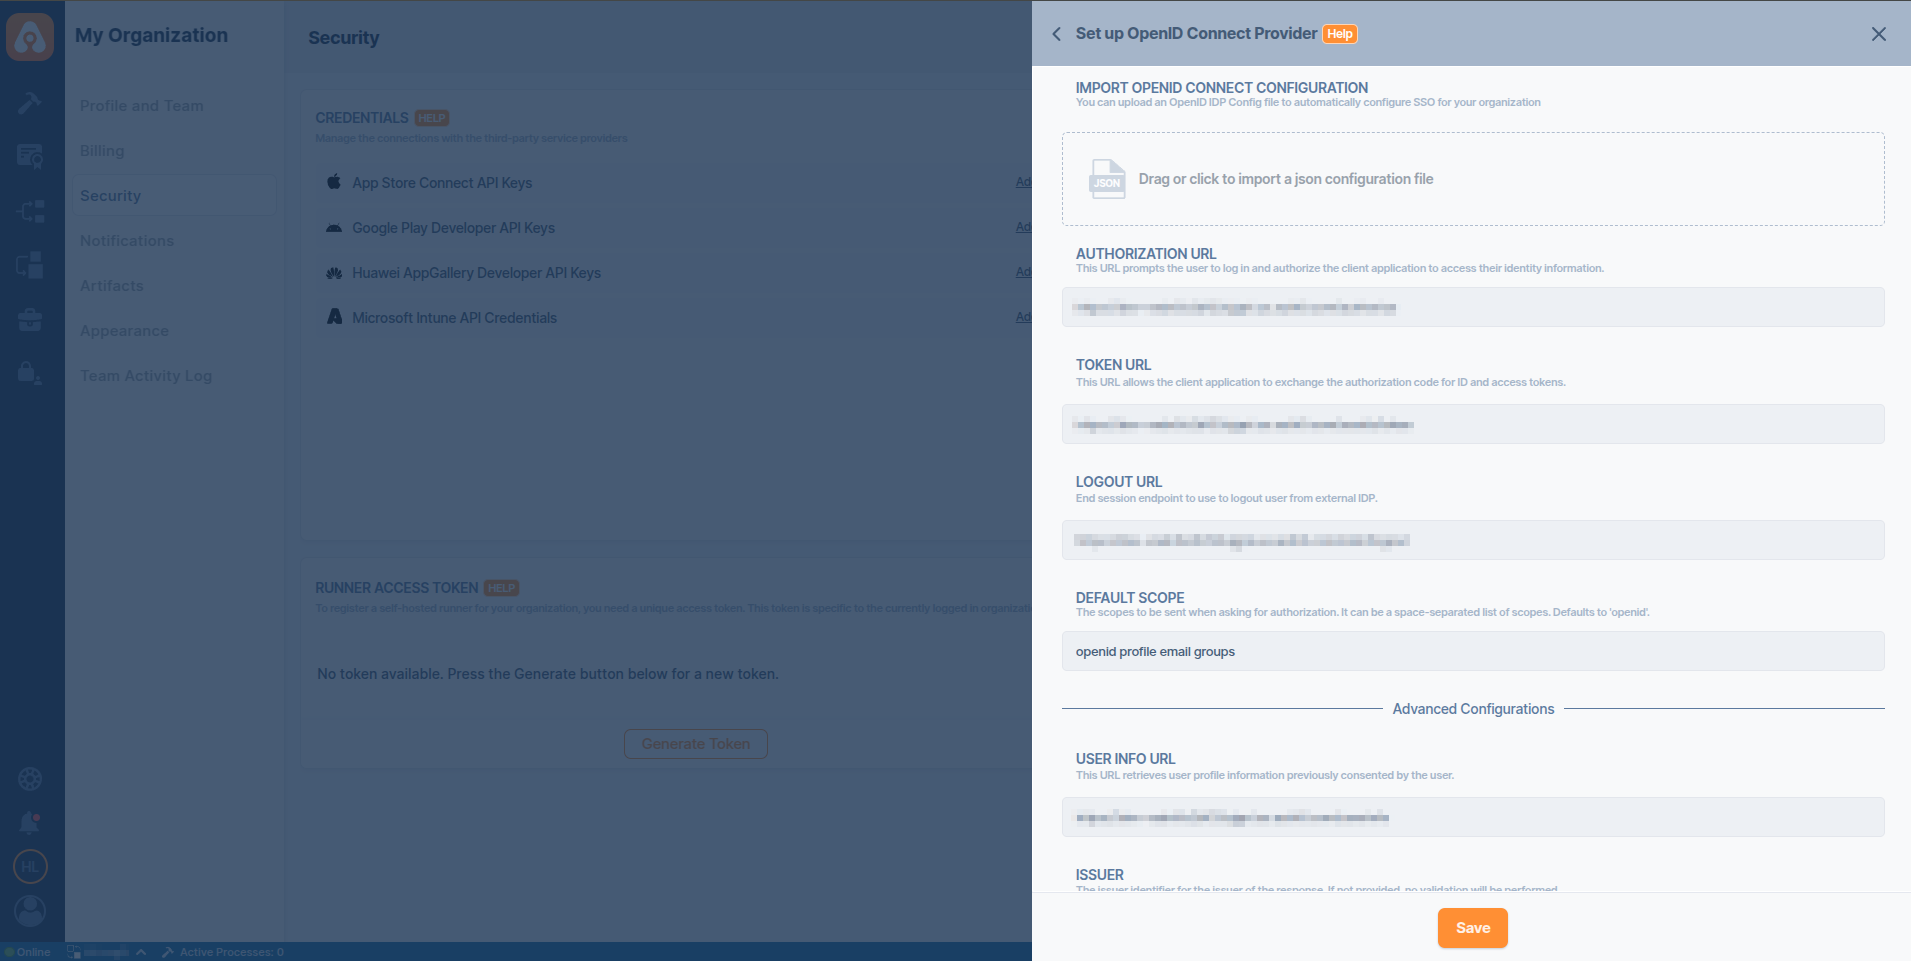
- Click the Save button.
Okta (SAML)
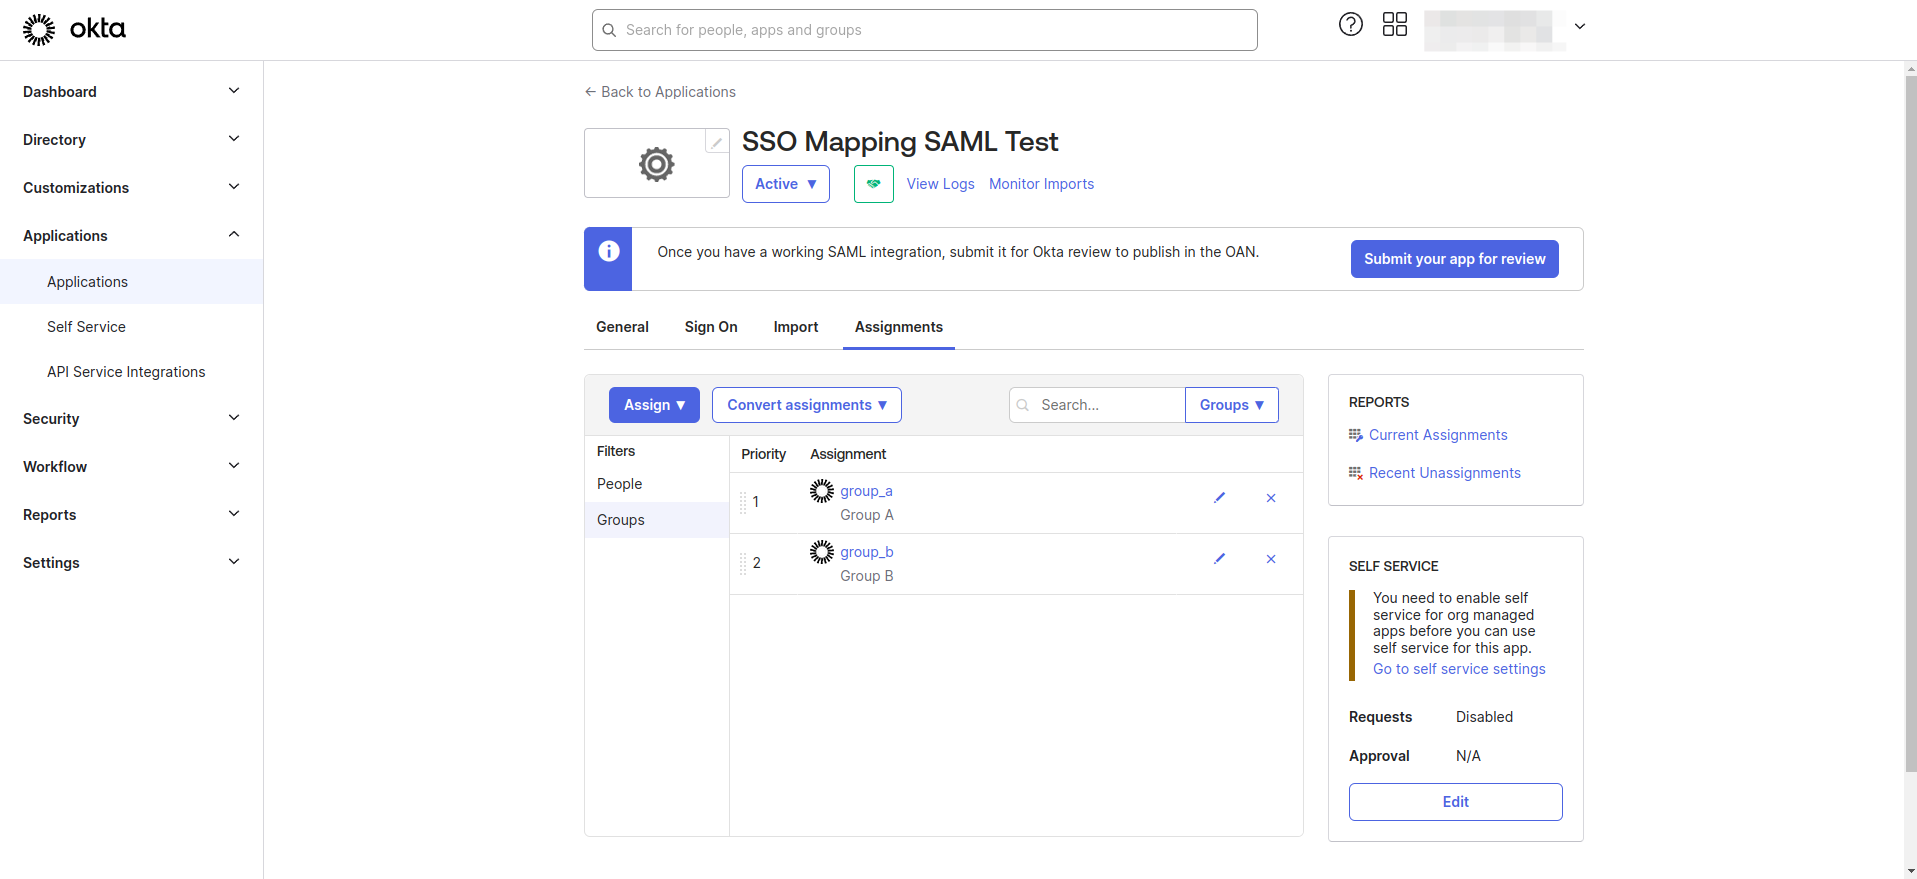
Step 1. Create Groups and Assign to the Application
- Navigate to the Directory > Groups section in the Okta Dashboard. Create the groups as needed.
- Assign users to groups.
- Navigate to the Applications > Applications section from left navigation menu.
- Select your application from the list
- Navigate to the Assignments tab.
- Assign the previously created groups to the application.
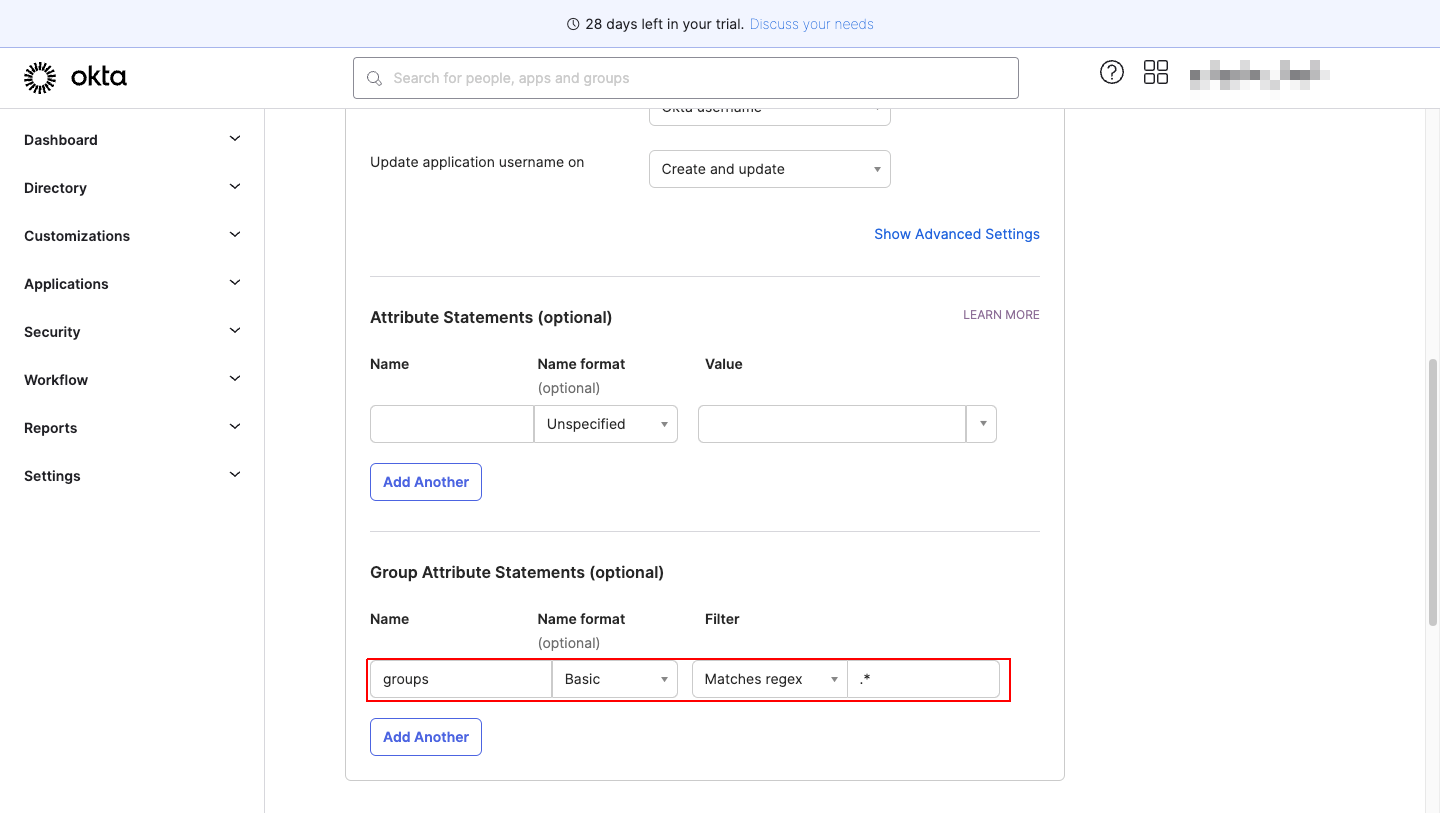
Step 3. Define Group Attributes
- Navigate to the Applications > Applications section.
- Select your application from the list and navigate to the General tab.
- Click on Edit in SAML Settings
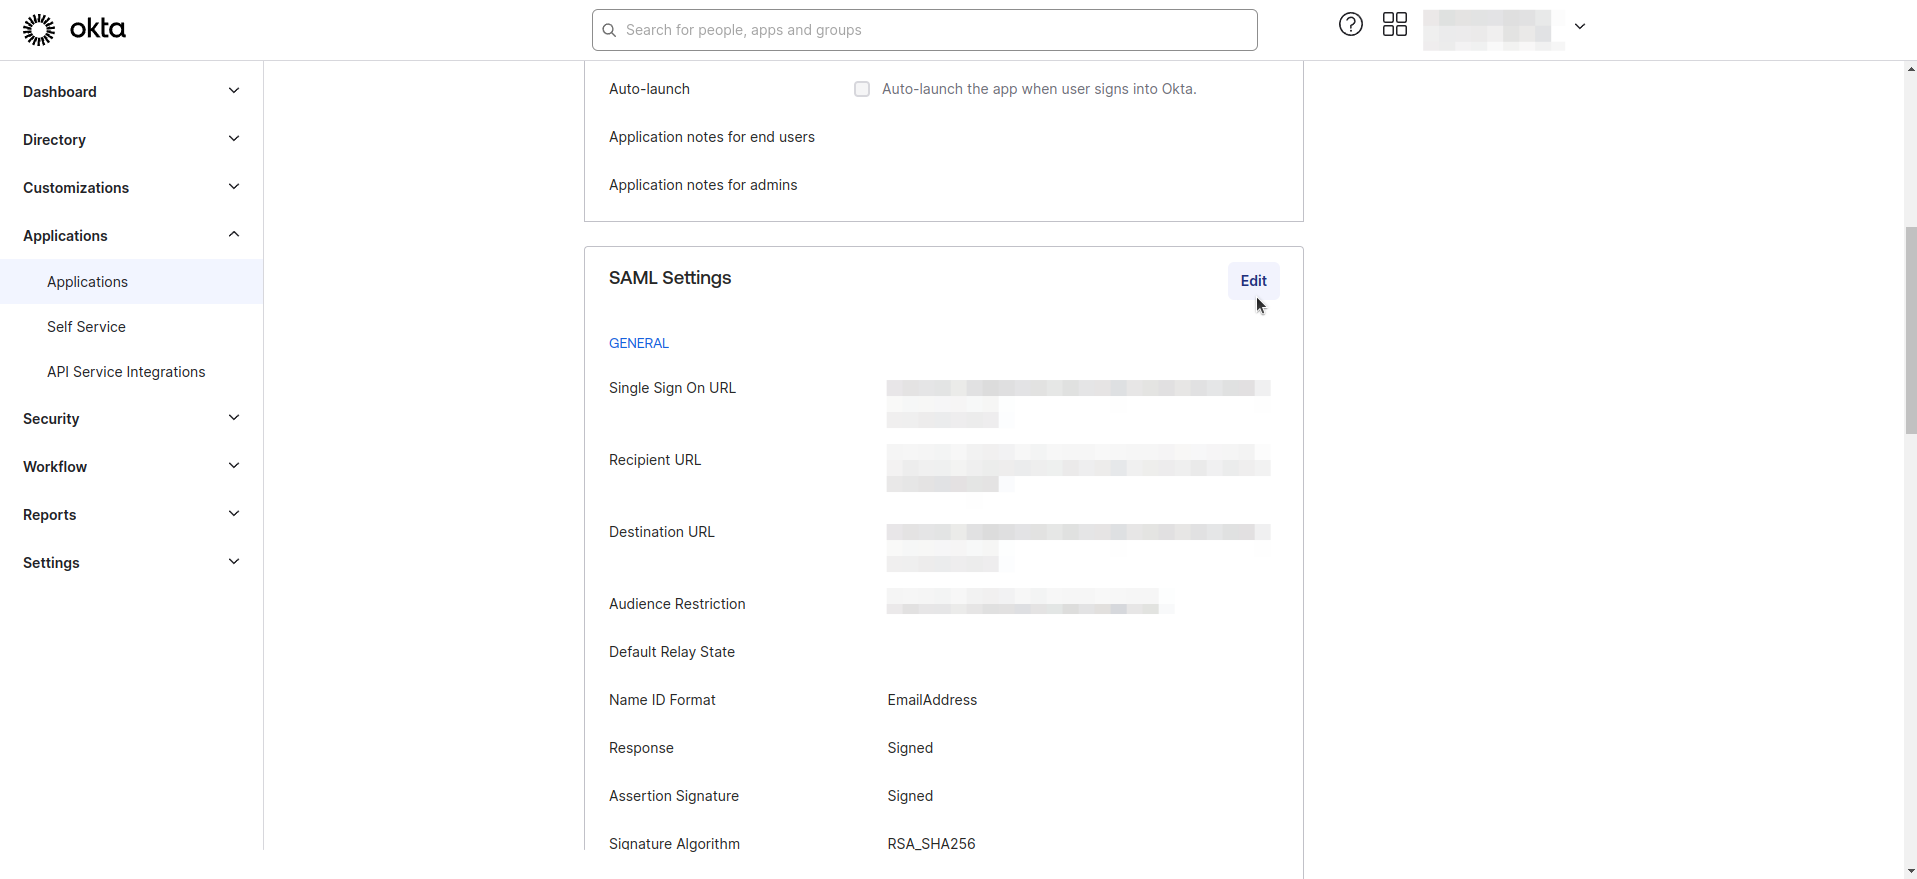
- Enter the Group Attribute statement as as shown in the image below.
Step 4. Define Group Claim in Appcircle
- Navigate to the Organization > Security > Authentications section on your dashboard.
- Select the Manage on the Enterprise Portal SSO Login.
- Select the Manage Authorization.
- Enter the Claim Name (OpenID)/Attribute Name (SAML) as
groups.
Testing and Troubleshooting
After configuring Authorization with SSO for Enterprise App Store, it is important to test the integration to ensure that users authorization work seamlessly and as expected. Follow Enterprise App Store Documentation to test the integration.