Profile Creation
A Build profile can be created by following these steps:
Creating a Profile
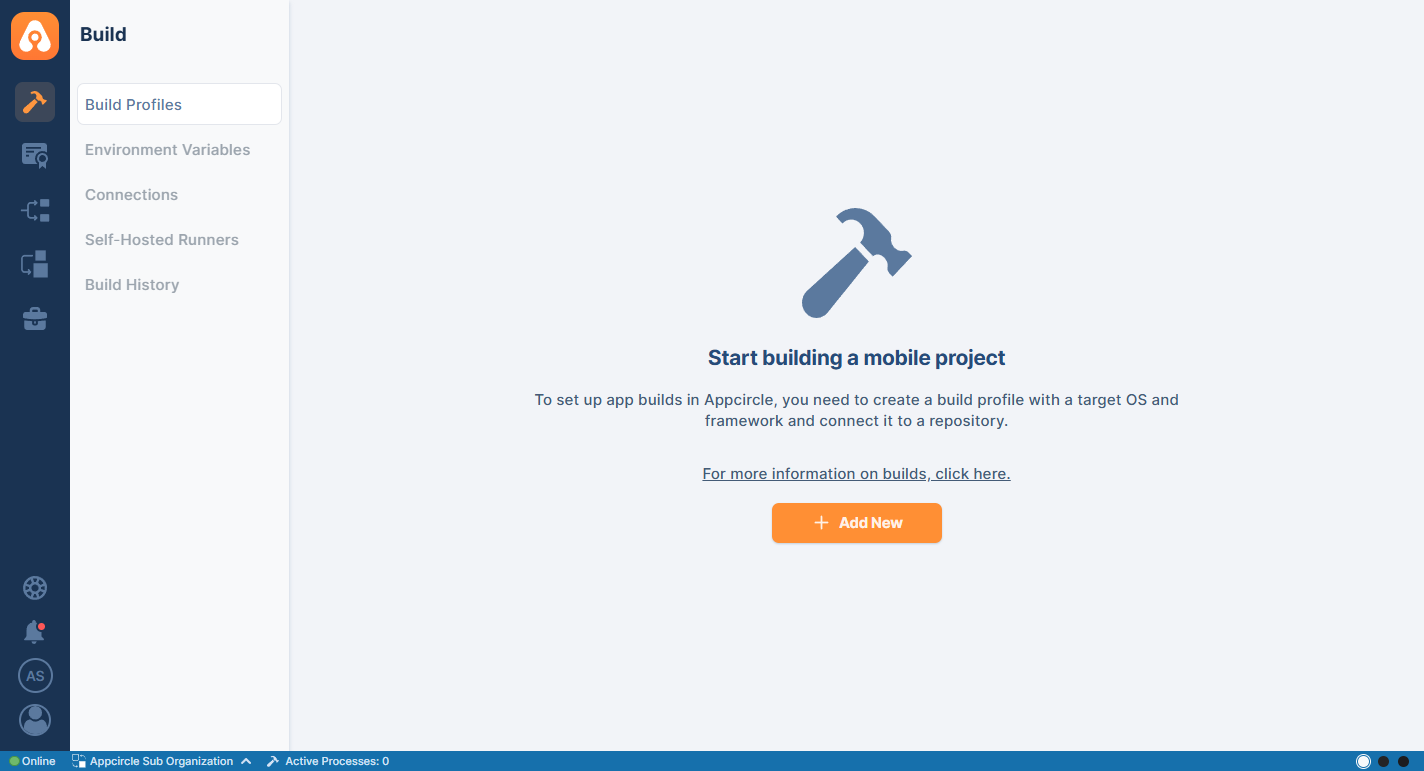
Click on the Add New button located in the middle of the screen. If you already have an existing profile displayed on the build profile list, this button will be in the top right corner.
Provide a unique name for the build profile and choose a target operating system (OS), which can be Android or iOS.
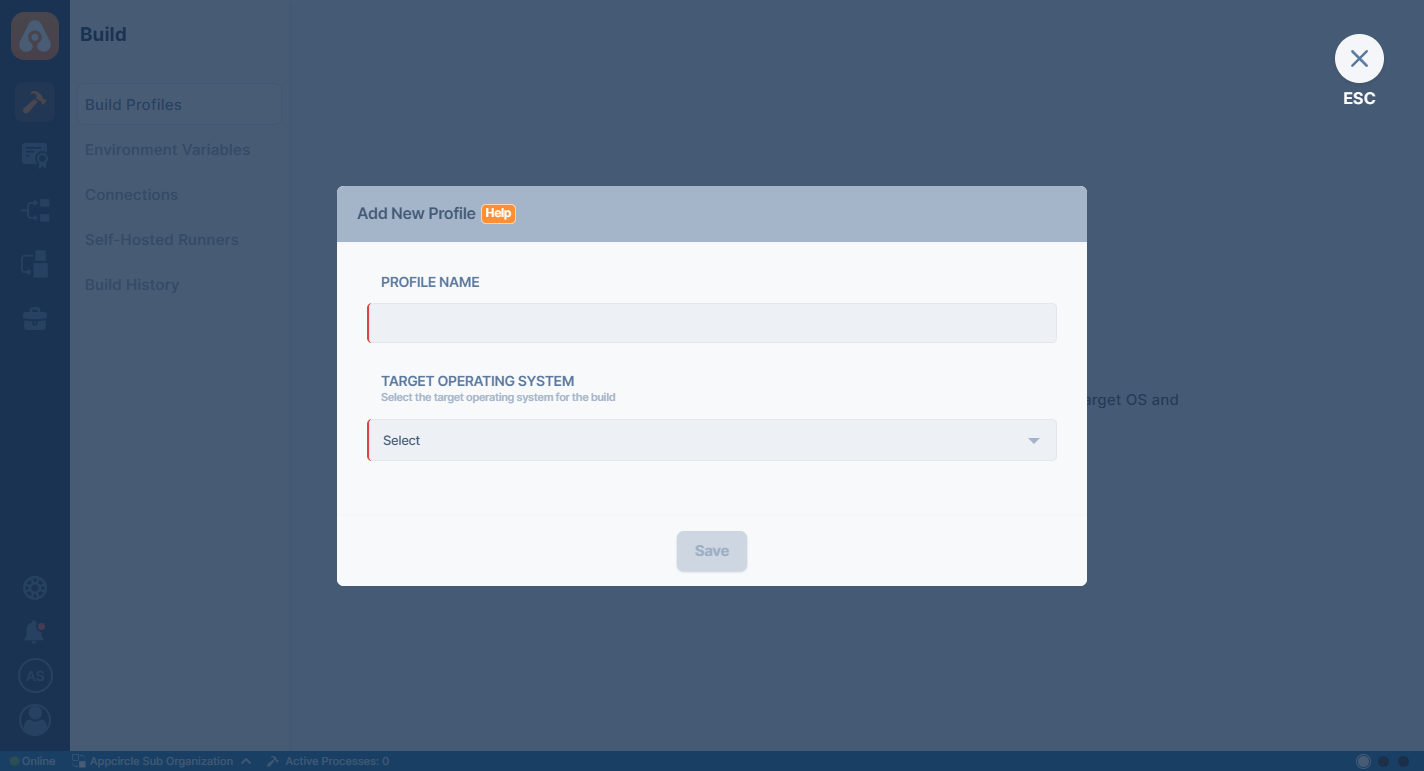
After selecting the target OS, specify the corresponding target platform to set up a compatible build environment:
iOS Platforms:
Android Platforms:
Click Save to proceed.
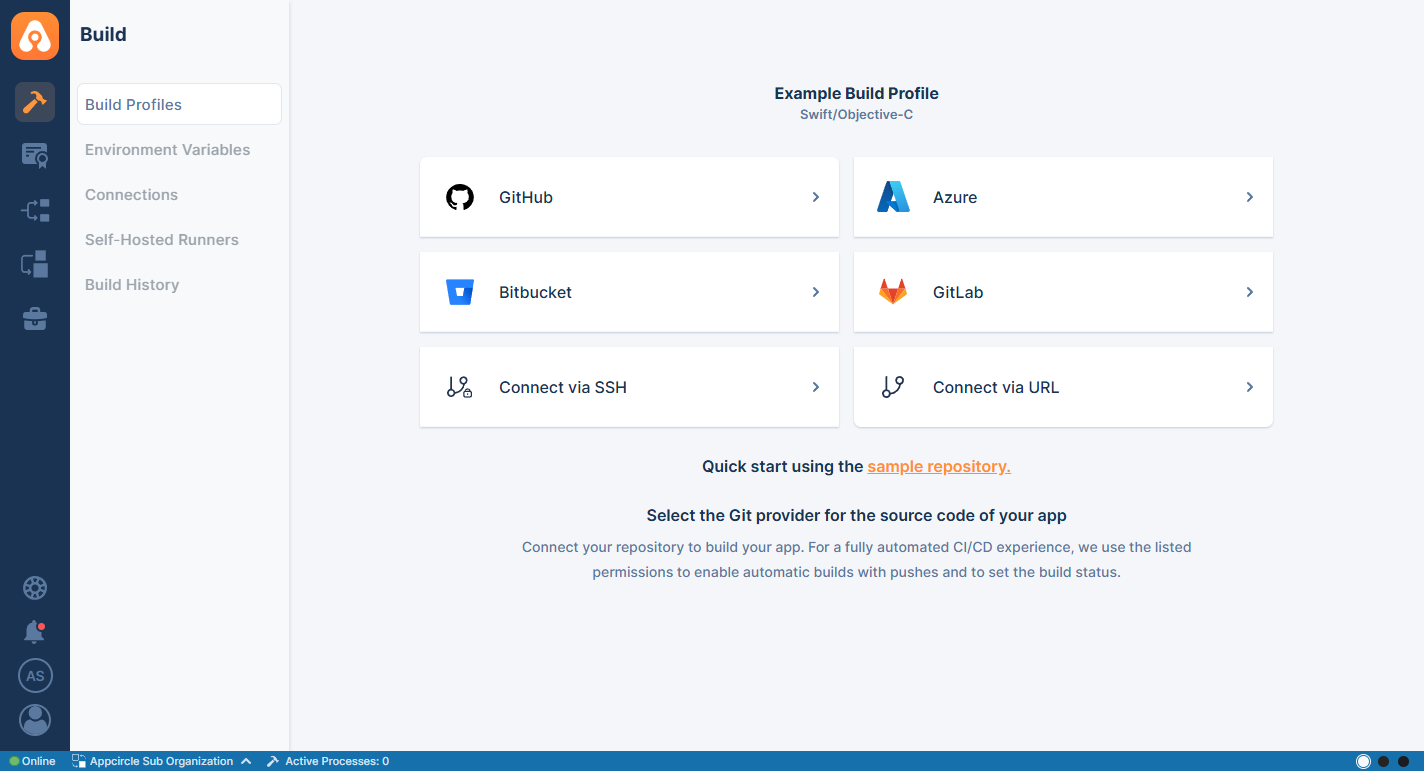
Choose from the available repository connection options to link your project source code:
- GitHub
- Azure
- Bitbucket
- GitLab
- Connect via SSH
- Connect via URL
- Connecting to Multiple Instances
If you have not previously connected to a Git provider on Appcircle, i.e., created a profile but have not connected a repository, you will not see any connection on this page.
For more information on creating repository connections, please refer to the connections guide.
To test drive Appcircle, you can find various sample projects on the Appcircle GitHub page or you can just press the Quick Start Using the Sample Repository button to populate the repository with a compatible project based on the selected framework.
For detailed instructions on connecting to each repository, refer to the Connection Guides.
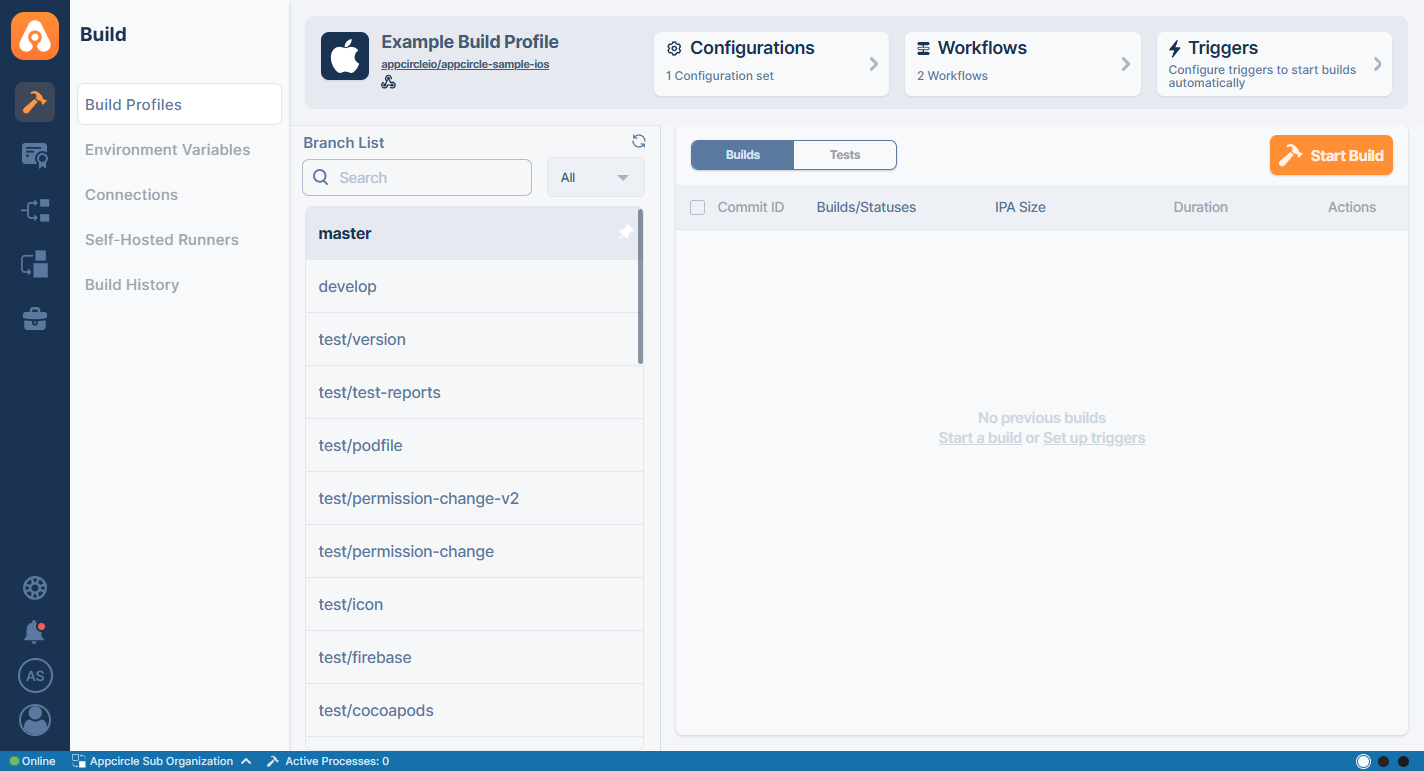
Once the repository connection is established, the build profile will be created successfully. Appcircle will then pull your branches, commits, and other information from your repository. You can now use the build profile to manage and deploy your projects.
Profile Listing
You can switch between Board View and List View using the view selector located at the top right of the page. Both views display the same build profiles, allowing you to choose the layout that best fits their workflow.
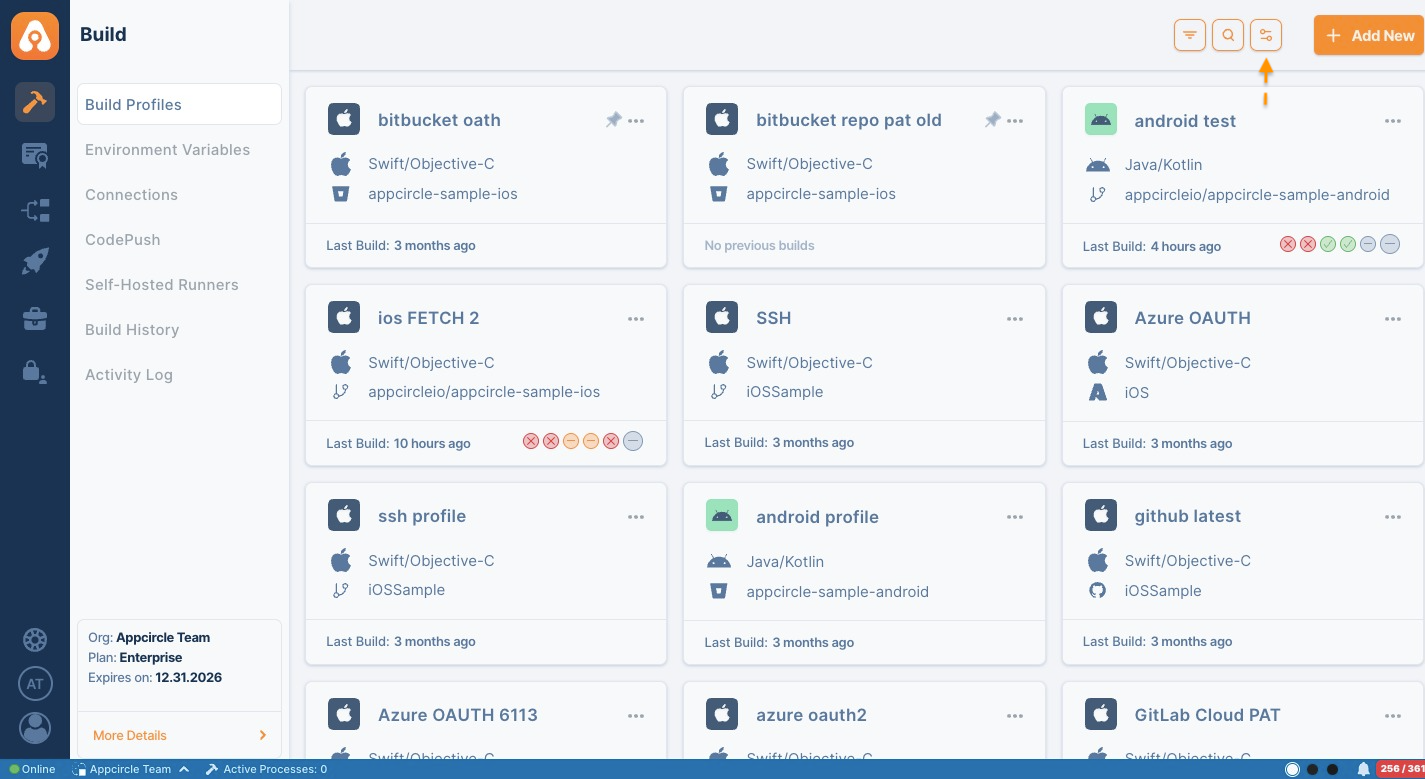
- Profile Board View
- Profile List View

In addition to view options, the profile list provides search, filtering, and ordering capabilities to help users quickly locate specific build profiles.
Search Profiles
Click the Search icon in the top right corner to open the profile search dialog. You can search for build profiles by name and quickly navigate to the desired profile from the search results. It will also bring your recent search results.
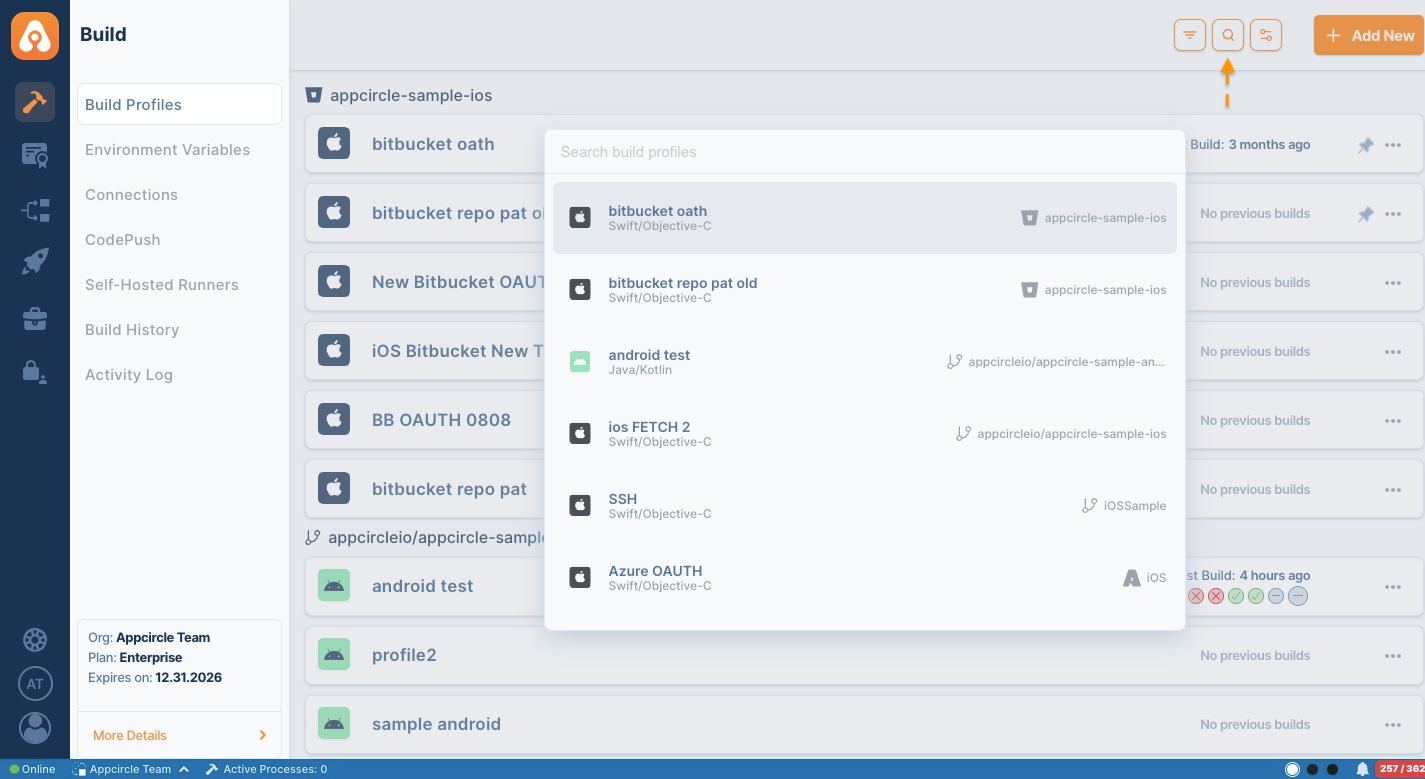
The search feature looks for matches in both Build Profile names and the associated full repository URLs. Any profile matching the entered keyword in either field will appear in the search results.
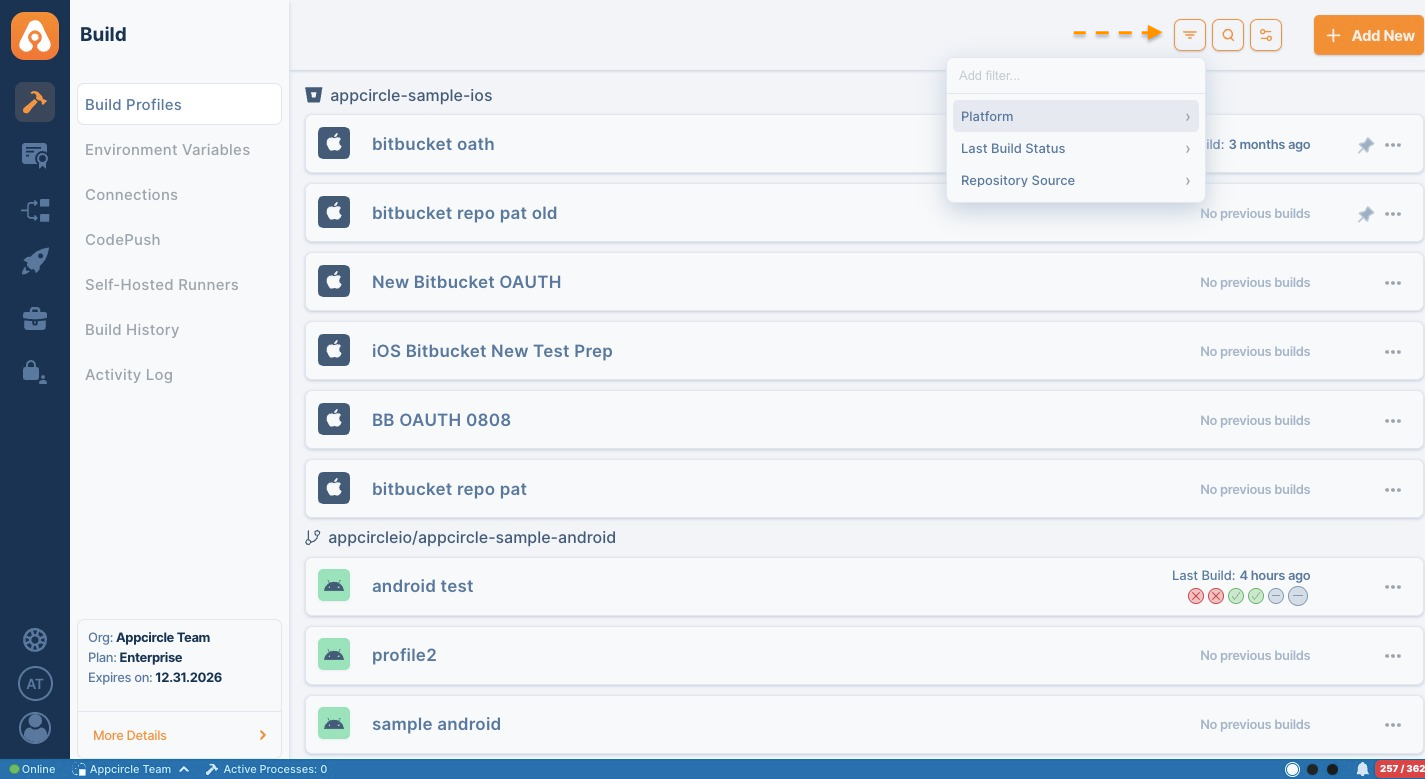
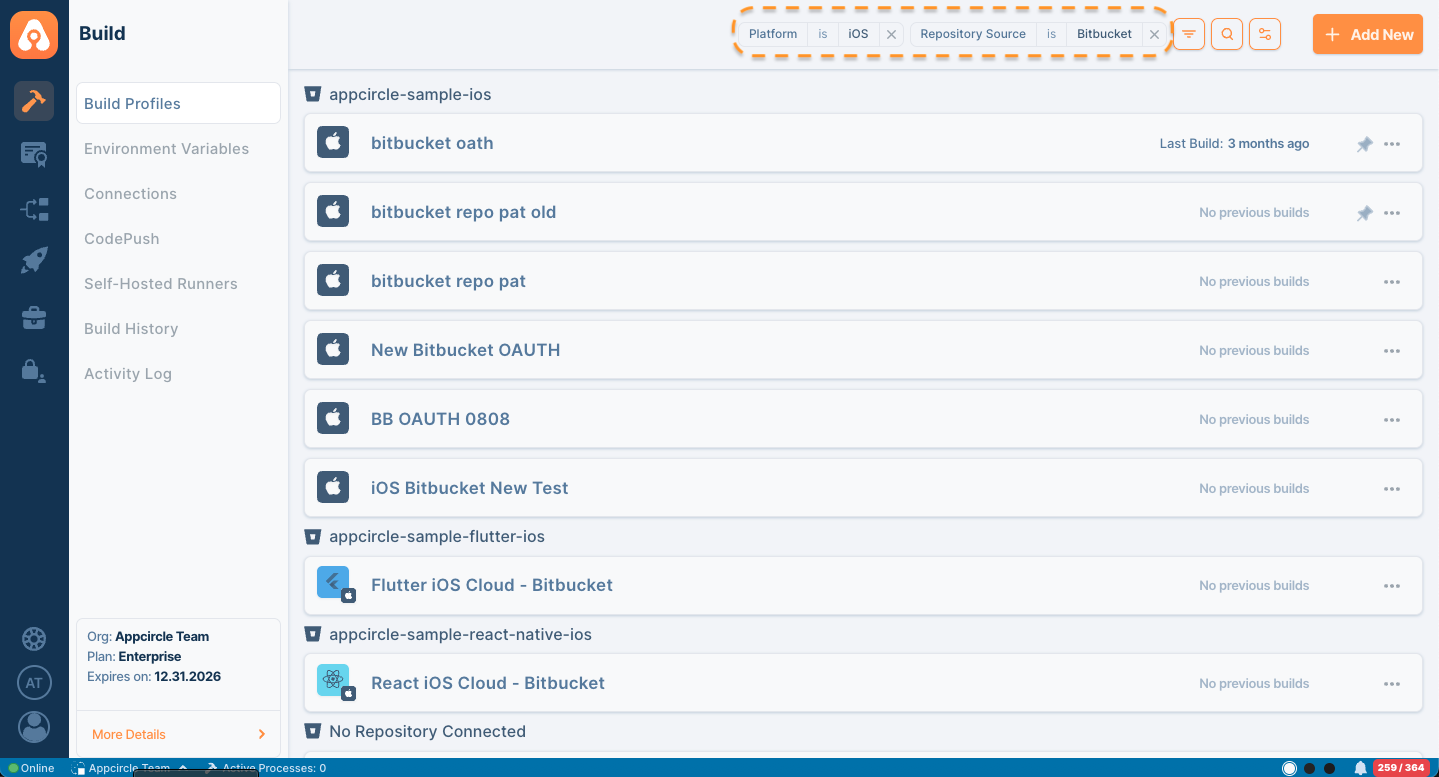
Filter Profiles
Use the Filter button to narrow down the profile list based on available criteria. Profiles can be filtered by:
- Platform
- Last Build Status
- Repository Source
Applied filters are displayed at the top of the page and can be removed individually when no longer needed.
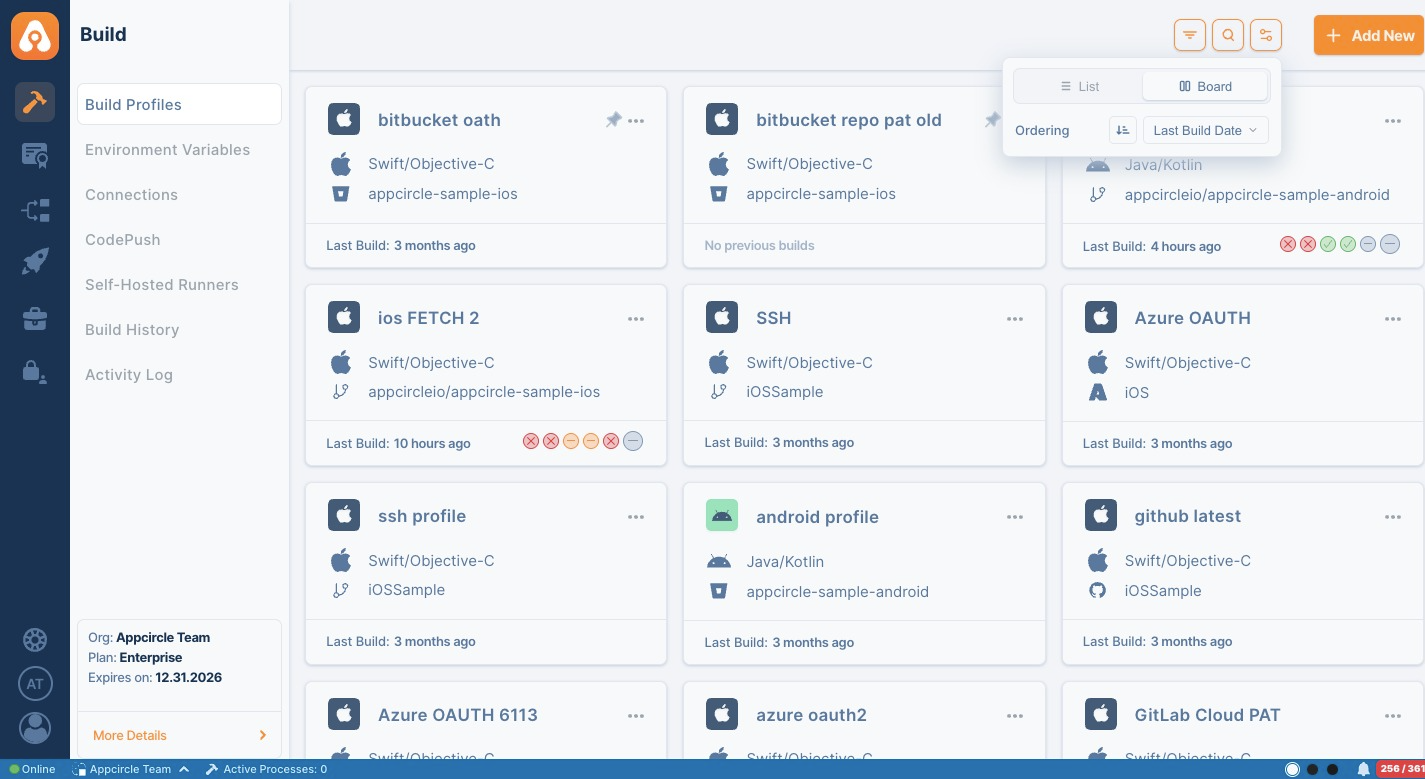
Sort and Order Profiles
The profile list can also be organized using the available ordering options. Users can change the sorting direction and select different ordering criteria, such as Last Build Date, to customize how profiles are displayed.
Connection Settings
After connecting a build profile to a Git provider, we can see the "Connection Settings" button in the build profile details.
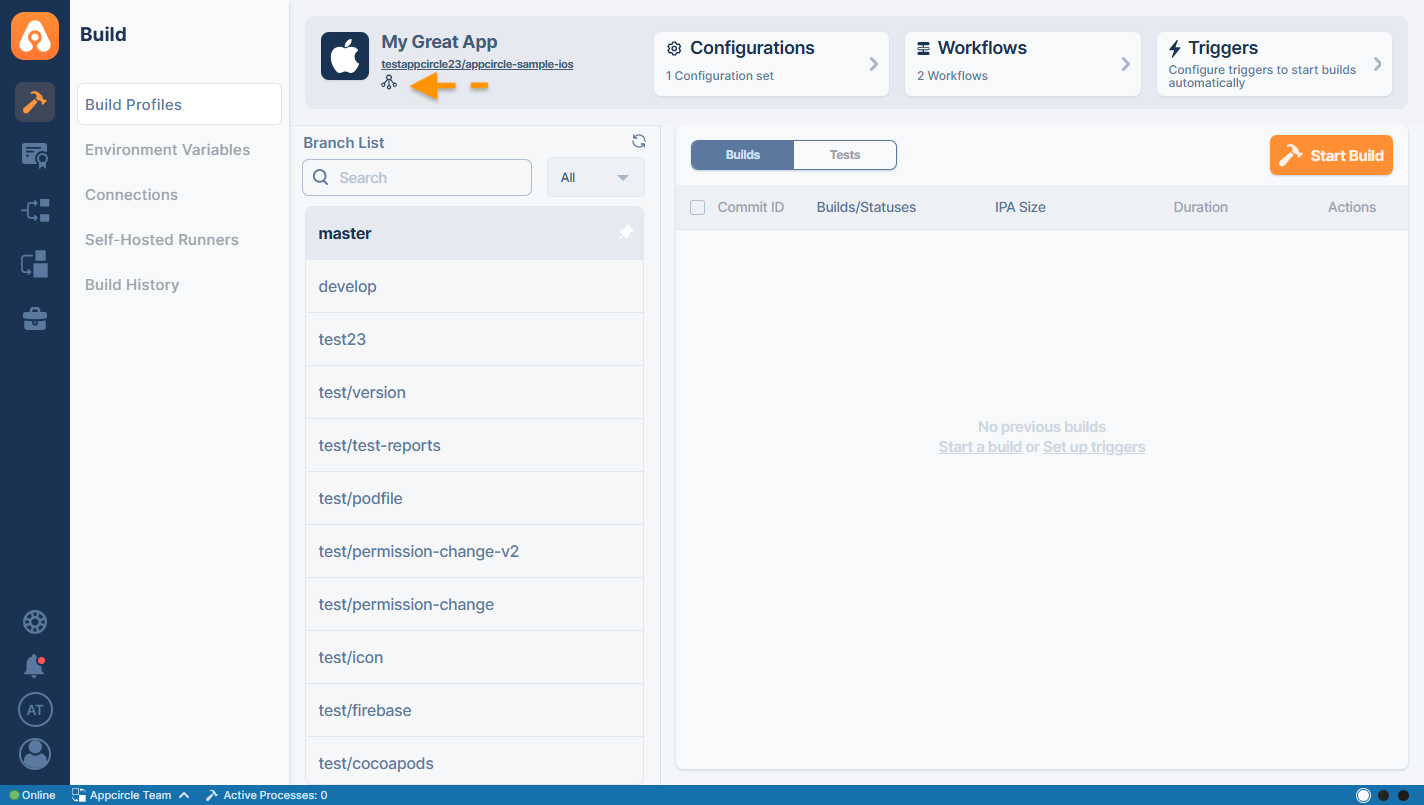
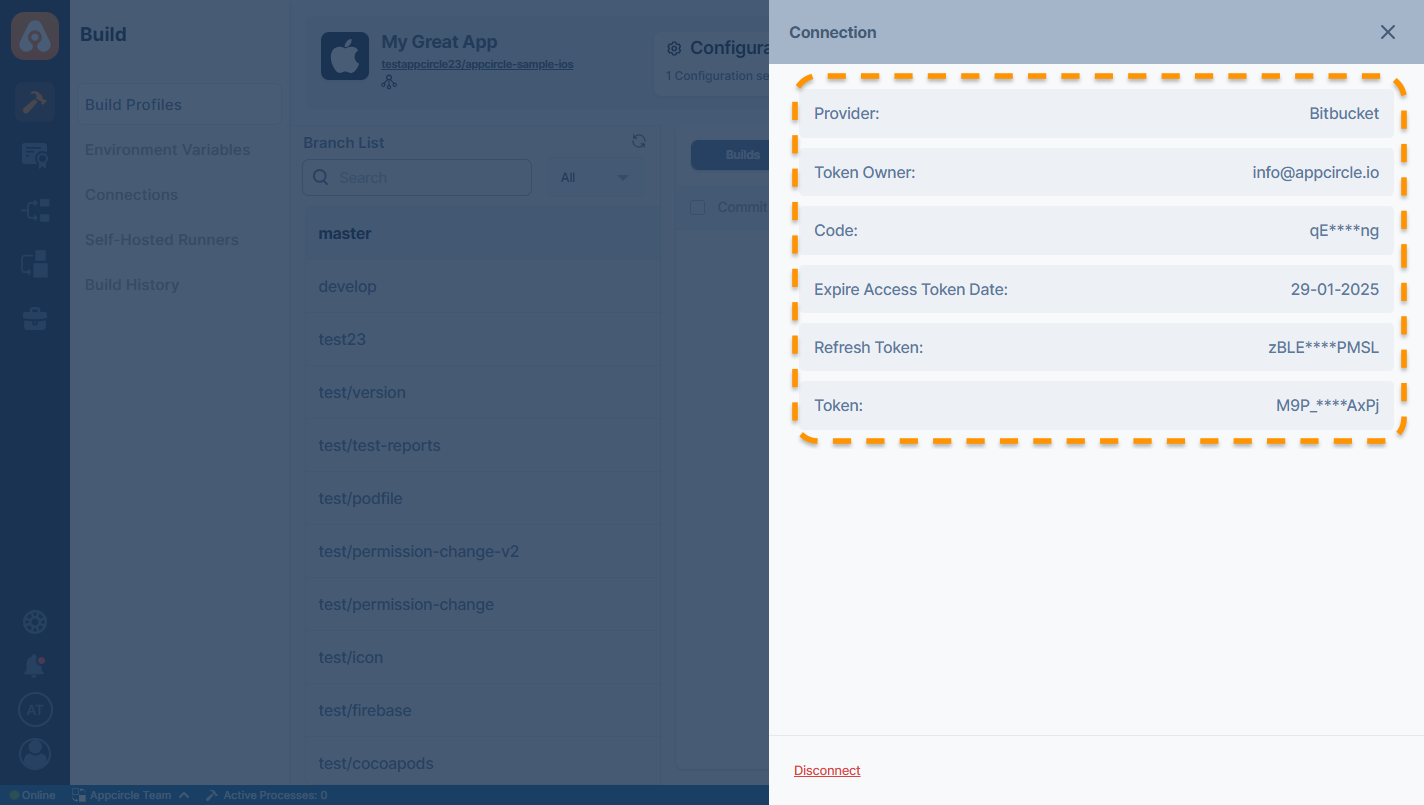
You can click on the "Connection Settings" button under the build profile name and URL to see detailed information about the connection. (PAT, OAuth)
OAuth
Personal Access Token (PAT)
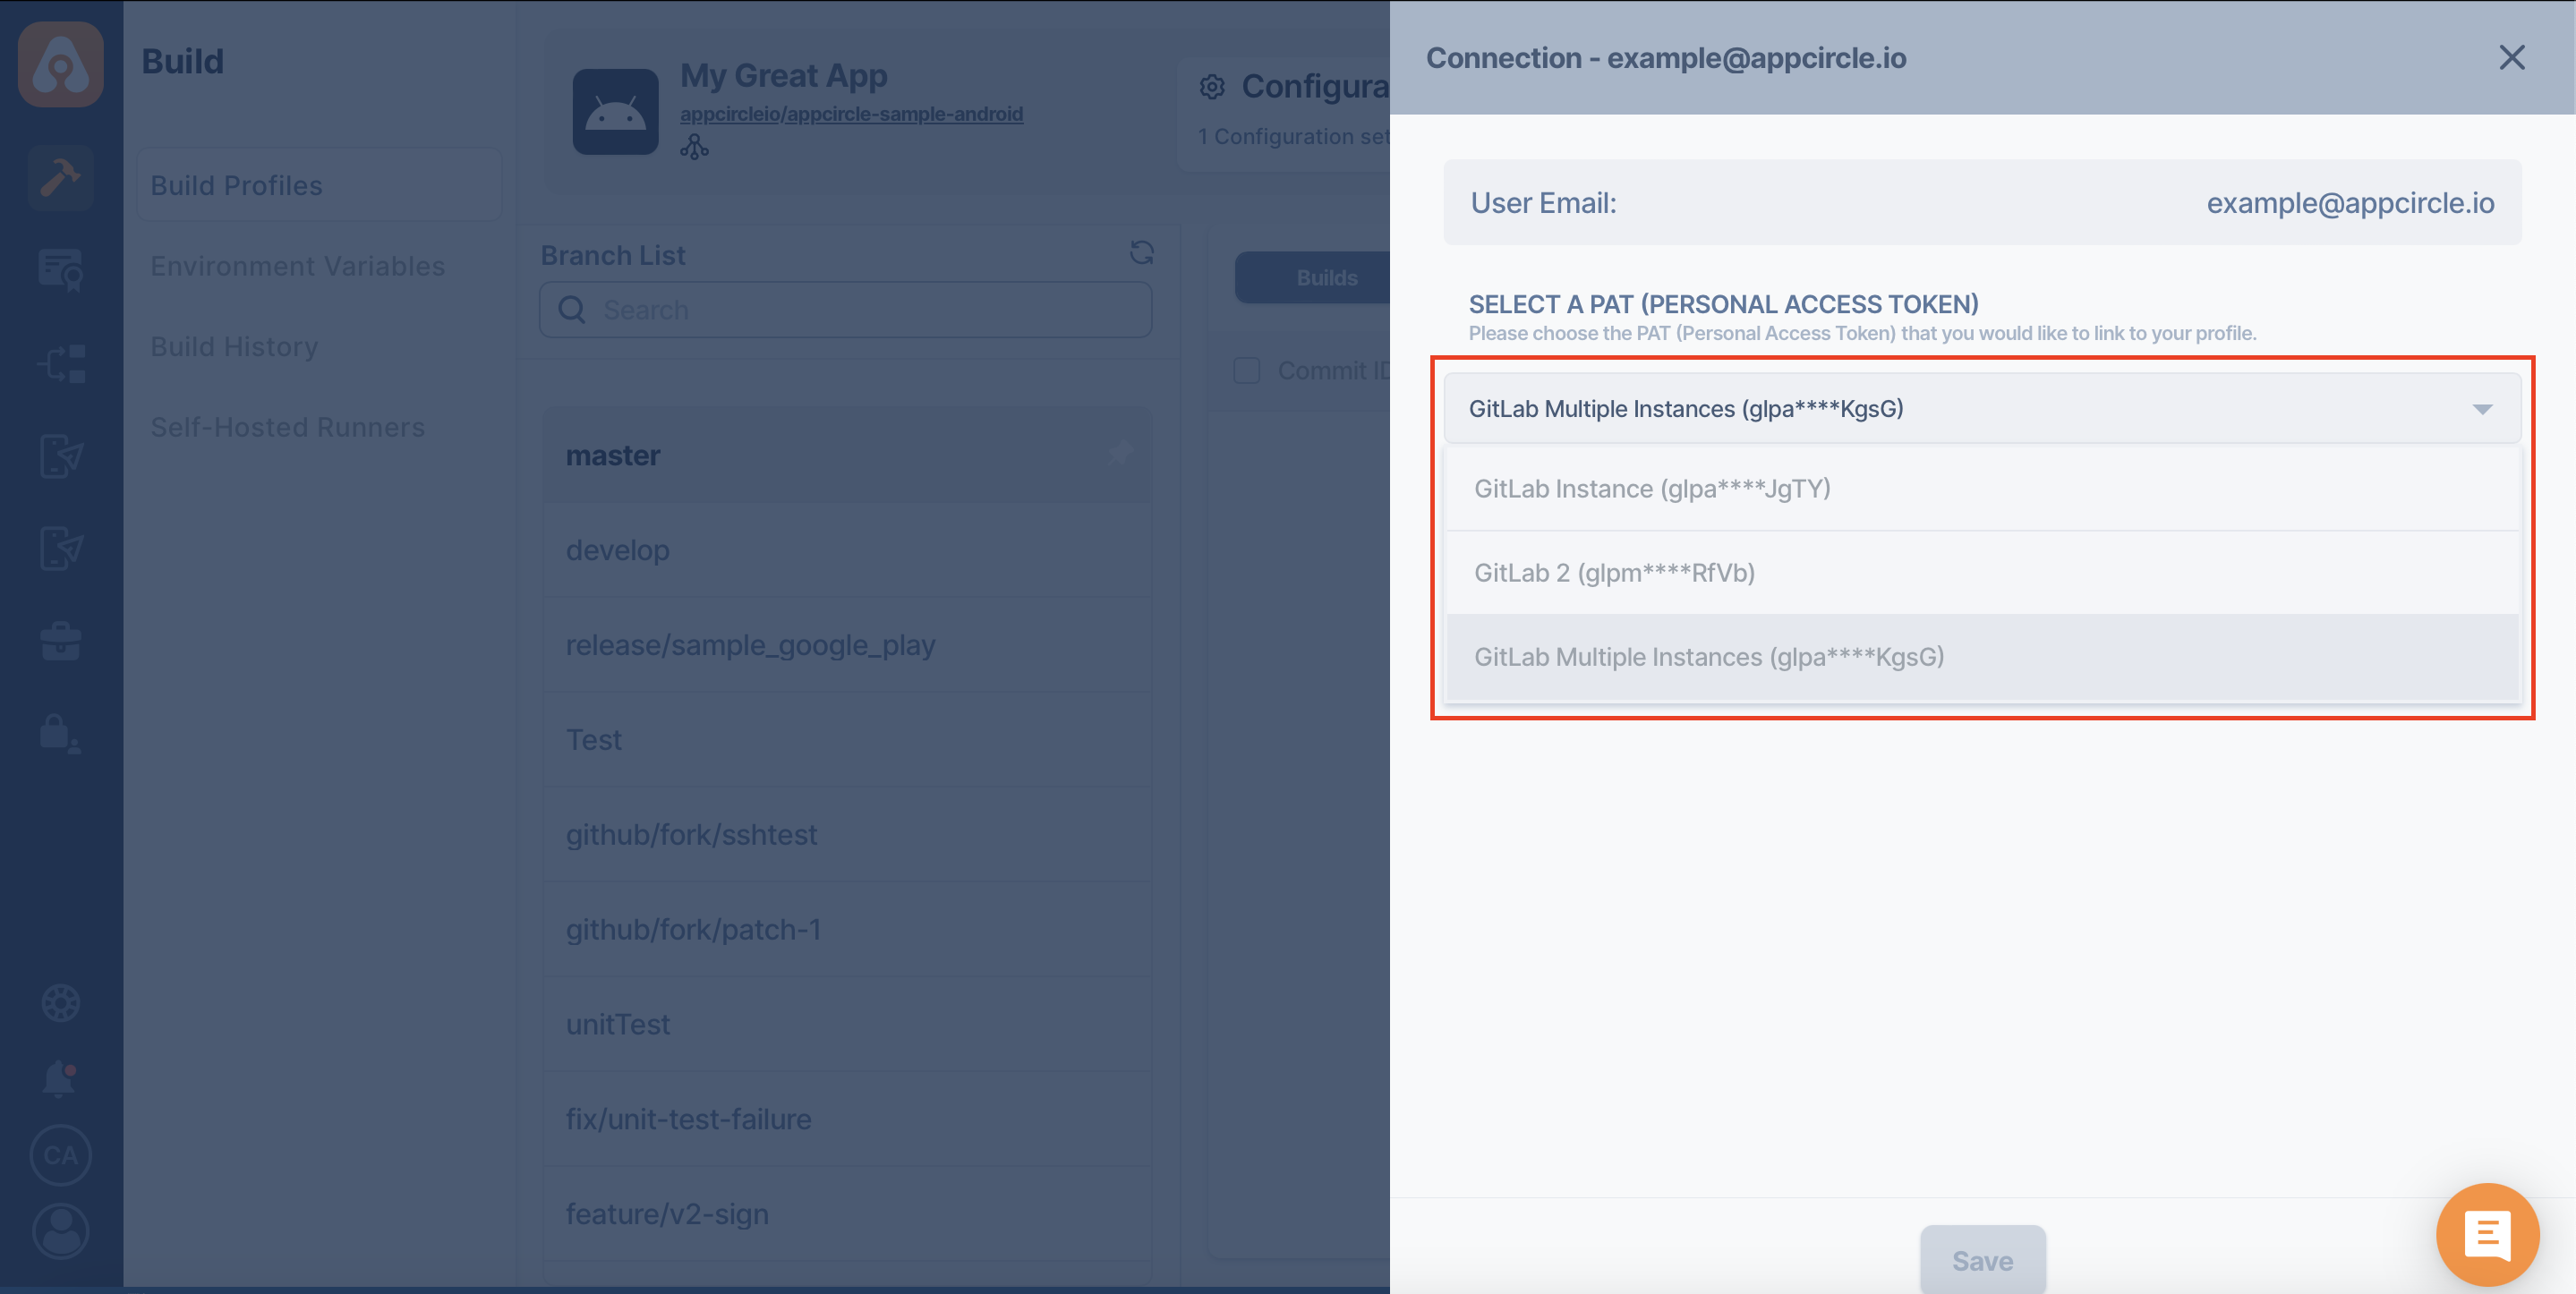
If you added your repository via multiple instances using PAT (Personal Access Token), the "Connection Settings" will look different.
You can review the Connecting Multiple Instances page to learn how to use "Connection Settings" for multiple instances.